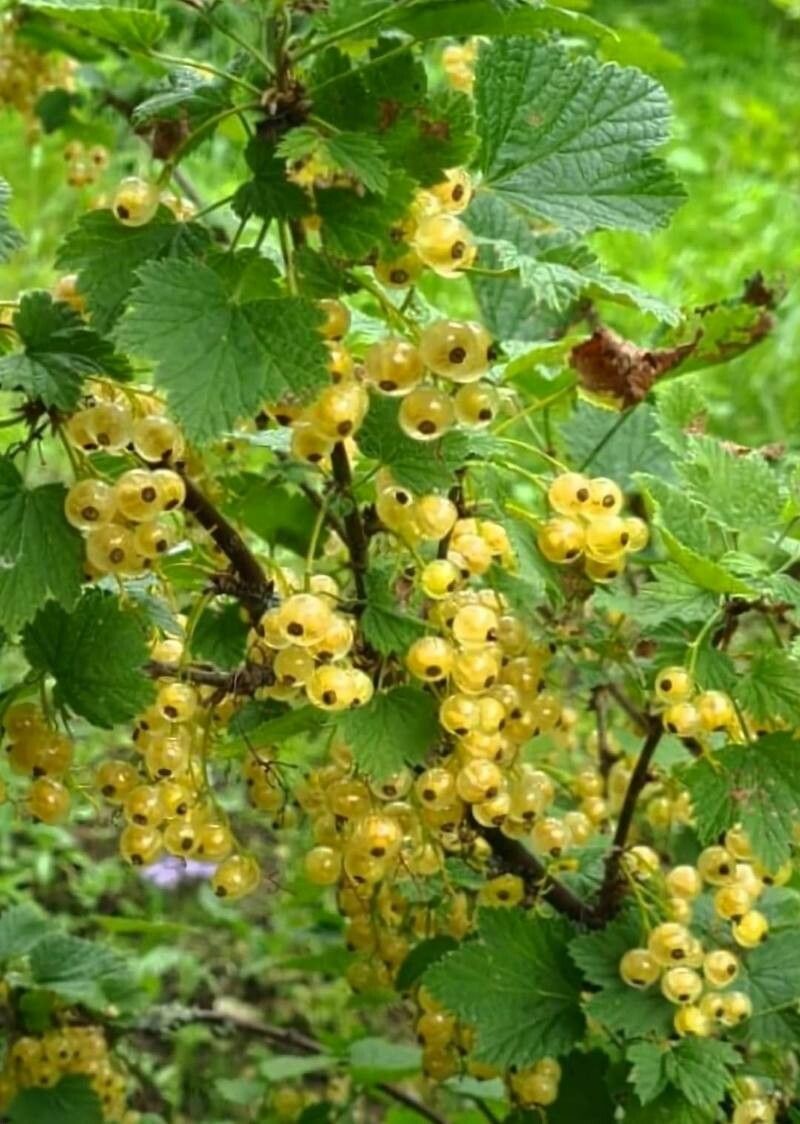
Hello, fellow garden lovers! Today, we’re diving into the wonderful world of Ribes niveum, also known as the Snowy Heath False Heather. If you’re looking for a delicate, cascading shrub with charming white flowers that really draw in the pollinators, this is it! I’ve been growing and propagating these beauties for years, and I find it incredibly rewarding to create new plants from my existing ones. It’s a fantastic way to fill out your garden borders or share the joy with friends. For beginners, propagating Ribes niveum is quite forgiving, so don’t be shy – you’ve got this!
The Best Time to Start
For the best success rate with Ribes niveum, I always aim to take cuttings in late spring or early summer. This is when the plant is actively growing, and the new shoots are usually soft and flexible, making them ideal for rooting. You’ll be looking for stems that are green and pliable, not woody.
Supplies You’ll Need
Gathering your supplies ahead of time makes the whole process much smoother. Here’s what I usually have on hand:
- Sharp pruning shears or secateurs: For clean cuts that heal well.
- Rooting hormone (optional but recommended): Helps to stimulate root development. I prefer a powder form.
- Well-draining potting mix: A mix of equal parts peat moss or coco coir and perlite or coarse sand works wonders.
- Small pots or seed trays: Make sure they have drainage holes!
- Plastic bags or a propagator: To create a humid microclimate.
- Watering can with a fine rose: For gentle watering.
- Labels or markers: To remember what you’ve planted and when!
Propagation Methods
My go-to method for Ribes niveum is stem cuttings. It’s straightforward and yields great results.
- Select Your Cuttings: On a healthy, established Ribes niveum plant, choose softwood cuttings. These are the new, non-flowering shoots from the current season’s growth. Look for stems that are supple, not stiff or woody. Aim for cuttings that are about 4 to 6 inches long.
- Make the Cut: Using your clean pruning shears, make a clean cut just below a leaf node. A leaf node is where a leaf emerges from the stem. This is where the plant’s rooting hormones are concentrated.
- Prepare the Cutting: Gently remove the lower leaves from the cutting, leaving just the top two or three leaves intact. If any of the leaves are very large, you can cut them in half to reduce water loss.
- Apply Rooting Hormone (Optional): Dip the cut end of the stem into a small amount of rooting hormone powder. Tap off any excess. This step isn’t strictly necessary, but it really does give the cuttings a bit of a boost.
- Planting: Fill your pots or trays with your well-draining potting mix. Make a small hole in the center of the mix with your finger or a pencil. Gently insert the cut end of your prepared stem cutting into the hole, ensuring the lowest leaf node is below the surface of the soil. Firm the soil gently around the cutting.
- Watering: Water the soil gently until it’s evenly moist but not soggy.
- Create Humidity: Place the pots inside a plastic bag or cover them with a propagator lid. This traps humidity, which is crucial for cuttings while they are trying to root. Ensure the plastic doesn’t touch the leaves too much.
The “Secret Sauce” (Pro Tips)
Over the years, I’ve picked up a few tricks that seem to make all the difference:
- Don’t let the leaves touch the water! If you’re using water propagation (which I sometimes do for initial root observation, but not my primary method for this plant), make sure no leaves are submerged. They’ll rot quickly and can take your cutting down with them. For cuttings in soil, this means ensuring the soil level is right and you’ve removed lower foliage.
- Bottom heat is your friend. If you have a heated propagator or can place your pots on a heat mat, this can significantly speed up the rooting process. Roots just love a bit of warmth coming from underneath. It mimics spring soil temperatures.
- Patience is key! I know it’s tempting to peek every day, but try to resist. Resist the urge to pull on your cuttings to “check” for roots. You’ll be waiting for quite a few weeks, and sometimes looks can be deceiving.
Aftercare & Troubleshooting
Once your cuttings have developed, you’ll usually see them perk up and new growth emerge. This is a good sign!
- Acclimatize: Gradually remove the plastic bag or propagator lid over a week or so to allow the new plants to adjust to normal humidity levels.
- Potting Up: When the new plants have a decent root system (you can often see them through the drainage holes or by gently easing them out of their pot), it’s time to pot them up into slightly larger individual containers. Use a good quality potting mix.
- Watering: Continue to water regularly, keeping the soil moist but not waterlogged. As they grow, they’ll become more drought-tolerant, but until they’re established in a larger pot, consistent moisture is important.
- Troubleshooting: The most common issue you’ll encounter is rot, often due to overwatering or poor drainage. If a cutting turns black and mushy, it’s sadly a goner. Ensure your soil drains well and you’re not drowning your little ones. If you see no growth after a month or two, don’t despair just yet. Sometimes they take their sweet time!
So there you have it! Propagating Ribes niveum is a truly satisfying endeavor. Be patient with your little cuttings, give them the right conditions, and soon you’ll be enjoying your own homegrown Snowy Heath False Heather. Happy propagating!
Resource:
https://identify.plantnet.org/k-world-flora/species/Ribes%20niveum%20Lindl./data