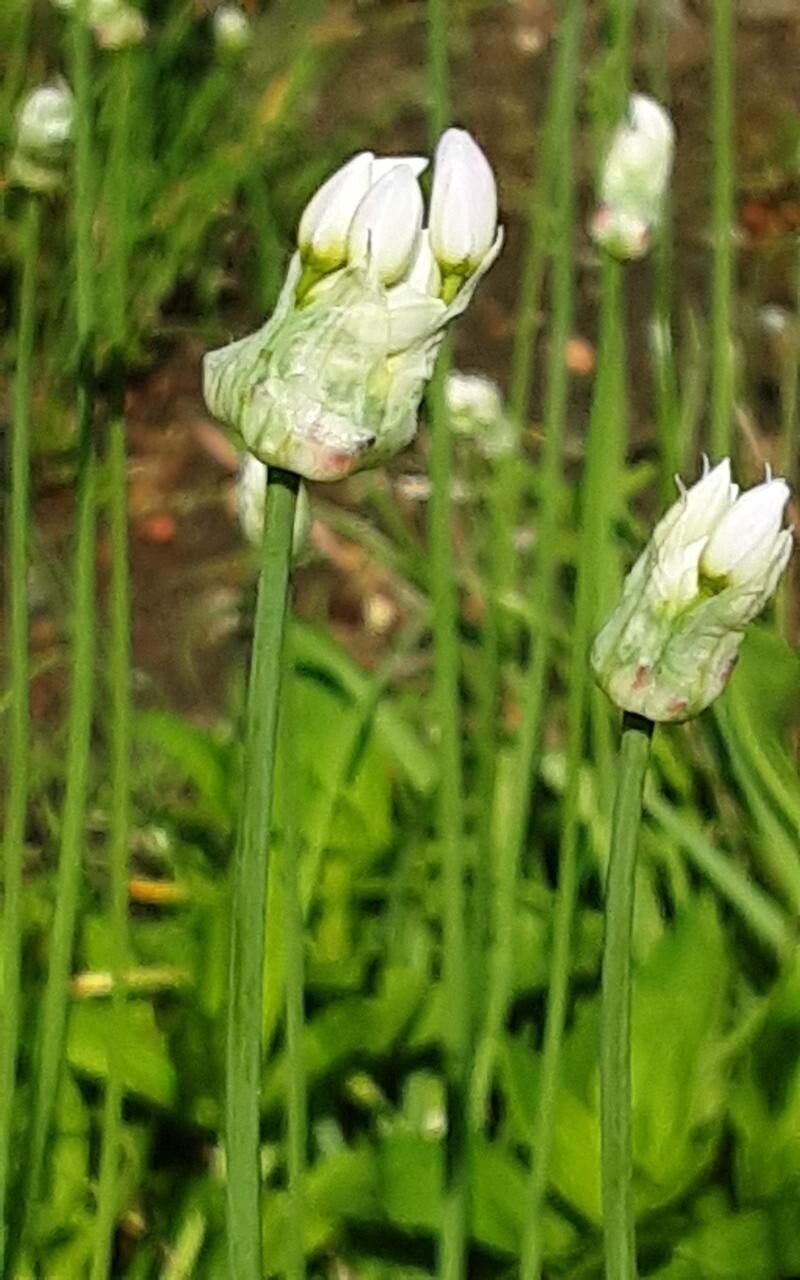
Hello fellow garden enthusiasts! Today, we’re diving into the delightful world of Allium canadense, also known as Wild Onion or Meadow Garlic. I’ve been growing and propagating these beauties for two decades, and I can tell you, they bring such a charming, subtle texture and a welcome hint of allium fragrance to any garden. Plus, they’re wonderfully easy to grow, even for beginners! One of the most rewarding parts of gardening, for me, is multiplying my favorite plants, and Allium canadense is a fantastic candidate for this.
The Best Time to Start
The absolute sweet spot for propagating Allium canadense is after flowering, in late summer or early autumn. This is when the plant is naturally starting to wind down its energetic growth phase, and its energy is shifting towards seed production and bulb development. Propagating then gives your new divisions or offsets plenty of time to establish a good root system before winter sets in.
Supplies You’ll Need
Here’s what I usually gather when I’m ready to get my hands dirty with some Allium canadense propagation:
- Sharp pruning shears or a clean knife: For making nice, clean cuts.
- Well-draining potting mix: I love a blend of equal parts peat moss, perlite, and compost.
- Small pots or seedling trays: Something for your new babies to grow in.
- Watering can with a fine rose attachment: To avoid disturbing delicate roots.
- Gardening gloves: Because, well, it’s onion, and your hands might smell a little garlicky!
- Optional: Bulb booster or slow-release fertilizer: To give them a little nudge.
Propagation Methods
Allium canadense is incredibly straightforward, and the most common and easiest way to propagate it is through division.
- Gentle Excavation: In late summer or early autumn, carefully dig around the base of a mature Allium canadense clump. You want to loosen the soil and expose the bulbs and their offsets.
- Separate the Clumps: Gently pull apart the clump. You’ll see the main bulb and often smaller bulbils or offsets attached to it, or nestled beneath. Look for natural separation points where you can easily tease them apart. If a section has its own roots and at least one bulbil or a small piece of the main bulb, it’s good to go.
- Trim if Necessary: If any roots are broken or damaged, you can trim them with your shears. This isn’t strictly necessary, but it can encourage new root growth.
- Replant Immediately: Find a spot in your garden with full sun to partial shade and well-draining soil. Or, you can pot them up individually. Plant each division about 4-6 inches deep, with the tip of the bulb pointing upwards. Space them about 6 inches apart.
- Water Gently: Water thoroughly after planting, ensuring the soil is moist but not waterlogged.
You might also notice small bulbils forming at the base of the flower stalk. These can be handled similarly to the bulb divisions, though they are much smaller and will take longer to mature into flowering-sized plants. Simply carefully dislodge them and plant them shallowly.
The “Secret Sauce” (Pro Tips)
After years of doing this, a few little tricks have really helped me get the best results.
- Don’t be afraid to be firm, but gentle: When dividing, don’t worry if you can’t get a perfectly clean break. The plant is surprisingly resilient. Just try to ensure each new piece has some root attached.
- Think drainage, drainage, drainage! This is by far the most crucial factor for Allium canadense, especially when they’re young. Soggy soil is the quickest way to rot them. If you’re potting them, make sure your pots have drainage holes, and use that well-draining mix we talked about.
- Mulch for moisture retention (but not so much it rots): Once planted, a light layer of mulch can help keep the soil evenly moist, but be careful not to pile it right up against the emerging shoots, as this can trap moisture and lead to rot.
Aftercare & Troubleshooting
Once your Allium canadense is planted, water it regularly until it’s established. You’ll want to keep the soil consistently moist, but again, never soggy. As the weather cools, you can ease up on watering.
The most common issue you might encounter is rot. This usually happens if the soil stays too wet for too long. You’ll notice the leaves turning yellow and mushy, or the bulb itself becoming soft and unpleasant-smelling. If you see this, the best course of action is to let the soil dry out thoroughly. If it’s a potted plant, you might need to repot it into drier soil.
A Encouraging Closing
Growing and multiplying Allium canadense is such a joy, and honestly, it’s about as forgiving as plants get. Be patient with your new divisions; they might not look like much initially, but with a little care and the right conditions, they’ll reward you with a lovely display. Enjoy the process of nurturing these delightful plants – the gardening journey is all about the satisfaction of seeing something you planted flourish!
Resource:
https://identify.plantnet.org/k-world-flora/species/Allium%20canadense%20L./data