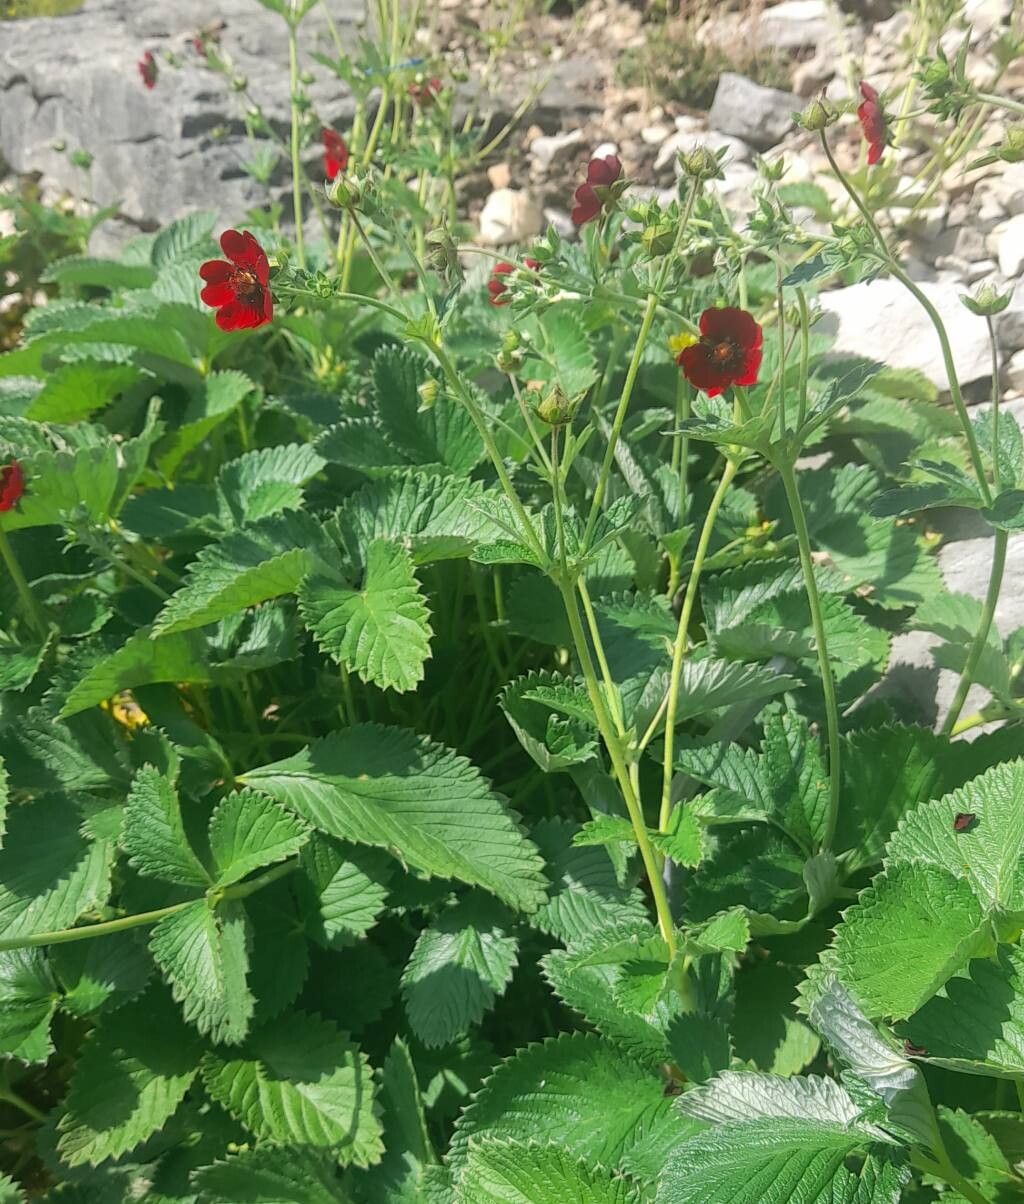
Hey there, fellow garden lovers! I’m so excited to chat with you today about a truly charming plant: the Potentilla argyrophylla, also known as silver-leaf cinquefoil. Even if you’ve never heard of it before, trust me, it’s one you’ll want to get to know. Its delicate, silvery foliage is a gorgeous contrast to its bright, cheerful flowers, which can range from sunny yellow to soft pink.
There’s a special kind of joy that comes from taking a piece of a plant you love and coaxing it to grow into a brand new one. It’s like a little bit of gardening magic, and Potentilla argyrophylla is wonderfully cooperative once you know its little secrets. For beginners? I’d say it’s a moderately easy plant to propagate, especially using stem cuttings, making it a great one to try if you’re new to the game.
The Best Time to Start
For the best success with Potentilla argyrophylla, I always recommend taking softwood cuttings in late spring to early summer. This is after the plant has put on its new growth for the season, but before it gets too woody. You’re looking for stems that are flexible but not floppy. Think of it as harvesting before the plant gets stubborn and set in its ways!
Supplies You’ll Need
Gathering your tools before you start makes the whole process so much smoother. Here’s what I usually have on hand:
- Sharp pruning shears or a clean, sharp knife: For making clean cuts.
- Rooting hormone powder or gel: This is a big help in encouraging root development.
- A well-draining potting mix: I like a blend of equal parts peat moss or coco coir, perlite, and a little bit of sharp sand.
- Small pots or seed trays: Clean ones, always! I prefer pots around 3-4 inches in diameter for cuttings.
- Plastic bags or a propagation dome: To create a humid environment.
- Watering can with a fine rose attachment: For gentle watering.
- Labels and a permanent marker: For keeping track of your new babies.
Propagation Methods
Let’s get down to business! I find stem cuttings to be the most reliable method for Potentilla argyrophylla.
Stem Cuttings:
- Take your cuttings: Using your clean shears or knife, snip off pieces of stem that are about 4-6 inches long. Make the cut just below a leaf node (where a leaf attaches to the stem).
- Prepare the cuttings: Gently remove the bottom leaves from each cutting, leaving perhaps two to three sets of leaves at the top. This prevents them from rotting when buried.
- Apply rooting hormone: Dip the bottom cut end of each cutting into your rooting hormone to about half an inch. Tap off any excess.
- Plant the cuttings: Fill your pots with your prepared potting mix. Make a small hole in the center of the mix with a pencil or your finger. Carefully insert the cutting into the hole, ensuring the rooting hormone coated part is in the soil. Gently firm the soil around the base.
- Water gently: Water the soil lightly until it’s evenly moist, but not waterlogged.
- Create humidity: Cover the pots with a plastic bag or a propagation dome. You might need to prop up the bag with a stick or two so it doesn’t touch the leaves. Place the pots in a bright spot out of direct sunlight.
The “Secret Sauce” (Pro Tips)
Here are a couple of things that have made a big difference for me over the years:
- Bottom Heat is Your Friend: If you have a heated propagator mat, using it can really speed up root development. Potentillas seem to love that gentle warmth from below. If not, just placing them in a warm room will often suffice.
- Don’t Be Afraid to Let Them Call My Bluff: Sometimes, I’ll take cuttings from a slightly more mature, yet still flexible, stem. If it feels a little too woody, I’ll still try it, but I’ll increase the rooting hormone a bit and be extra patient. They often surprise you!
Aftercare & Troubleshooting
Once your cuttings are potted, keep the soil consistently moist but not soggy. That humid environment within the bag or dome is crucial for preventing the cuttings from drying out.
You’ll know your cuttings have rooted when you see new leaf growth or feel a gentle resistance when you tug on them ever so lightly. This usually takes between 4 to 8 weeks, but don’t get discouraged if it takes a bit longer.
The most common issue you might encounter is rot. If you see mushy, black stems, it’s usually a sign of too much moisture and not enough air circulation. If this happens, remove the affected cutting immediately and check your watering habits. Sometimes, just opening up the bag for a few hours each day can help prevent this.
A Encouraging Closing
Growing new plants from cuttings is such a rewarding journey. There’s a gentle unfolding, a patient waiting, and then that wonderful moment of discovery. Don’t be afraid to experiment, and remember that even if a few cuttings don’t make it, each attempt teaches you something new. Enjoy the process, celebrate your successes, and soon you’ll have plenty of beautiful Potentilla argyrophylla to share! Happy gardening!
Resource: