Oh, hello there, fellow garden enthusiast! Grab a warm mug, because I’m excited to chat about something I absolutely adore: propagating Helianthemum papillare, or to those of us who love it, the humble Rock Rose.
Rock Roses: Little Rays of Sunshine
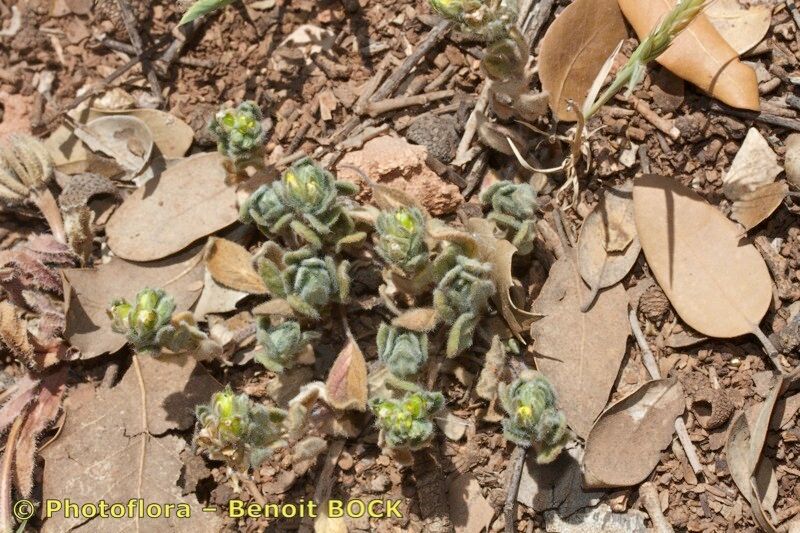
These little beauties are just delightful, aren’t they? With their cheerful, papery flowers that come in a rainbow of soft colors, they truly bring a ray of sunshine to any garden, especially rockeries or sunny borders. Propagating them yourself is incredibly rewarding. You get more of these gorgeous plants for free, and there’s a real satisfaction in nurturing a tiny slip into a blooming specimen. Now, are they tricky? Honestly, I’d say they’re moderately easy. A few simple tricks, and you’ll be well on your way.
The Magic Season for Starting
For Helianthemum papillare, the sweet spot for propagation is definitely late spring to early summer. This is when the plant is actively growing and has plenty of new, vigorous stems that are just begging to become new plants. You want stems that are soft and pliable, not yet woody and hard. Think of it as catching the plant at its most energetic.
What You’ll Need for Your Propagation Adventure
Gathering your supplies beforehand makes the whole process so much smoother. Here’s what I recommend:
- Sharp, clean pruning shears or a sharp knife: Essential for taking clean cuts.
- Rooting hormone (optional, but helpful): A good quality powder or gel.
- Small pots or seed trays: Clean ones, of course!
- A well-draining potting mix: A mix of perlite, vermiculite, and a bit of peat or coir works wonders. Or, a good quality seed-starting mix.
- A watering can with a fine rose attachment: For gentle watering.
- A plastic bag or small propagator: To create a humid environment.
- Dibber or pencil: To make planting holes.
Letting New Life Bloom: Propagation Methods
I find stem cuttings to be the most reliable and rewarding method for Helianthemum papillare.
Here’s how I do it:
- Select Your Cuttings: Look for healthy, non-flowering shoots that are about 3-4 inches long. Gently twist or cut them from the parent plant.
- Prepare the Cuttings: Carefully remove the lower leaves from about half of the cutting. You want a clean stem at the bottom to encourage root formation. If the cutting has any flower buds, pinch them off. We want the plant’s energy to go into roots, not flowers.
- Dip in Rooting Hormone (If Using): Gently dip the cut end of the stem into your rooting hormone, tapping off any excess. This isn’t strictly necessary, but it can give your cuttings a good head start.
- Plant Them Up: Make a hole in your prepared potting mix with a dibber or pencil. Place the cutting in the hole, ensuring the nodes where you removed leaves are below the soil surface. Gently firm the soil around the base of the cutting.
- Water Gently: Water the pots or trays thoroughly but gently, so you don’t dislodge the cuttings.
- Create Humidity: Cover the pots or trays with a clear plastic bag or pop them into a propagator. This creates a lovely humid microclimate that helps prevent the cuttings from drying out before they can form roots. Place them in a bright spot, but out of direct sunlight.
The “Secret Sauce”: My Insider Tips
Over the years, I’ve learned a few little secrets that really boost success rates.
- Bottom Heat is Your Friend: If you have a heated propagator or can place your pots on a heat mat, do it! Gentle bottom heat significantly speeds up root development. It’s like a little warm hug for your cuttings.
- Don’t Drown Them: While humidity is key, avoid letting the leaves sit in standing water. This is a fast track to rot. Ensure your soil mix is wonderfully free-draining. I always check the drainage holes a few hours after watering.
- Take More Than You Think You Need: Not every cutting will make it. Some might shrivel, some might rot. It’s just nature. So, take a few extra cuttings so you have a better chance of ending up with plenty of new plants.
Nurturing New Arrivals and What to Watch For
Once your cuttings have been happily sitting in their humid little homes for a few weeks, you’ll start to see signs of life. The key is to be patient.
When you notice new growth appearing from the tip of the cutting, that’s a great sign. You can also give the cutting a very gentle tug. If there’s resistance, that means roots have formed!
Now, it’s time to introduce them to a drier environment gradually. Slowly start to open the plastic bag or the vents on your propagator over a few days. Once they seem happy to be out in the open air, you can transplant them into their own small pots filled with regular potting compost. Continue to water them regularly, but always allow the compost to dry out slightly between waterings.
What if things go wrong? The most common issue is rot, where the stem turns mushy and black at the soil line. This is usually a sign of too much moisture and not enough airflow. If you see this, unfortunately, that particular cutting is probably lost. Discard it immediately to prevent the rot from spreading. Yellowing leaves can also be a sign of stress or too much direct sun. Move them to a shadier spot and see if they perk up.
Happy Gardening and Happy Propagating!
There you have it – my guide to propagating Helianthemum papillare. It’s a wonderfully accessible way to expand your garden and share the joy of these lovely plants. Remember to be patient, observe your cuttings closely, and don’t be discouraged by the occasional setback. Every gardener has them! Enjoy the process, and before you know it, you’ll have a whole host of new Rock Roses to brighten your world. Happy growing!
Resource:
https://identify.plantnet.org/k-world-flora/species/Helianthemum%20papillare%20Boiss./data