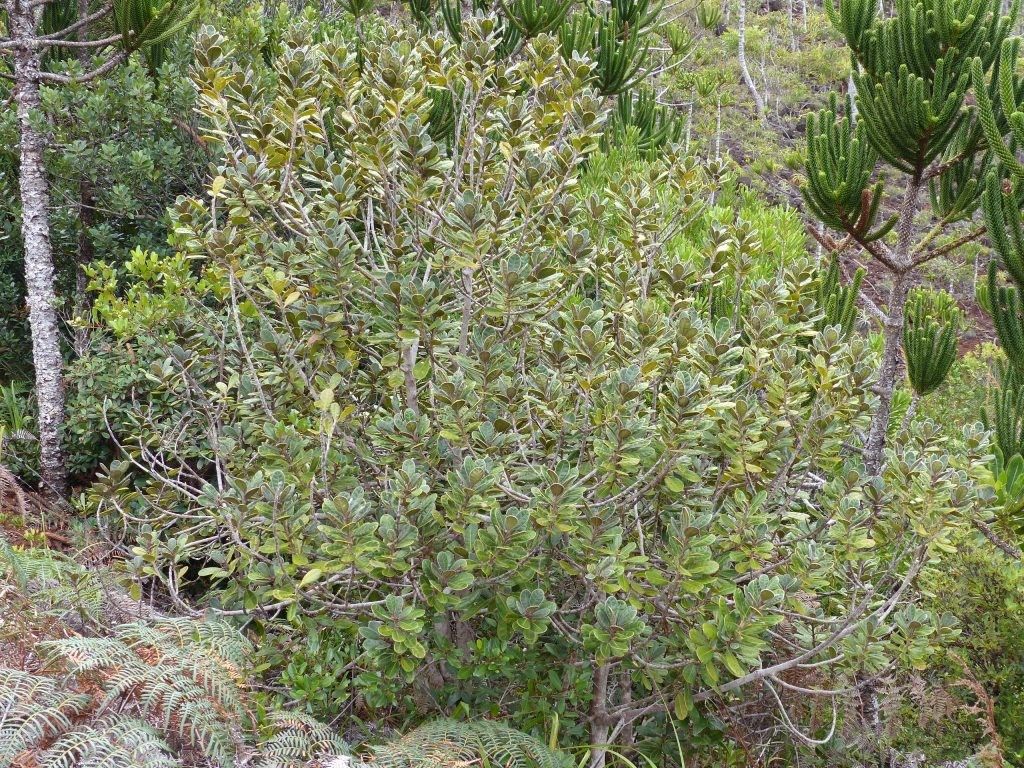
Hello, fellow garden enthusiasts! I’m so excited to talk to you today about a truly captivating plant: Planchonella crassinervia. You might know it by a few other names, but for me, its glossy, deep green leaves and elegant form are simply unforgettable. Growing them from scratch is incredibly rewarding, like watching a tiny miracle unfold in your own home. Now, if you’re new to the plant-propagation world, don’t be shy! While Planchonella crassinervia might seem a little particular, with a few tips, you’ll find it’s quite achievable.
The Best Time to Start
My favorite time to get busy with propagation is when the plant is actively growing, usually in late spring through early summer. This is when the energy is buzzing, and the plant is most receptive to putting out new roots. Waiting for that surge of life really makes a difference to success rates.
Supplies You’ll Need
Here’s what I always have on hand for a propagation session:
- Sharp Pruning Shears or a Clean Knife: For making clean cuts.
- Rooting Hormone Powder (Optional, but Recommended): A little dip can encourage stronger root development.
- Well-Draining Potting Mix: I usually combine equal parts perlite and peat moss or coco coir. For Planchonella crassinervia, a light, airy mix is key.
- Small Pots or Seed Trays: With drainage holes, of course!
- Plastic Bags or a Propagator Lid: To create a humid environment.
- Watering Can with a Fine Rose: For gentle watering.
- A Spray Bottle: For misting.
Propagation Methods
For Planchonella crassinervia, I’ve found stem cuttings to be the most reliable method. It’s straightforward and yields great results when done correctly.
Stem Cuttings:
- Select a Healthy Stem: Look for a piece of stem that’s about 4-6 inches long and has at least a few sets of leaves. Ideally, it should be semi-hardwood – not too soft and new, nor too old and woody.
- Make the Cut: Using your sharp shears or knife, make a clean cut just below a leaf node. This is where roots are most likely to form.
- Prepare the Cutting: Gently remove the lower leaves, leaving just a couple at the very top. This prevents them from rotting in the soil.
- Apply Rooting Hormone (Optional): Dip the cut end of the stem into rooting hormone powder, tapping off any excess.
- Plant the Cutting: Insert the prepared cutting into your moistened, well-draining potting mix. Make a small hole with a pencil first to avoid rubbing off the rooting hormone. Gently firm the soil around the base.
- Create a Humid Environment: Cover the pot loosely with a plastic bag or a propagator lid. Ensure the plastic doesn’t touch the leaves. You can prop it up with stakes if needed.
- Place in Bright, Indirect Light: Find a spot that gets plenty of bright, indirect light, but avoid direct sun, which can scorch the delicate cuttings.
- Water Sparingly: Keep the soil consistently moist but not soggy. A light misting every few days is often sufficient, especially if you have the cover on.
The “Secret Sauce” (Pro Tips)
Here are a couple of tricks I’ve learned over the years that really boost my success:
- Bottom Heat is Your Friend: If you can, place your pots on a seedling heat mat. This gentle warmth from below mimics spring soil temperatures and encourages root formation much faster. Don’t let it get too hot, though – just a nice, cozy warmth.
- The “Wipe Test” for Readiness: When you think your cuttings might have rooted (usually after 4-6 weeks), give them a very gentle tug. If there’s resistance, you’ve got roots! If it slides out easily, it hasn’t rooted yet. Don’t pull them out to check too often, though; it disturbs developing roots.
Aftercare & Troubleshooting
Once you see new growth appearing, that’s a good sign roots are developing! You can gradually acclimate your new plant to normal room humidity by slowly opening the plastic bag or propagator over a week. Continue to water when the top inch of soil feels dry.
The most common issue you’ll encounter is rot. If your cutting looks limp, mushy, or develops black spots, it’s likely because the soil is too wet or there isn’t enough air circulation. If rot starts, it’s best to discard the affected cutting to prevent it from spreading to others. Ensure your potting mix is always airy and water only when necessary.
A Brighter Future
Propagating Planchonella crassinervia is a journey, and like any gardening project, it teaches us patience. Don’t get discouraged if your first attempt isn’t a roaring success. Each cutting is a learning experience! Enjoy the process of nurturing these new plants, and soon you’ll have a collection of your very own. Happy growing!
Resource:
https://identify.plantnet.org/k-world-flora/species/Planchonella%20crassinervia%20Dubard/data