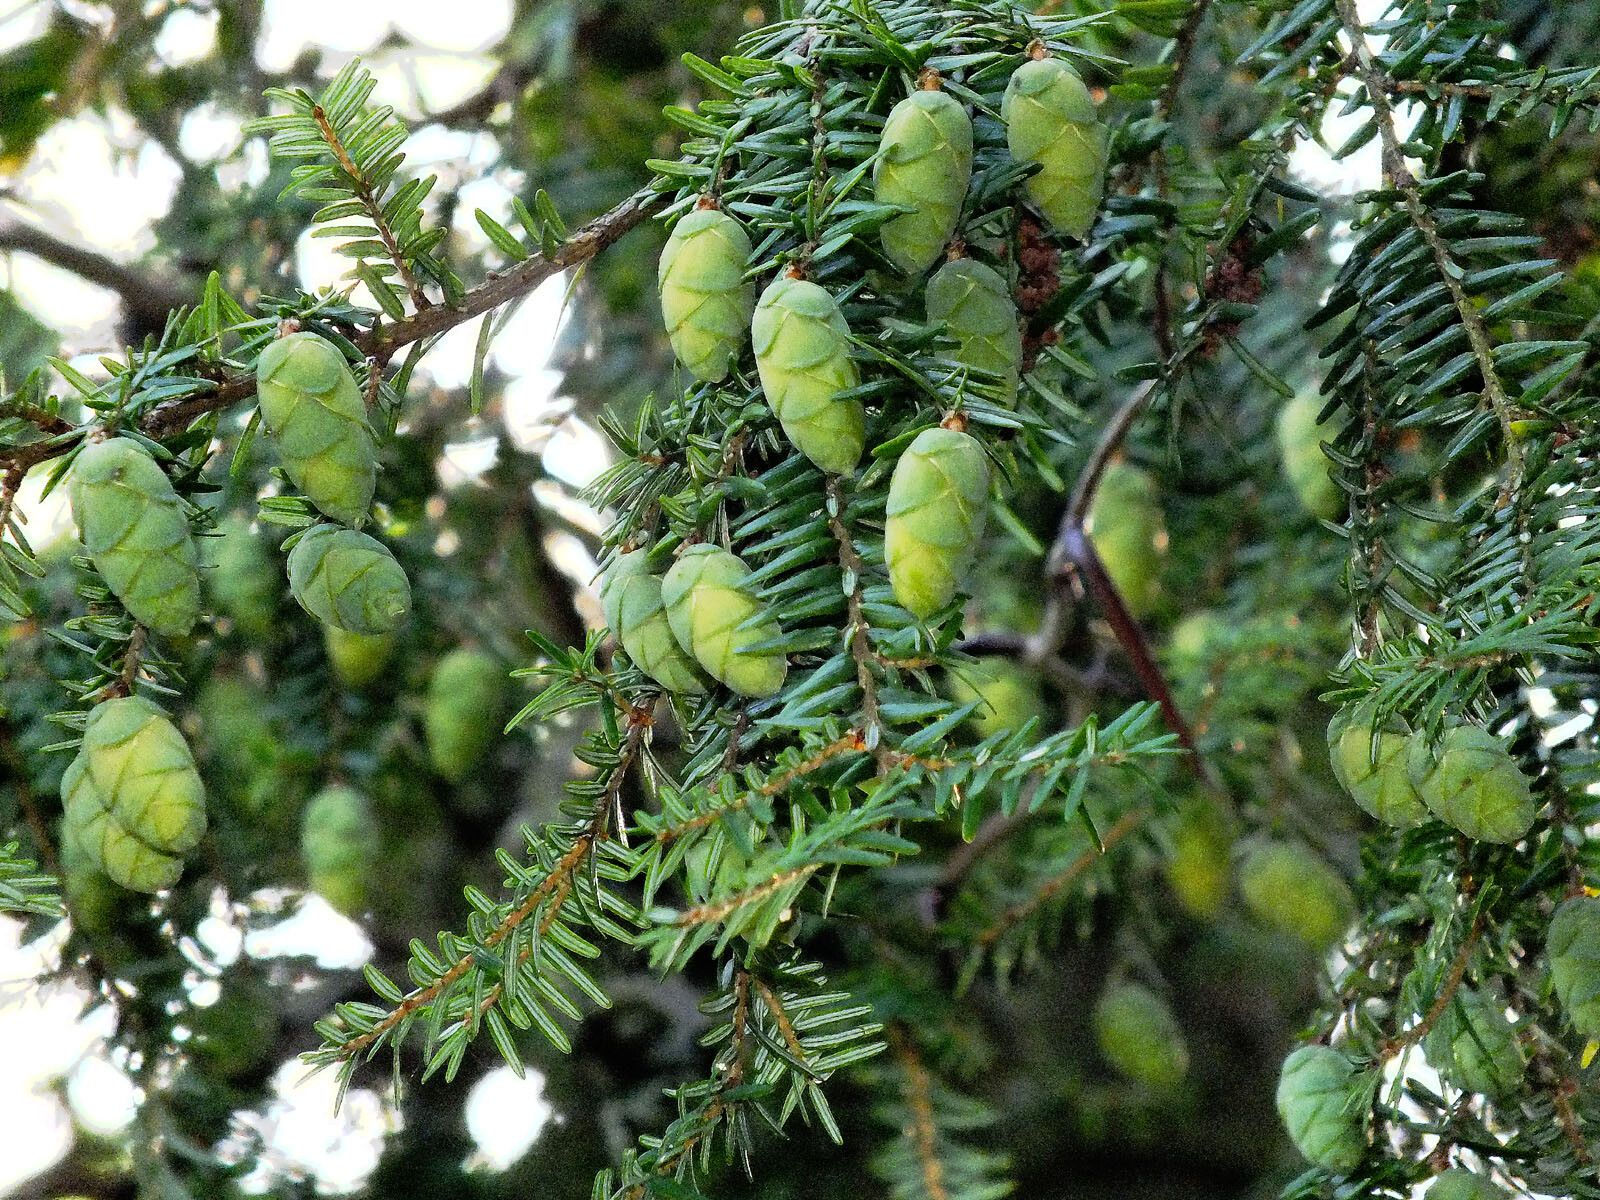
Hey there, fellow garden enthusiasts! Today, I want to talk about a tree that truly captures my heart: the Eastern Hemlock, or Tsuga canadensis. There’s something so majestic about its gracefully drooping branches and that delicate, lacy foliage. It creates a serene, almost magical atmosphere in any landscape.
And guess what? You can bring that magic into your own garden by propagating your own Eastern Hemlocks! For me, watching a tiny cutting or a divided piece transform into a thriving young tree is one of the most deeply satisfying gardening experiences. Now, I won’t lie to you – Eastern Hemlocks can be a bit of a challenge compared to, say, a geranium. But with a little patience and the right approach, it’s absolutely achievable, and the reward is so worth it.
The Best Time to Start
For Eastern Hemlocks, I find the late spring to early summer is your absolute sweet spot. This is when the plant is actively growing, and the new shoots are still somewhat soft and pliable. This tender growth has a better chance of rooting than tougher, woody stems. Think of it as trying to bend a green twig versus a dry stick – much easier, right?
Supplies You’ll Need
Gathering your supplies before you begin is key to a smooth process. Here’s what I always have on hand:
- Sharp, sterilized pruning shears or a sharp knife: Cleanliness is paramount to prevent disease.
- Rooting hormone (powder or gel): This is a real game-changer for encouraging root development.
- Fine-textured, well-draining potting mix: A mix designed for cuttings, often containing peat moss and perlite, works wonderfully. You want something airy that won’t hold too much moisture.
- Small pots or seed trays with drainage holes: Choose containers that are appropriate for the size of your cuttings.
- A plastic bag or a propagation dome: To create a humid environment around your cuttings.
- Watering can or spray bottle: For gentle watering.
- Optional: A heat mat: This can provide gentle warmth from below, which can speed up rooting.
Propagation Methods
Eastern Hemlocks are best propagated through stem cuttings. It’s the most reliable way I’ve found over the years.
Stem Cuttings:
- Select Your Material: On a healthy Eastern Hemlock, look for semi-hardwood cuttings. These are shoots that have started to form this season but have a bit of firmness to them. You can tell by gently bending them – they should snap but not be brittle. Aim for cuttings about 4-6 inches long.
- Take Your Cuttings: Using your sterilized pruning shears, make a clean cut just below a leaf node (where a leaf attaches to the stem). Remove any lower leaves, leaving just a few at the very top.
- Prepare the Cutting: Dip the cut end of the stem into your rooting hormone, tapping off any excess. This coating helps stimulate root growth.
- Plant Your Cuttings: Fill your pots with your well-draining potting mix. Make a small hole in the center with a pencil or dibber. Insert the prepared end of your cutting into the hole, ensuring the leaf nodes are buried. Gently firm the soil around the stem.
- Create Humidity: Water the soil lightly. Then, cover the pot with a plastic bag or place it under a propagation dome. Make sure the leaves don’t touch the plastic, as this can encourage rot. You can use stakes to hold the bag up if needed.
- Provide the Right Environment: Place the potted cuttings in a bright location that receives indirect light. Avoid direct sun, which can scorch the tender cuttings. If you have a heat mat, place the pots on top of it for gentle bottom warmth.
The “Secret Sauce” (Pro Tips)
Over the years, I’ve picked up a few little tricks that really seem to make a difference with tricky plants like hemlocks:
- Don’t Rush the Potting Up: Once your cuttings have rooted (you’ll see new growth or feel resistance when gently tugging), don’t immediately move them to a larger pot. Keep them in their small cuttings pots for a few more weeks to let their root system strengthen. This prevents shocking them too much.
- The Air Circulation Trick: Even with a plastic bag, I like to slightly open the bag or dome for a few minutes each day. This helps prevent fungal diseases from taking hold. It’s like giving them a little breath of fresh air.
- Whisper-Cleanliness: This applies to grafting too, but it’s just as crucial for cuttings. Every single tool, every pot, and even your hands should be meticulously clean. Any tiny speck of dirt or bacteria can be a death sentence for a delicate new plant. A dilute bleach or hydrogen peroxide solution works wonders for sterilizing tools.
Aftercare & Troubleshooting
Once you see signs of new growth, that’s a good indication that roots are forming! You can gently tug on a cutting; if it resists, roots are likely present.
Gradually acclimate your cuttings to normal room humidity by slowly opening the plastic bag or dome over a week or two. Then, you can transplant them into slightly larger pots with a good quality potting soil. Continue to keep them in bright, indirect light.
Keep an eye out for common problems. Rotting is the most frequent issue. If you see soft, mushy stems or blackening, it’s usually a sign of too much moisture and not enough air circulation. If this happens, you may need to discard the affected cutting and try to improve drainage and ventilation on the others. Yellowing leaves can sometimes indicate a lack of light or nutrients, but for cuttings, it’s more often a sign of stress.
A Little Patience Goes a Long Way
Propagating Eastern Hemlocks might take time – months, even – for roots to fully develop. Don’t get discouraged if you don’t see results immediately. Gardening is a journey of observation and patience. Enjoy the process, learn from each attempt, and celebrate every tiny bit of success. Happy propagating!
Resource:
https://identify.plantnet.org/k-world-flora/species/Tsuga%20canadensis%20(L.)%20Carrière/data