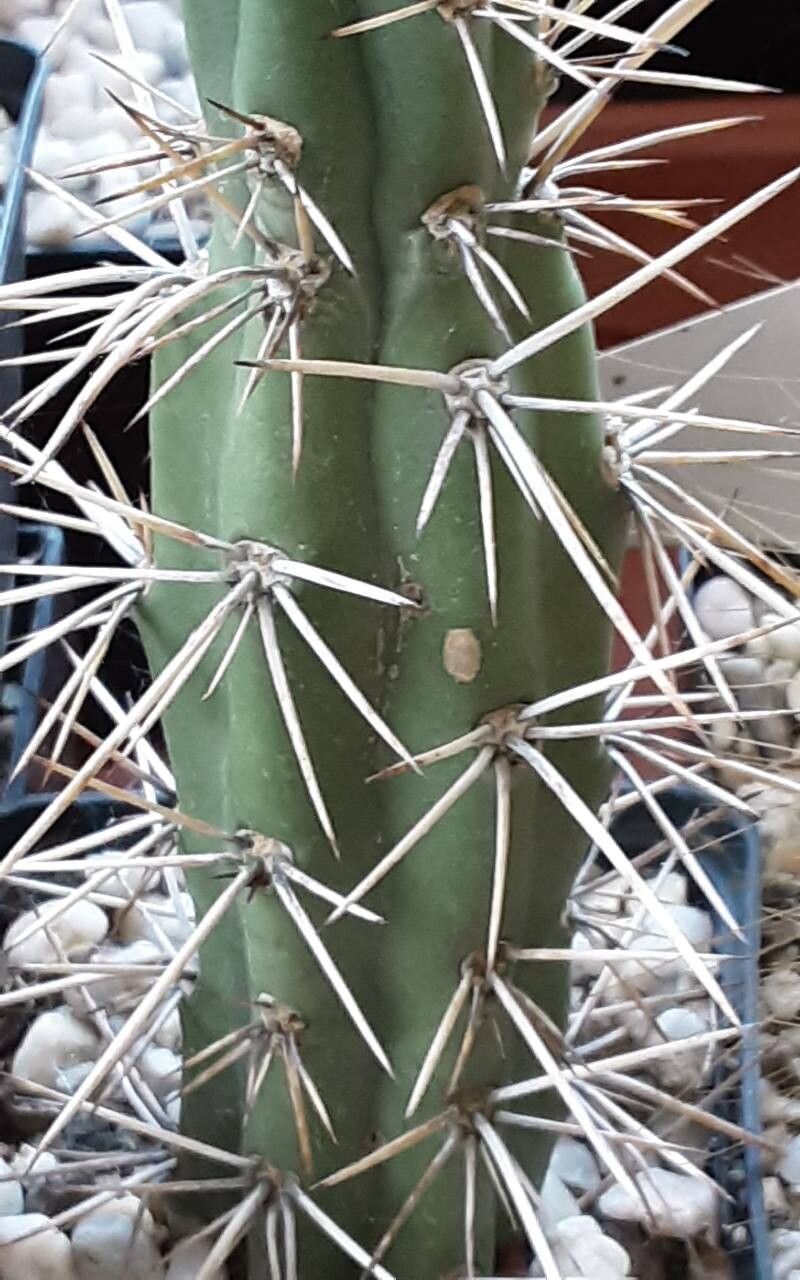
Hello there, fellow plant enthusiasts! I’m so delighted you’re considering bringing more of the gorgeous Harrisia martinii into your life. If you’ve ever admired its delicate white blooms, often followed by a sweet, fruity scent, you’re not alone. This cactus is a beauty, and the joy of seeing a tiny cutting flourish into a new plant is truly something special. I’ve found Harrisia martinii to be wonderfully rewarding to propagate, and I think you will too. While it might seem a touch intimidating at first, with a little care, even beginners can have great success.
The Best Time to Start
When it comes to propagating Harrisia martinii, timing is key for those happy roots. I’ve found the late spring and early summer are your golden windows. This is when the plant is really in its active growing phase. You’ll see new stems reaching out, full of energy. Starting then gives your cuttings the best chance to establish themselves before autumn brings cooler temperatures.
Supplies You’ll Need
Gathering your tools before you begin makes the whole process so much smoother. Here’s what I like to have on hand:
- Sharp Pruning Shears or Knife: Clean cuts are essential.
- Rooting Hormone (Optional but Recommended): A little boost can encourage faster root development. I prefer the powder form.
- Well-Draining Potting Mix: A cactus or succulent mix is perfect. You can also make your own by mixing equal parts potting soil, perlite, and coarse sand.
- Pots or Trays: Small pots (3-4 inch) or seedling trays work well. Make sure they have drainage holes!
- Watering Can or Spray Bottle: For gentle watering.
- Gloves (Optional): Though not thorny, some prefer a layer of protection.
- Labels: To keep track of your new babies!
Propagation Methods
Let’s dive into the fun part – making more Harrisia!
Stem Cuttings: My Go-To Method
This is the most straightforward and effective way to propagate Harrisia martinii.
- Select a Healthy Stem: Look for a mature, but not woody, stem that is at least 4-6 inches long. Avoid any that look weak, discolored, or damaged.
- Make the Cut: Using your clean shears or knife, make a clean, angled cut at the base of your chosen stem.
- Allow it to Callus: This is crucial! Let the cut end of the stem dry and callus over for a few days to a week. You’ll see a dry, hardened layer form over the cut. This prevents rot when you plant it.
- Apply Rooting Hormone (Optional): If using, dip the callused end into the rooting hormone, tapping off any excess.
- Plant the Cutting: Fill your chosen pot with your well-draining mix. Make a small hole in the center with your finger or a pencil. Gently insert the callused end of the cutting into the hole, about an inch or two deep. Firm the soil gently around the base.
- Water Sparingly: Water the soil lightly, just enough to moisten it. You don’t want it soggy.
- Provide Good Light: Place the pot in a bright spot, but out of direct, harsh sunlight. A windowsill that gets bright, indirect light is ideal.
Water Propagation (Use with Caution!)
While I generally prefer soil propagation for cactuses, some people have success with water. If you try this, be extra vigilant.
- Prepare the Cutting: Follow steps 1 and 2 from the stem cutting method. Don’t worry about callusing for water propagation.
- Place in Water: Put the cut end of the stem in a clean jar or glass of water. Make sure absolutely no leaves or stem segments are submerged. Only the cut end should touch the water.
- Change Water Regularly: Change the water every few days to keep it fresh and prevent bacterial growth.
- Provide Bright Light: As with soil cuttings, place the container in a bright, indirect light location.
- Watch for Roots: You should start to see tiny roots forming in a few weeks.
- Plant in Soil: Once the roots are about an inch long, gently transfer the cutting to a pot with well-draining soil. Treat it as you would a newly planted cutting.
The “Secret Sauce” (Pro Tips)
Over the years, I’ve picked up a few tricks that seem to make all the difference:
- Bottom Heat is Your Friend: If you have a seedling heat mat, using it under your pots can significantly speed up root development. Cactuses love a little warmth from below. It mimics the soil temperature they’d experience in their natural habitat during the growing season.
- Don’t Overwater, Ever! This is the cardinal rule for propagation, especially with succulents like Harrisia martinii. It’s far better to err on the side of too dry than too wet. Rot is the most common killer of cuttings, and it’s almost always due to excess moisture.
- Patience, Young Grasshopper: I know it’s tempting to constantly check for roots, but try to let them be. Gentle tugging on the cutting after a month or so is a good way to gauge rooting. If there’s resistance, you’ve got roots!
Aftercare & Troubleshooting
Once your cuttings have developed a good root system, it’s time to treat them like established plants, but with a bit of extra tenderness.
- Gradual Acclimation: If your cuttings were in a humid environment (like a propagation tent, though I rarely use them for Harrisia), gradually introduce them to lower humidity.
- Watering: Continue to water them sparingly. Let the soil dry out completely between waterings.
- Light: Slowly introduce them to brighter light conditions.
- Signs of Rot: The most common problem you’ll encounter is rot. If you see the stem turning mushy, black, or translucent, especially at the base, it’s a bad sign. Unfortunately, rot is often irreversible. This usually happens from overwatering or not allowing the cutting to callus properly. Remove any rotted parts immediately and try to save any healthy sections.
- No Rooting: If after several weeks (or even a couple of months) you see no signs of rooting and the cutting remains firm, it might just be a slow starter. Sometimes I’ll gently repot or change the soil if I suspect a drainage issue.
A Little Encouragement
Propagating plants is a journey, and every cutting is a little lesson. Don’t be discouraged if a few don’t make it. Celebrate the successes, learn from the challenges, and most importantly, enjoy the process of nurturing new life. Happy propagating!
Resource:
https://identify.plantnet.org/k-world-flora/species/Harrisia%20martinii%20(Labour.)%20Britton/data