Hey there, fellow plant lovers! Today, we’re diving into something truly special: Bourreria quirosii. If you’ve ever admired those lovely clusters of trumpet-shaped flowers, often in vibrant shades of pink and red, you’re in for a treat. Propagating this beauty is a fantastic way to fill your garden or give the gift of green to friends. Honestly, it’s not the absolute easiest plant for a complete beginner, but with a little patience and these tips, you’ll be well on your way to success. Seeing a tiny cutting develop into a thriving plant is one of the most rewarding feelings in gardening.
The Best Time to Start
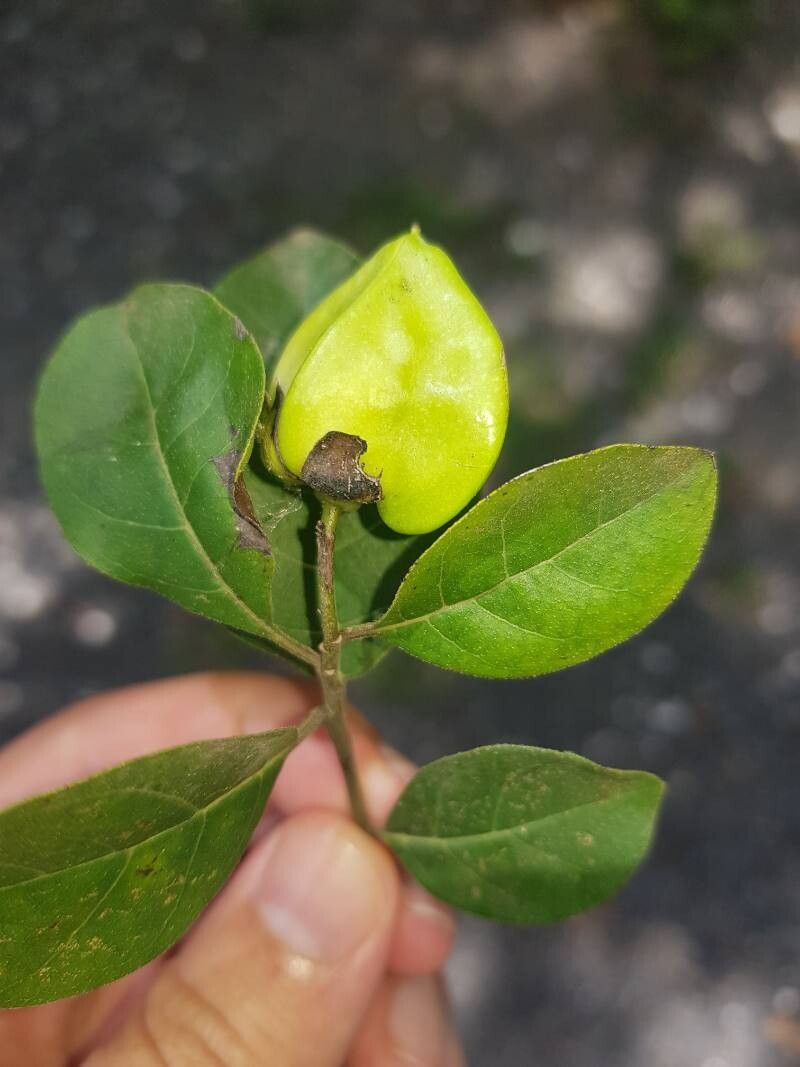
For Bourreria quirosii, I’ve found the happiest cuttings come from softwood cuttings taken in late spring or early summer. This is when the plant is in active growth, and the new shoots are flexible and full of life. Avoid taking cuttings from old, woody stems – they’re just too stubborn to root reliably. Think of it as harvesting the “sweet spots” of new growth.
Supplies You’ll Need
Gathering your supplies beforehand makes the whole process smoother. Here’s what I always have on hand:
- Sharp pruning shears or a clean utility knife: Crucial for making clean cuts without tearing.
- Rooting hormone: A little dab goes a long way to encourage root development. I prefer the powdered kind, but gel works too!
- Well-draining potting mix: A blend of peat moss, perlite, and a bit of sand is ideal. You want it to be airy and not hold too much moisture. Commercially available succulent or cactus mixes can be a good base.
- Small pots or a propagation tray: Clean containers are a must to prevent disease.
- Plastic bags or a propagation lid: To create a humid environment for your cuttings.
- Spray bottle: For gentle misting.
- Labels and a marker: To keep track of what you planted and when.
Propagation Methods
While you might be tempted to try water propagation, I’ve found stem cuttings to be the most reliable method for Bourreria.
- Select Your Cuttings: Look for healthy, non-flowering stems. You want pieces that are about 4-6 inches long, with at least 2-3 sets of leaves. Make your cut just below a leaf node (where a leaf attaches to the stem).
- Prepare the Cuttings: Gently remove the lower leaves, leaving only a couple of sets at the top. This prevents them from rotting in the soil. If your leaves are quite large, you can even cut them in half horizontally to reduce water loss.
- Apply Rooting Hormone: Dip the cut end into your rooting hormone, tapping off any excess.
- Plant Your Cuttings: Make a small hole in your potting mix with a pencil or your finger. Insert the hormone-dipped end of the cutting into the hole and gently firm the soil around it. Make sure the leaf nodes you removed are below the soil line.
- Create a Humid Environment: Water the soil gently after planting. Then, place your pots in a plastic bag or cover them with a propagation lid. Ensure the plastic doesn’t touch the leaves. This traps humidity, which is vital for cuttings to root.
- Provide Light and Warmth: Place your propagation station in a bright spot, but out of direct sunlight. A sunny windowsill is usually perfect.
The “Secret Sauce” (Pro Tips)
Here are a couple of things I’ve learned over the years that really make a difference:
- Bottom Heat is Your Friend: If you can, place your propagation tray on a gentle heating mat. This slightly warmer soil temperature encourages root formation significantly, especially when the air might be a bit cooler. It’s like giving those little roots a cozy warm bed to grow in.
- Don’t Overwater! This is a biggie. While they need humidity, soggy soil is the enemy of cuttings. Water when the top inch of soil feels dry, not on a schedule. If you see condensation building up excessively inside the bag, open it up for an hour to let it air out a bit.
Aftercare & Troubleshooting
Once your cuttings have been in their humid environment for about 4-6 weeks, it’s time to check for roots! You can gently tug on a cutting – if you feel resistance, roots are forming. You can also carefully slide one out of its pot to peek.
Once you see good root development, it’s time to gradually acclimate them to open air. Start by opening the plastic bag for longer periods each day. Once they seem happy, you can remove the bag entirely. Continue to water them as needed, keeping the soil consistently moist but not waterlogged. You can transplant them into slightly larger pots once they’ve grown a bit more bushy.
The most common sign of failure is wilting, browning, or rot. If a cutting turns black and mushy, it’s usually a sign of too much moisture and not enough airflow. If a cutting simply wilts and dries out, it might not have rooted successfully, or the environment was too dry. Don’t be discouraged if some don’t make it; it’s part of the learning process. Just try again!
A Little Patience Goes a Long Way
Propagating Bourreria quirosii is a rewarding journey, and with these steps, I’m confident you’ll have success. Remember to be patient with your new plants. They take their time, and that’s perfectly okay. Enjoy the process of nurturing new life, and soon you’ll have beautiful Bourreria plants to admire! Happy gardening!
Resource:
https://identify.plantnet.org/k-world-flora/species/Bourreria%20quirosii%20Standl./data