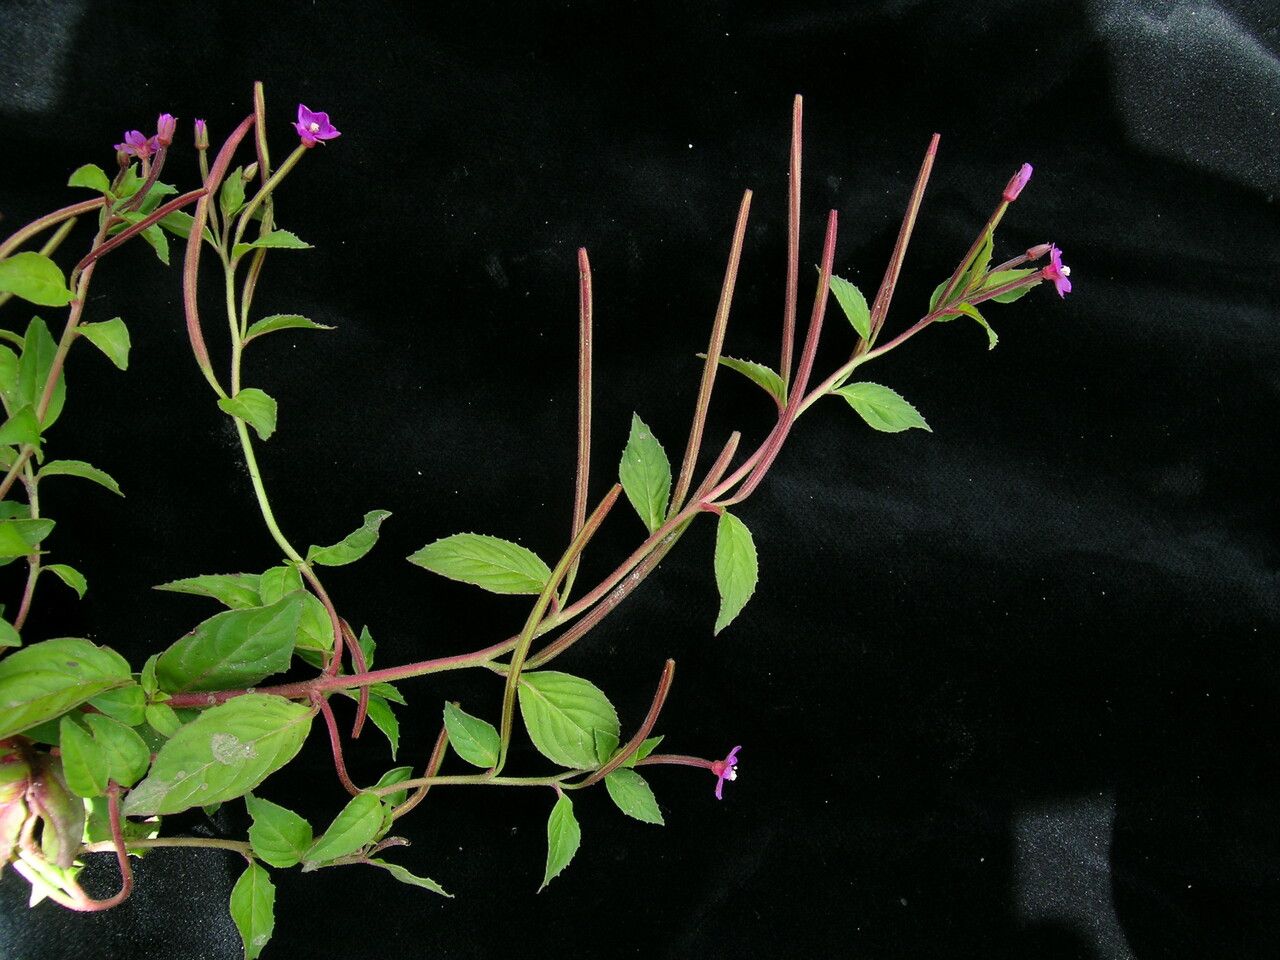
Oh, Epilobium sikkimense! What a delight to talk about this one. If you’re looking for a plant that brings a touch of the wild and a charming cascade of flowers to your garden, you’ve found a winner. It’s often called the Sikkim Willowherb, and its delicate, often vibrant blooms are truly captivating. And the best part? It’s wonderfully rewarding to propagate. For beginners, I’d say it’s moderately easy. You’ll need a little patience, but the payoff is well worth it.
The Best Time to Start
My favorite time to get busy with propagating Epilobium sikkimense is in the late spring to early summer. This is when the plant is actively growing after its winter rest. You’ll find it’s producing lots of fresh, healthy new growth that’s perfect for taking cuttings. Waiting until growth has really picked up ensures the parent plant is strong and has plenty of energy to share.
Supplies You’ll Need
Here’s a quick rundown of what I like to have on hand:
- Sharp Pruning Shears or a Craft Knife: Clean cuts are key!
- Rooting Hormone (Optional, but helpful): I often use a powder or gel, especially for slightly trickier cuttings.
- Well-Draining Potting Mix: I usually mix equal parts peat moss or coco coir, perlite, and a little bit of compost. This provides aeration and moisture retention without getting waterlogged.
- Small Pots or Seed Trays: Clean containers are a must to prevent disease.
- Clear Plastic Bags or a Propagator Lid: To create a humid environment.
- Watering Can with a Fine Rose: For gentle watering.
- Labels and a Marker: You’ll thank yourself later for marking what you planted and when!
Propagation Methods
There are a couple of ways to get more Epilobium sikkimense into your life, and they’re both quite straightforward.
Stem Cuttings
This is my go-to method for this lovely plant.
- Take Cuttings: Look for healthy, non-flowering stems. Using your sharp shears or knife, take cuttings that are about 4-6 inches long. Make the cut just below a leaf node (where a leaf attaches to the stem). Remove the lower leaves, leaving just a couple at the top.
- Apply Rooting Hormone (Optional): If you’re using rooting hormone, dip the cut end of the stem into it, tapping off any excess.
- Plant the Cuttings: Fill your pots or trays with the prepared potting mix. Make small holes with your finger or a pencil. Insert the cuttings into these holes, ensuring the leaf nodes are buried.
- Water Gently: Water them well, making sure the soil is moist but not soggy.
- Create Humidity: Cover the pots with a clear plastic bag or propagator lid. This creates a miniature greenhouse, keeping the humidity high, which is crucial for cuttings to root before they dry out. Place them in a bright spot, but out of direct, harsh sunlight.
Division
If you already have a mature Epilobium sikkimense, division is a fantastic way to multiply your plants and give the older ones a refresh.
- Gently Excavate: In early spring before new growth really takes off, carefully dig up the entire plant.
- Inspect the Roots: You’ll see the root ball. Look for distinct sections or clumps.
- Separate the Divisions: Using your hands or a clean trowel or spade, gently pull or cut the root ball into smaller sections. Each division should have healthy roots and some shoots.
- Replant Immediately: Plant the divisions into their new locations or pots, just as you would a regular plant. Water them thoroughly.
The “Secret Sauce” (Pro Tips)
Here are a few little tricks I’ve learned over the years that can really boost your success:
- Cleanliness is Paramount: I can’t stress this enough! Always use clean tools and pots. Any lingering disease can quickly take down your precious new cuttings. A quick rinse with soapy water and a good rinse afterward is usually enough.
- Don’t Overwater: While humidity is key, sitting in soggy soil is the fastest way to invite rot. If you can squeeze a handful of the potting mix and water just drips out, it’s too wet. Let the surface dry out slightly between waterings, but ensure the soil remains consistently moist.
- Consider Bottom Heat: For stem cuttings, placing your pots on a heat mat specifically designed for seedlings can significantly speed up root development. It mimics the warmth of spring soil and is a real game-changer, especially if your propagating space is on the cooler side.
Aftercare & Troubleshooting
Once you see signs of new growth emerging from your cuttings – a good indicator that roots have formed – you can start to gradually acclimatize them.
- Ventilation: Begin by peeling back the plastic bag or opening the propagator lid for a few hours each day. This helps them get used to drier air.
- Light: Continue to keep them in bright, indirect light. As they get stronger, you can slowly introduce them to more direct sun if that’s where you plan to grow them.
- Watering: Keep the soil consistently moist, but avoid waterlogging. Check the soil moisture regularly.
What to watch out for? The most common issue is rot. If your cuttings start to turn black and mushy, it’s usually a sign of too much moisture and poor air circulation. Discard any rotten cuttings immediately to prevent it from spreading. Yellowing leaves can sometimes mean not enough light, or perhaps the soil is a bit too dry. Don’t get discouraged if a few don’t make it – it happens to the best of us!
A Encouraging Closing
Propagating plants is such a wonderful way to connect with nature and to expand your garden without spending a fortune. With Epilobium sikkimense, you’re embarking on a journey that rewards your patience. Take these steps, be observant, and most importantly, enjoy the process of watching new life emerge. Happy propagating!
Resource:
https://identify.plantnet.org/k-world-flora/species/Epilobium%20sikkimense%20Hausskn./data