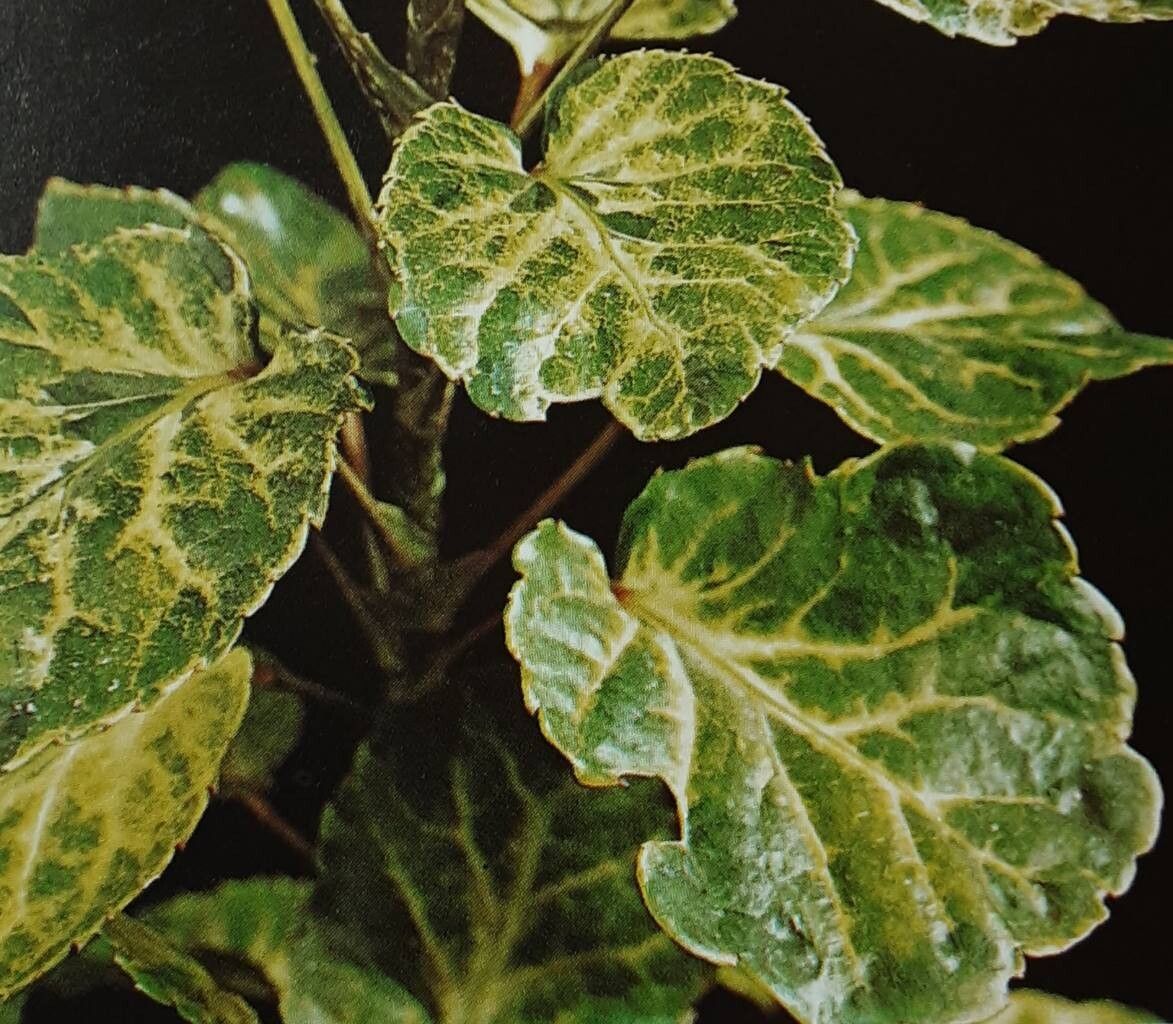
Well hello there, fellow plant lover! Grab a cup of your favorite brew, settle in, and let’s chat about one of my absolute favorites: Polyscias balfouriana, also known as Balfour Aralia. Isn’t it a beauty? Those lovely, rounded, almost waxy leaves add such a touch of elegance to any space, whether it’s a sunny windowsill or a more shaded corner of your home.
Propagating your own Polyscias is incredibly rewarding. It’s like giving the gift of a new plant, and it’s a fantastic way to build up your collection without spending a fortune. Now, I won’t lie and say it’s the easiest plant to propagate for a complete beginner, but with a little patience and these tips, you’ll be well on your way to success. It’s definitely achievable if you’re willing to give it some care and attention.
The Best Time to Start
My rule of thumb for most houseplants, and Polyscias is no exception, is to propagate during the active growing season. For us, that typically means late spring through summer. The plant is full of energy then, pushing out new growth, which makes it more receptive to forming new roots. Waiting for this period significantly increases your chances of striking cuttings.
Supplies You’ll Need
Gathering your tools beforehand makes the whole process smoother. Here’s what you’ll want to have on hand:
- Sharp Pruning Shears or a Clean Knife: For making clean cuts. A dull tool can crush the stems, making rooting harder.
- Rooting Hormone (Optional but Recommended): Powder or gel forms work well. This little boost can really speed up the process and improve success rates.
- Well-Draining Potting Mix: I like a blend of potting soil, perlite, and orchid bark. A peat-free mix is always a good choice.
- Small Pots or Seedling Trays: Clean containers for your new cuttings. Ensure they have drainage holes!
- Plastic Bag or Humidity Dome: To create a mini greenhouse effect.
- Water (for water propagation): Clean, room-temperature water.
- Spray Bottle: For misting.
Propagation Methods
Polyscias balfouriana can be propagated using a couple of reliable methods. I find stem cuttings to be the most common and effective.
Stem Cuttings:
This is my go-to for Balfour Aralia. Here’s how I do it:
- Select Your Cutting: Look for a healthy, non-flowering stem that’s at least a few inches long. Ideally, it should have a few sets of leaves on it. You want a stem that’s a bit mature but not woody.
- Make the Cut: Using your sharp shears or knife, make a clean cut just below a leaf node. This is the spot where a leaf meets the stem, and it’s where roots are most likely to form. I usually aim for cuttings about 4-6 inches long.
- Prepare the Cutting: Gently remove the lower leaves from the bottom half of the stem. Leave at least two sets of leaves at the top. If the remaining leaves are very large, you can cut them in half crosswise. This reduces water loss.
- Apply Rooting Hormone (If Using): Dip the cut end of the stem into your rooting hormone, tapping off any excess.
- Plant Your Cuttings: Fill your small pots with your well-draining potting mix. Make a hole in the center with your finger or a pencil, and then insert the cutting. Gently firm the soil around the stem to ensure good contact.
- Water and Cover: Water the soil thoroughly until it’s evenly moist but not soggy. Then, place the pot inside a plastic bag or cover it with a humidity dome. Make sure the leaves aren’t touching the sides of the bag if possible.
Water Propagation:
This method is super satisfying to watch, as you can see the roots developing!
- Follow Steps 1-3 of Stem Cuttings to prepare your cutting.
- Place in Water: Put the prepared stem cutting into a clean jar or vase filled with room-temperature water. Make sure the leaf nodes are submerged, but try to keep the leaves themselves out of the water to prevent rot.
- Change Water Regularly: Change the water every few days to keep it fresh and prevent bacterial growth.
The “Secret Sauce” (Pro Tips)
Here are a couple of things I’ve learned over the years that really make a difference:
- Bottom Heat is Your Friend: Balfour Aralias absolutely love a bit of warmth from below when they’re trying to root. If you have a seedling heat mat, place your pots on it. This consistent warmth encourages root development much faster than relying on ambient room temperature alone. You’ll be amazed at the difference!
- Don’t Mist Too Much: While humidity is important, over-misting the leaves can sometimes encourage fungal issues and rot. Instead of a constant shower, a light misting once a day or every other day is usually sufficient. If you’re covering them with a bag, the trapped moisture will do most of the work.
Aftercare & Troubleshooting
Once you see tiny white roots emerging from the drainage holes or the cut end of the stem in water, your cutting has successfully rooted!
- For Soil Cuttings: Gradually acclimate your new plant to more open air. Start by opening the plastic bag for a few hours each day, then remove it completely. Continue to keep the soil lightly moist. Once it’s established and showing new growth, you can water it more normally.
- For Water Cuttings: Once the roots are at least an inch or two long, you can carefully transplant them into a pot with your well-draining potting mix. Water them gently and treat them as you would a newly potted plant.
The most common sign of failure is rot. If your cutting turns black and mushy, or the leaves start to yellow and drop off rapidly without any signs of roots, it’s likely rotted. This can happen if the soil is too wet, there’s poor air circulation, or if you’re using water that’s too cold or has been sitting too long. Don’t be discouraged; just start again with fresh cuttings and perhaps a slightly different approach to watering.
A Encouraging Closing
Remember, gardening is a journey, and propagation is an art that’s learned through practice. Some cuttings will take off beautifully, while others might not make it. Be patient with your Polyscias, give it those ideal conditions, and celebrate every little sign of progress. Enjoy the process of bringing new life into your home! Happy propagating!
Resource: