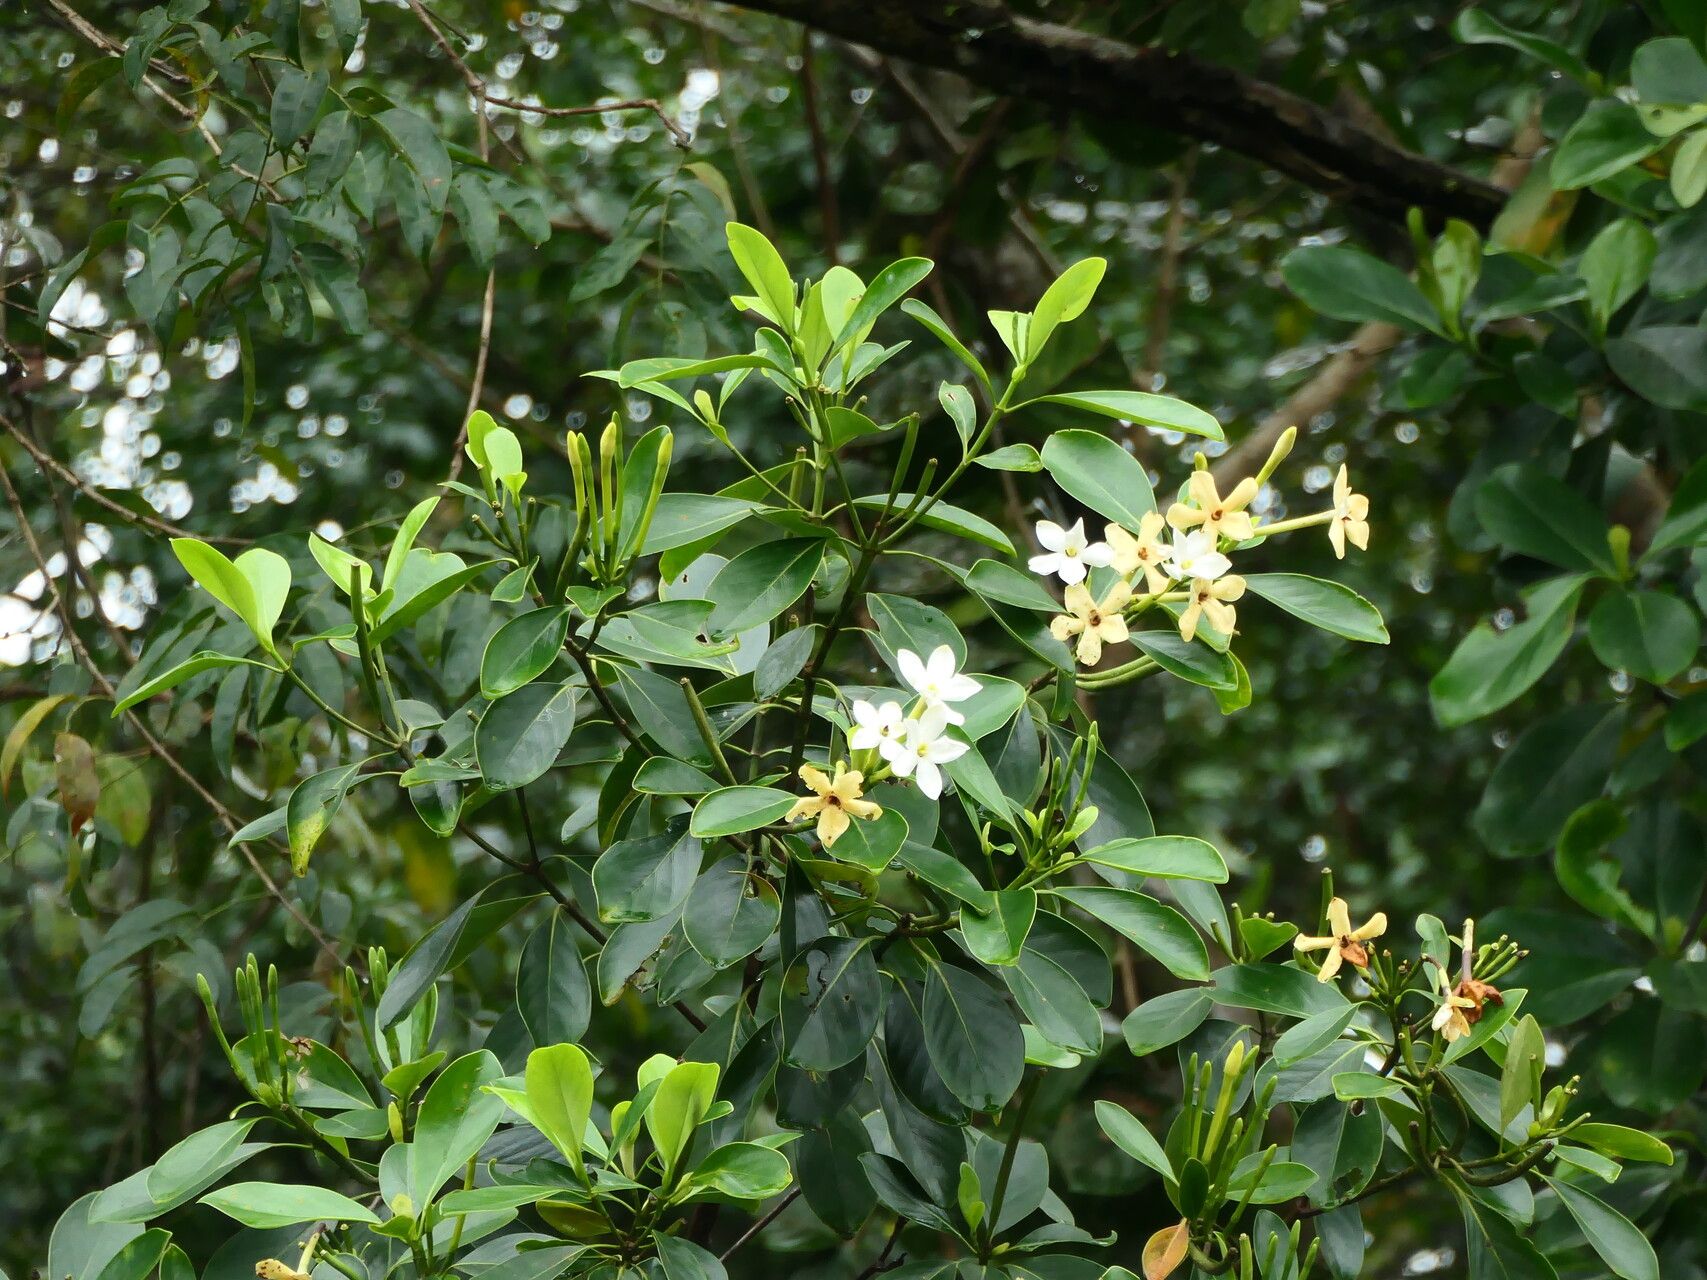
Oh, Cosmibuena macrocarpa! What a stunner. If you’ve ever seen one of these beauties in bloom, you know why you’re here. Those showy, trumpet-shaped flowers, often in vibrant shades, are just pure joy. And the best part? You can bring that joy home, again and again, by propagating your own. For many gardeners, myself included, the satisfaction of coaxing a new life from a parent plant is one of horticulture’s greatest rewards.
Now, about getting started. Is Cosmibuena macrocarpa a cinch for absolute beginners? I’d say it leans towards the moderately easy side. It’s not quite as forgiving as a pothos, but with a little attention and these tips, you’ll be well on your way.
The Best Time to Start
When it comes to coaxing new roots, spring and early summer are your golden ticket. This is when the plant is actively growing, full of vigor, and has the energy to put towards developing new roots. Look for stems that are firm and have just finished flowering, or are in their active growth phase, but aren’t yet woody. Think of it like this: you want to take a piece that’s ready to shout “grow!”
Supplies You’ll Need
Gathering your tools beforehand makes the whole process smoother. Here’s what I always have on hand:
- Sharp Pruning Shears or a Clean Knife: For making clean cuts. Dull tools can crush stems, hindering rooting.
- Rooting Hormone (Optional but Recommended): Especially for slightly trickier plants. It gives cuttings a little boost. Look for one specifically for stem cuttings.
- Well-Draining Potting Mix: A good starting point is a 50/50 mix of peat moss or coco coir and perlite or coarse sand. This ensures good aeration and prevents waterlogged soil.
- Small Pots or Propagation Trays: Clean them thoroughly! Old yogurt containers with drainage holes poked in the bottom work wonders in a pinch.
- Plastic Bag or Humidity Dome: To maintain a humid environment around your cuttings.
- Labeling Sticks: Don’t forget to label what you’ve propagated and when!
- Watering Can with a Fine Rose: For gentle watering.
Propagation Methods
Let’s dive into how we can create new Cosmibuena macrocarpa plants.
Stem Cuttings
This is generally the most reliable method for this type of plant.
- Select Your Cuttings: From your healthy, mature Cosmibuena macrocarpa, choose stems that are 4-6 inches long. Make sure each cutting has at least two sets of leaves.
- Make the Cut: Using your sharp shears or knife, make a clean cut just below a leaf node (the little bump where a leaf grows from the stem). This is where the magic of rooting often happens.
- Prepare the Cutting: Gently remove the lower leaves from the cutting, leaving just one or two sets at the top. If the remaining leaves are very large, I’ll often snip them in half to reduce water loss through transpiration.
- Apply Rooting Hormone (if using): Dip the cut end of the stem into the rooting hormone (follow the product’s instructions). Tap off any excess.
- Plant Your Cuttings: Fill your clean pots with your well-draining potting mix. Make a small hole with your finger or a pencil. Insert the cutting deep enough so that at least one leaf node is below the soil surface. Gently firm the soil around the stem.
- Water Gently: Water thoroughly until moisture drains from the bottom of the pot.
- Create a Humid Environment: Place the pots in a tray and cover them with a clear plastic bag or a humidity dome. Make sure the plastic isn’t directly touching the leaves if possible. Place them in a bright spot, but avoid direct sunlight, which can scorch the tender cuttings.
Water Propagation (Less Common for this species, but can work)
While I prefer soil for Cosmibuena, you can try water propagation.
- Prepare Cuttings: Follow steps 1-3 from the stem cutting method.
- Place in Water: Place the cuttings in a clean glass or jar filled with fresh water.
- The Crucial Detail: This is where the “don’t let the leaves touch the water” rule becomes paramount. Ensure only the bare stem is submerged. Submerged leaves will rot and can kill your cutting.
- Change Water Regularly: Change the water every few days to keep it fresh and prevent bacteria buildup.
- Location: Like soil cuttings, place them in bright, indirect light.
- When to Transplant: You’re looking for roots about an inch long before you attempt to move them to soil. This can take a few weeks.
The “Secret Sauce” (Pro Tips)
Over the years, I’ve learned a few tricks that really boost my success rates.
- Bottom Heat is Your Friend: Many plants, including Cosmibuena, will root much faster and more reliably if they have a bit of warmth from below. A heating mat specifically designed for propagation can make a huge difference. It encourages root development without cooking your cutting. Just place the pots on top of it.
- Don’t Be Afraid to Experiment (but be clean!): If you have several cuttings, try a few with rooting hormone and a few without. Try a few in a slightly different mix. Cleanliness is key with any experiment to avoid introducing diseases.
- The “Bend Test” is Your Guide: When you think your cuttings might have rooted (after about 4-6 weeks), gently tug on a cutting. If you feel resistance, it means roots are forming! If it pulls out easily, it hasn’t rooted yet. Some gardeners also look for new leaf growth as a sign, but sometimes roots appear before new leaves sprout.
Aftercare & Troubleshooting
Once you see those beautiful little roots wiggling their way out, it’s time to nurture your new baby plant.
- Gradual Acclimation: If you used a humidity dome or bag, gradually remove it over a week or so. Start by taking it off for a few hours a day, then increase the time until the plant is used to normal room humidity. This prevents shock.
- First Watering: Your new plant will still be tender. Water it when the top inch of soil feels dry. Avoid overwatering!
- Light: Continue to provide bright, indirect light. As the plant gets stronger, you can slowly introduce it to more direct sunlight, depending on the Cosmibuena‘s specific needs.
- Common Issues: The most common problem you’ll encounter is rot. This is almost always due to overwatering and lack of drainage. If a cutting turns black and mushy, it’s usually a goner. Another sign is wilting that doesn’t improve with watering – this can also indicate root rot or that the cutting simply didn’t take. If you see mold on the soil surface, it’s too wet and needs more air circulation.
A Encouraging Closing
Propagating Cosmibuena macrocarpa is such a rewarding journey. Be patient with your little cuttings. Some will take off like rockets, while others might be a bit more shy. Don’t get discouraged if not every single one succeeds. Nature has its own timing. Enjoy the process, learn from each experience, and soon you’ll have a whole collection of these gorgeous plants to admire and share. Happy growing!
Resource: