Hello fellow plant lovers!
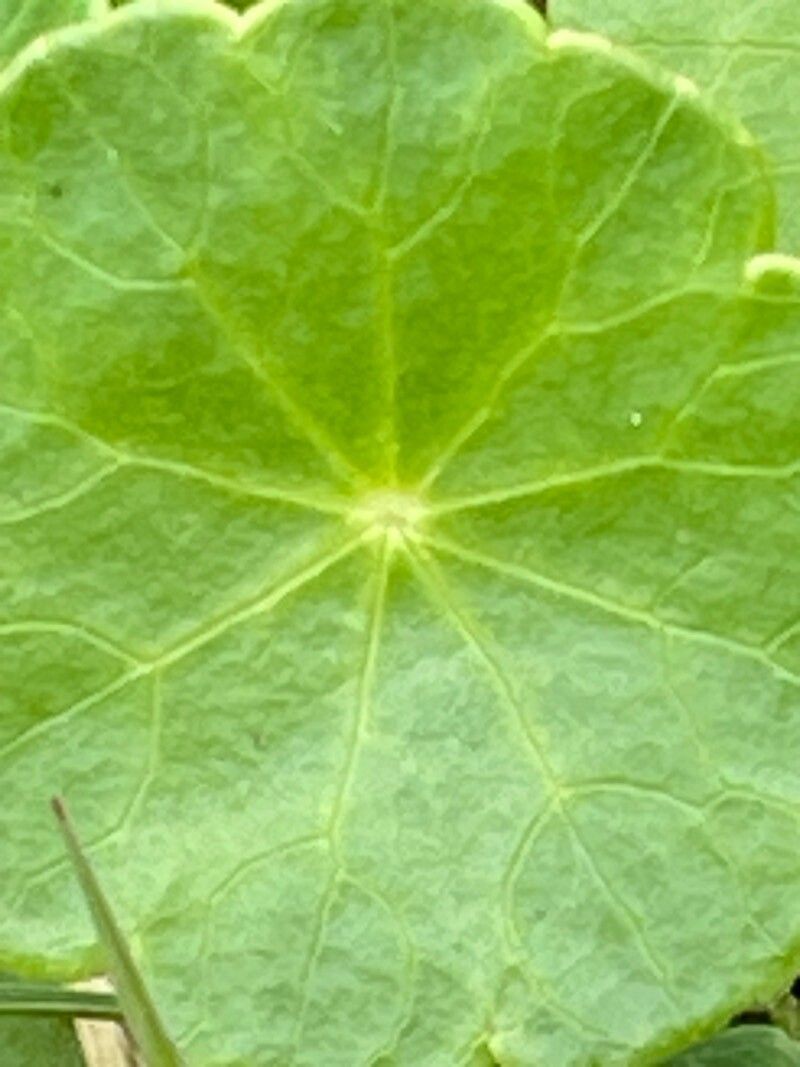
Let’s talk about a little green gem that’s been brightening up my garden for years: Hydrocotyle vulgaris, or common marsh pennywort. Sometimes it goes by the rather charming name of “money plant,” though it’s not the same as the crassula variety. This little groundcover is just delightful. Its cute, coin-shaped leaves create a lovely carpet, and it’s fantastic for softening edges, filling in gaps in pots, or even cascading over the side of water features.
Now, if you’re thinking of adding more of this beauty to your life, you’re in luck! Propagating Hydrocotyle vulgaris is surprisingly straightforward. I often tell my gardening friends, even if you’re just dipping your toes into the world of plant propagation, this is a wonderful one to start with. It’s generally very forgiving.
The Best Time to Start
When it comes to giving your new baby plants the best start, spring and early summer are your golden ticket. This is when the plant is actively growing and has a good amount of energy to put into developing new roots. You can often get away with propagating at other times, but you’ll likely see the fastest and most successful results during the warmer months when growth is vigorous. Look for healthy, newly formed stems rather than old, woody ones.
Supplies You’ll Need
Before we get our hands dirty, let’s gather our tools:
- Potting mix: A well-draining, but moisture-retentive mix is ideal. I like to use a blend of peat moss, perlite, and a little bit of compost. For water propagation, just clean water will do!
- Sharp pruning shears or scissors: Clean tools are crucial to prevent disease.
- Small pots or trays: For repotting your cuttings once they’ve rooted. Yogurt cups with drainage holes poked in the bottom work in a pinch!
- Optional: Rooting hormone: While Hydrocotyle vulgaris roots quite readily without it, a little dip can sometimes speed things up.
- A spray bottle: For keeping humidity levels up.
Propagation Methods
There are a couple of easy ways to multiply your Hydrocotyle, and I find both work like a charm.
1. Stem Cuttings: This is my go-to method, and it’s incredibly effective.
- First, find a healthy, vigorous stem on your existing plant.
- Using your clean shears, carefully cut a piece of stem that’s about 3-4 inches long. Ideally, it should have at least two or three nodes (those little bumps where leaves emerge from the stem).
- Gently remove any lower leaves that might sit below the soil line or in the water. This helps prevent rot.
- If you’re using rooting hormone, dip the cut end into it now.
- Now, you have two options:
- Plant directly in soil: Moisten your potting mix, then gently insert the cut end of the stem into the soil, ensuring at least one node is buried. Firm the soil gently around it.
- Water propagation: Place the stem cutting in a small glass or jar of water, making sure the nodes are submerged. Keep it out of direct sunlight.
- Humidity is key! If you’ve planted in soil, you can cover the pot loosely with a clear plastic bag or place it in a propagator to maintain high humidity. Mist the soil surface lightly with your spray bottle if it starts to look dry.
2. Division: This is the easiest if you have a mature, clumping plant.
- When your Hydrocotyle is growing well, you can simply gently lift the plant out of its pot or from the ground.
- Carefully separate sections of the root ball and stems. You can often do this by hand, but if it’s a bit tangled, a clean trowel can help.
- Ensure each section you separate has attached roots and a few healthy stems.
- Pot up the divisions into their own containers with fresh potting mix. Water them in well.
The “Secret Sauce” (Pro Tips)
Want to give your cuttings an extra edge? Here are a few things I’ve learned over the years:
- Keep the leaves out of the water! If you’re propagating in water, don’t let those lovely leaves sit directly in the water. They’ll rot, and that can spoil the whole cutting. Submerge only the stem nodes.
- Bottom heat is your friend. If you have a heated propagator or can place your pots on a gentle heat mat, this can seriously speed up root development. It mimics the natural warmth of spring and summer.
- Patience and observation. This might seem obvious, but truly watching your cuttings is important. You’ll start to recognize the subtle signs of rooting, like a slight plumpness in the stem or sometimes even tiny new leaves appearing.
Aftercare & Troubleshooting
Once you see those first signs of life – either roots emerging from the stem in water or tiny new leaves starting to unfurl from your soil cuttings – it’s time for a little extra TLC.
- For water cuttings: Once the roots are about an inch long, you can carefully transplant them into a pot with your well-draining potting mix. Keep the soil consistently moist for the first couple of weeks as they acclimate.
- For soil cuttings: Continue to keep the soil consistently moist but not waterlogged, especially during the establishment phase. A gentle misting can help keep humidity high while they settle in.
- What if things go wrong? The most common issue you’ll encounter is rot. This usually happens with stem cuttings if the leaves are submerged in water or if the soil stays too wet. If a cutting starts to look mushy or yellow and limp, it’s often a sign of rot. Unfortunately, there’s not much you can do once rot sets in deeply, so it’s best to discard it and try again, focusing on keeping things a bit drier or cleaner. Fungal issues can also arise if humidity is too high without good air circulation.
Enjoy the Magic
Watching a tiny cutting transform into a robust new plant is one of the most rewarding parts of gardening. Be patient with your Hydrocotyle vulgaris propagations. Nature works on its own schedule, and with a little care and observation, you’ll soon be rewarded with a bounty of these charming plants. Happy propagating!
Resource:
https://identify.plantnet.org/k-world-flora/species/Hydrocotyle%20vulgaris%20L./data