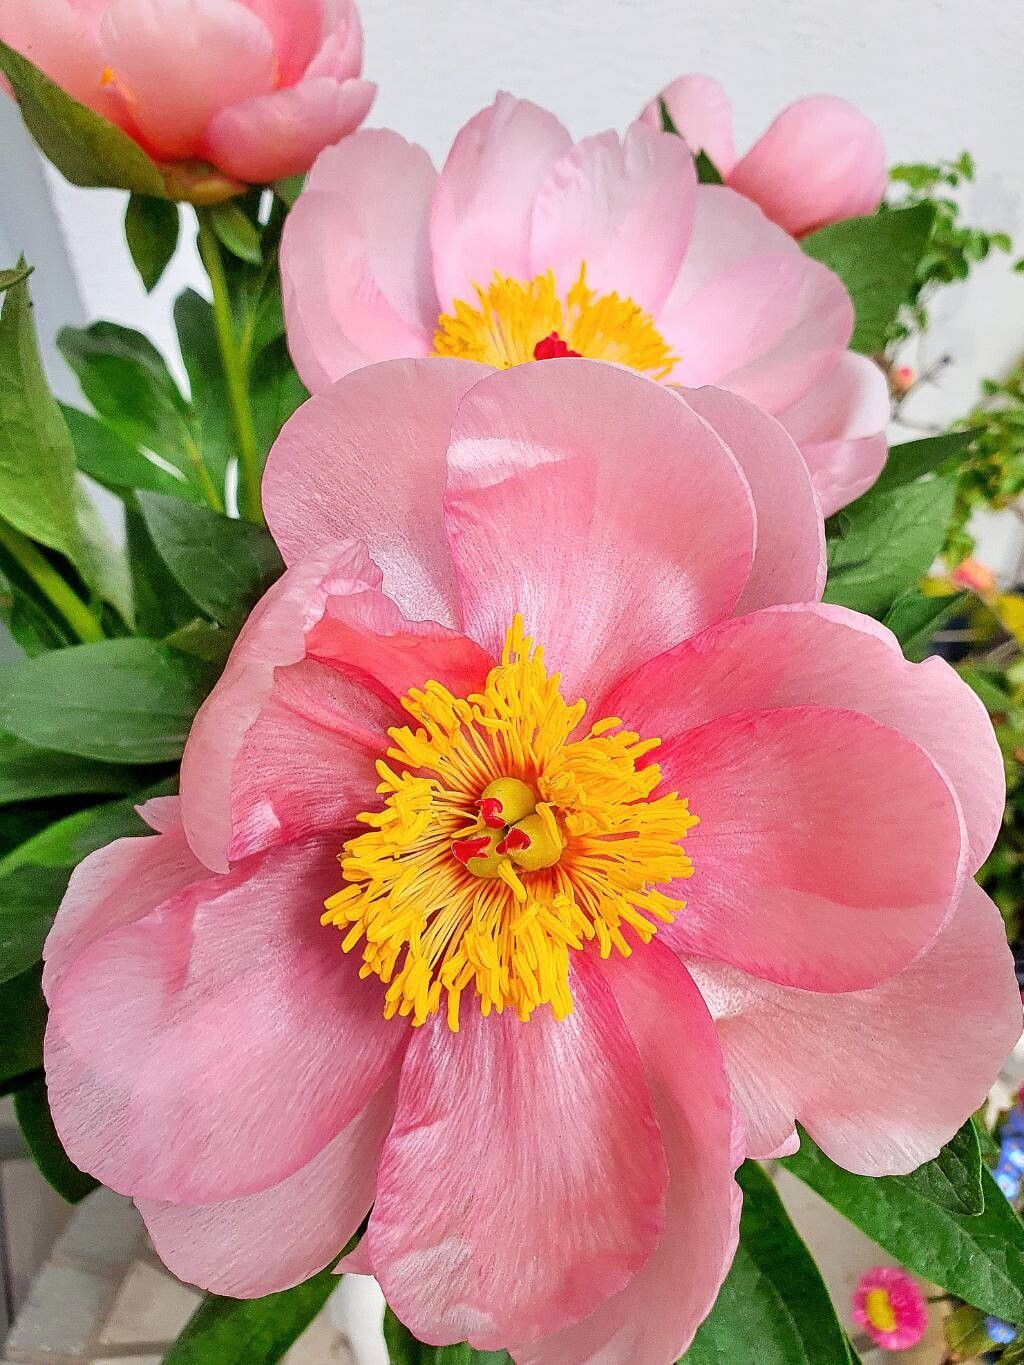
Ah, Paeonia mascula! If you’ve ever seen this peony in full bloom, you know why it’s special. Its large, often vibrant magenta or pink flowers are a true showstopper, a splash of pure joy in the garden. And honestly, there’s a unique kind of satisfaction that comes with coaxing a whole new plant from your existing one. It’s like giving life, a little piece of your garden’s magic, to someone else, or simply expanding your own collection. Now, let’s be upfront: Paeonia mascula isn’t the absolute easiest plant to propagate for a complete beginner, but with a little patience and the right approach, it’s absolutely achievable.
The Best Time to Start
For the highest chance of success, late summer to early autumn is your golden window. This is when the plant is winding down its active growth for the year. The stems have matured, and the energy is starting to be stored in the roots, which is precisely what we want when we’re trying to create new plants. Waiting until after the main flowering season is crucial.
Supplies You’ll Need
Gathering your tools beforehand makes the whole process smoother. Here’s what I usually have on hand:
- Sharp, clean pruning shears or a knife: We want clean cuts to prevent disease.
- A well-draining potting mix: I often use a blend of high-quality potting soil mixed with perlite or coarse sand (about a 2:1 ratio). Peonies hate soggy feet.
- Rooting hormone (optional but recommended): This can give your cuttings a little boost. Look for one formulated for woody plants.
- Small pots or containers: Clean ones, of course! Terracotta pots are great as they allow the soil to breathe.
- A misting bottle: For keeping humidity levels up.
- Labels and a marker: To keep track of what you’ve planted and when.
- If dividing: A garden fork or shovel.
Propagation Methods
Paeonia mascula is best propagated by division when it comes to creating new plants from mature specimens. While some Paeonia species are a bit more amenable to stem cuttings, Paeonia mascula is generally more reliable when you split established plants.
Division Steps:
-
Gently excavate: In late summer or early autumn, carefully dig around the base of your Paeonia mascula. Use a garden fork or shovel, starting a good foot or so away from the stem to avoid damaging the roots. Gently loosen the soil and lift the entire plant from the ground. It’s best to do this when the soil is slightly moist, not bone dry or waterlogged.
-
Clean the roots: Gently shake off excess soil. You might need to rinse the roots under a gentle stream of water to get a clear view of the structure and identify potential divisions.
-
Locate the ‘eyes’: Look for the prominent buds or ‘eyes’ on the crown of the plant. These are the growth points for next year’s stems. You want to ensure each division has at least 3-5 healthy buds and a good portion of vigorous roots.
-
Make the cut: This is the most crucial part. Using your sharpest knife or a spade, carefully divide the root ball. Aim to cut between the eyes, ensuring each section has sufficient root mass and buds. Don’t be afraid to get a bit firm here. If the root ball is particularly tough, you can sometimes use two garden forks back-to-back to gently pry it apart.
-
Inspect and trim: Once divided, inspect the roots. Trim away any damaged, diseased, or overly long roots. This encourages new growth.
-
Planting the divisions: Prepare your new planting sites or pots. Ensure the soil is well-draining. Plant each division so that the eyes are no more than 1-2 inches below the soil surface. This is critical! Planting too deep is a common reason for peonies failing to bloom. Space them adequately, as they will grow.
-
Water it in: Water thoroughly after planting to settle the soil around the roots.
The “Secret Sauce” (Pro Tips)
- Don’t coddle the divisions immediately: Resist the urge to baby them with constant watering. Let them settle in. They’ve experienced a bit of shock, and overwatering them right away can lead to rot. Let the soil dry out slightly between waterings.
- Patience is a virtue, especially with peonies: It’s not uncommon for a newly divided Paeonia mascula to skip flowering its first year in its new spot. Don’t panic! The plant is busy establishing its root system. Focus on good leaf growth; this indicates it’s happy.
- Consider a little soil amendment: When planting your divisions, I like to add a handful of bone meal to the planting hole. It provides phosphorus, which is excellent for root development. Just mix it in with the soil before placing the division.
Aftercare & Troubleshooting
Once your divisions are planted, keep the soil consistently moist but not waterlogged. Water deeply when the top inch of soil feels dry. Mulching lightly around the base can help retain moisture and suppress weeds, but keep the mulch a little away from the crown itself to prevent rot.
The most common sign of trouble is rot. If you see mushy, discolored stems or roots, it’s a sign of too much moisture or a fungal issue. Sadly, if rot takes hold, it can be hard to recover a division. Prevention is key: good drainage, not planting too deep, and not overwatering are your best defenses. If a plant just looks sad and isn’t growing, it might be a sign of poor root establishment, or it could simply be taking its time to settle in. Keep observing and providing consistent, but not excessive, care.
A Encouraging Closing
Propagating Paeonia mascula is a lovely project, one that connects you deeply to the rhythms of your garden. Be patient with your new divisions – they’re working hard to establish themselves. Celebrate the new green shoots you see, and know that with a little care and a lot of hope, you’ll soon be rewarded with your own spectacular blooms. Happy gardening!
Resource:
https://identify.plantnet.org/k-world-flora/species/Paeonia%20mascula%20(L.)%20Mill./data