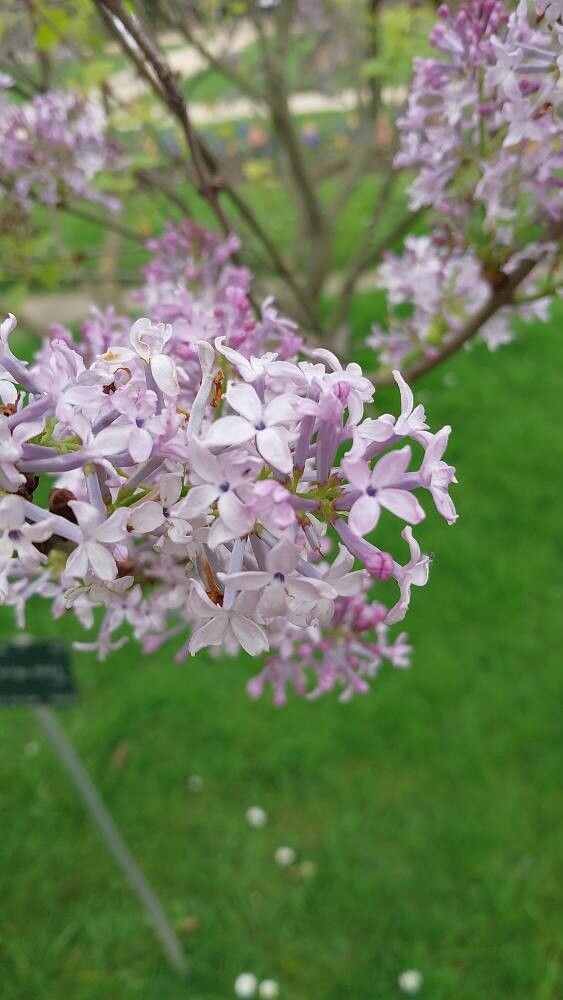
Breathe in the Bloom: Bringing More Lilac Beauty with Syringa oblata
There’s something truly magical about lilacs, isn’t there? The scent, the burst of color in spring – it’s pure garden joy. And Syringa oblata, with its slightly larger, softer blooms and often earlier flowering, is a real standout. If you’ve ever found yourself gazing at a magnificent specimen and wishing you had just one more, I’ve got good news! Propagating Syringa oblata is a wonderfully rewarding endeavor, and I’m here to guide you through it. Don’t worry, even if you’re just starting out, this is a very achievable project.
When to Get Your Hands Dirty
The sweet spot for propagating Syringa oblata is late spring to early summer. You’re looking for new growth that’s starting to firm up but hasn’t gotten too woody. Think of it as “semi-hardwood” cuttings. This gives them enough flexibility to root, but also a bit of resilience to withstand the process.
Gathering Your Tools
Before we dive in, let’s make sure you have everything ready to go. A little preparation makes all the difference!
- Sharp Pruning Shears or a Knife: Cleanliness is key to preventing disease.
- Potting Mix: I like a blend that offers good drainage. A simple mix of potting soil and perlite (about 50/50) works wonders. You can also find specific seed starting or propagation mixes.
- Small Pots or Trays: Ensure they have drainage holes. Small nursery pots or even plastic containers with holes poked in the bottom are perfect.
- Rooting Hormone (Optional but Recommended): This can significantly boost your success rate. Look for powdered or gel forms.
- Plastic Bags or a Small Greenhouse/Cloche: We need to create a humid environment.
- Watering Can with a Fine Rose: Gentle watering is important.
- Labels and a Marker: Trust me, you’ll thank yourself later!
Let’s Get These Lilacs Rooting!
There are a couple of fantastic ways to bring new Syringa oblata into existence. I find stem cuttings to be the most reliable method for these beauties.
Propagation by Stem Cuttings:
- Select Your Cuttings: Head out to your healthy, established lilac bush. Look for stems that have grown this year that are firming up but still have a bit of flexibility. They should be about 4-6 inches long. Avoid flowering stems.
- Make the Cut: Using your sharp shears or knife, make a clean cut just below a leaf node (where a leaf attaches to the stem).
- Prepare the Cuttings: Gently remove the lower leaves, leaving only the top couple of leaves intact. If the leaves are very large, you can even cut them in half horizontally to reduce water loss through transpiration.
- Apply Rooting Hormone (Optional): If you’re using rooting hormone, dip the cut end of the stem into the powder or gel. Tap off any excess.
- Planting Your Cuttings: Fill your small pots or trays with your chosen potting mix. Make a small hole with your finger or a pencil, then gently insert the cutting. Firm the soil around the base of the stem. Aim for about half the cutting to be buried in the soil.
- Water Gently: Water your newly planted cuttings thoroughly, but avoid waterlogging the soil.
- Create Humidity: This is crucial! You can do this by placing the pots inside a clear plastic bag, making sure the leaves don’t touch the sides. Alternatively, use a small propagator with a lid or a cloche. Place the pots in a bright location out of direct sunlight.
The “Secret Sauce” from My Garden Notebook
Over the years, I’ve learned a few tricks that really make propagation a breeze. Here are a couple of my favorites for lilacs:
- Bottom Heat is Your Friend: If you have a heat mat designed for seedlings, placing your pots on it can significantly speed up root formation. It mimics the warmth of spring soil.
- Don’t Rush the Pull: When you think they might be rooted, resist the urge to tug on them. Instead, look for signs of new leaf growth. This is a much better indicator that roots are developing and holding the cutting in place firmly.
Aftercare and Troubleshooting
Once you see those first tiny leaves unfurl, you’ve got a rooted cutting! Congratulations! Now, it’s time for a little continued TLC.
- Gradual Acclimation: Once roots are well-established (you might gently tug and feel resistance, or see roots poking from the drainage holes), gradually begin to acclimate your new baby lilacs to normal humidity. Start by opening the plastic bag for a few hours each day, then remove it entirely.
- Watering: Continue to keep the soil consistently moist but not soggy. Let the surface of the soil dry out slightly between waterings.
- Patience is Key: It can take several weeks, or even a couple of months, for lilacs to root properly. Don’t despair if you don’t see instant results.
- Watch for Rot: The most common sign of failure is rot. If your cutting turns black or mushy, it’s likely due to too much moisture and not enough air circulation. If you see this happening, sadly, it’s usually best to discard it and start with a fresh cutting.
Happy Planting and Enjoy the Journey!
Watching a tiny twig transform into a plant that will eventually offer its own sweet fragrance is one of gardening’s greatest joys. Be patient with your Syringa oblata cuttings, enjoy the process of learning and nurturing, and before you know it, you’ll be surrounded by even more of your favorite lilac blooms. Happy propagating!
Resource:
https://identify.plantnet.org/k-world-flora/species/Syringa%20oblata%20Lindl./data