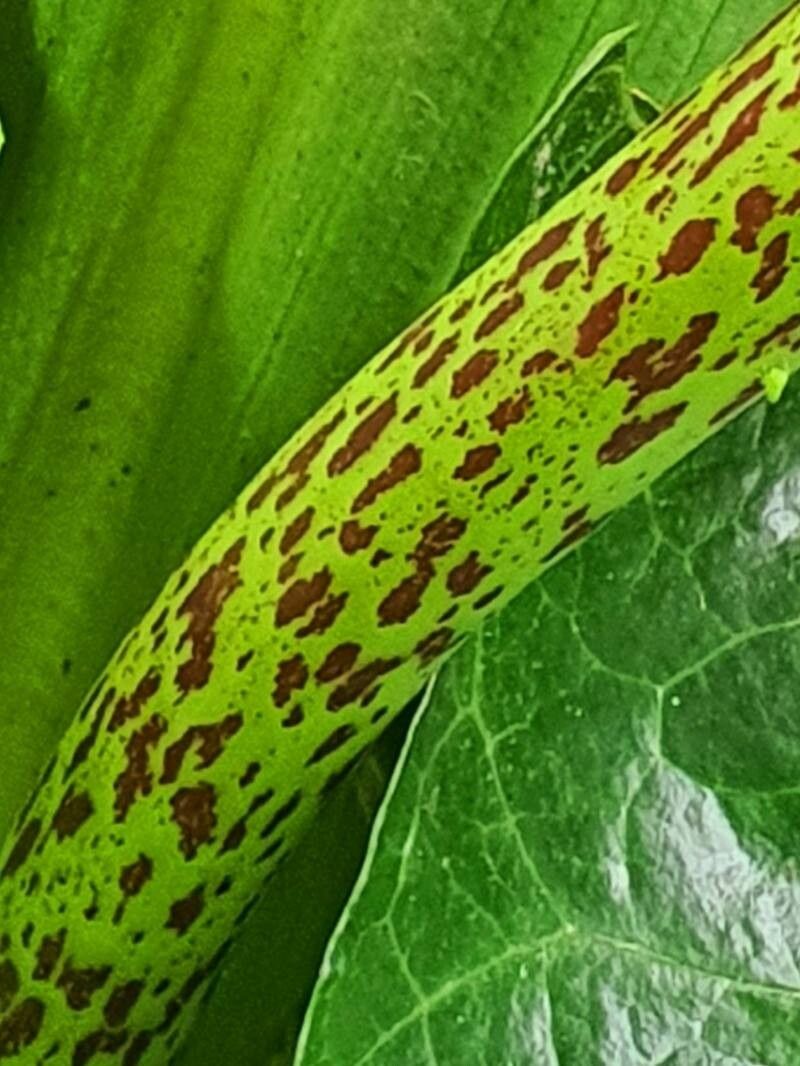
Hello, fellow plant lovers! Today, we’re diving into the wonderful world of Eucomis bicolor, that flamboyant pineapple lily with its spiky blooms and delightful charm. If you’ve ever admired these beauties in a garden or a pot, you might be wondering if you can grow more of them. And the good news is, you absolutely can! Propagating Eucomis bicolor is a truly rewarding endeavor, and it’s not as daunting as you might think. In fact, for most home gardeners, I find it’s quite beginner-friendly. You’ll be chuffed with the results!
The Best Time to Start
When it comes to giving your new Eucomis babies the best chance, timing is everything. The ideal period for propagation is generally late spring or early summer, right after the plant has finished its main growth spurt or is actively growing. This is when the plant has plenty of energy stored up, which translates to a better success rate for your cuttings or divisions. Plus, the warmer weather helps everything root and establish more quickly.
Supplies You’ll Need
Gathering your tools beforehand makes the whole process smoother. Here’s what I usually have on hand:
- Sharp, clean pruning shears or a knife: For making clean cuts.
- Well-draining potting mix: A good quality cactus or succulent mix works wonders, or you can create your own by blending potting soil with perlite and coarse sand.
- Small pots or propagation trays: With drainage holes, of course!
- Rooting hormone (optional but helpful): This really gives your cuttings a boost in developing roots.
- Watering can with a fine rose: For gentle watering.
- Labels and a marker: To keep track of what you’ve planted and when.
- A warm, bright spot: Out of direct, harsh sunlight.
Propagation Methods
Eucomis bicolor can be propagated in a couple of ways, and I’ve had great luck with them both. Let’s explore the most common and effective techniques.
Division
This is arguably the easiest method for Eucomis, and it’s best done in the spring when you’re repotting your established plant.
- Gently unpot your Eucomis. Carefully loosen the soil from around the bulb.
- Inspect the bulb cluster. You’ll likely see smaller offsets or bulblets growing around the main bulb.
- Carefully separate the offsets. Use your fingers or a clean knife to gently break away the smaller bulbs from the mother bulb. Ensure each offset has at least a small piece of the basal plate (where the roots emerge) attached.
- Allow offsets to “cure.” Let the separated bulblets sit in a dry, shaded spot for a day or two to allow any cut surfaces to callus over. This helps prevent rot.
- Plant theoffsets. Pot them individually in pots filled with your prepared well-draining mix. Plant them about an inch deep and water lightly.
Leaf Cuttings (It Works!)
This method is a little more patient, but seeing new plantlets form along the leaf edge is incredibly satisfying.
- Select a healthy, mature leaf. Choose a firm, unblemished leaf from the base of the plant.
- Make clean cuts. Using your sharp knife or shears, cut the leaf into sections. Each section should be about 2-3 inches long and include some of the thicker, whitish base where possible.
- Dip in rooting hormone (optional). If you have it, dip the cut end of each leaf section into rooting hormone.
- Plant the cuttings. Insert the cut end of each leaf section about half an inch into your well-draining potting mix. You can plant multiple cuttings in the same pot, ensuring they don’t touch each other.
- Water gently. Mist the surface of the soil lightly or water with a fine spray.
- Provide warmth and light. Place the pots in a warm location with bright, indirect light.
The “Secret Sauce” (Pro Tips)
Over the years, I’ve learned a few tricks that can really help boost your propagation success.
- Don’t overwater after planting. This is the most common mistake. New cuttings or divisions are prone to rot if the soil stays soggy. Allow the soil surface to dry out slightly between waterings. It’s better to err on the side of underwatering at this stage.
- Bottom heat is your friend. For leaf cuttings especially, providing a little gentle warmth from underneath can significantly speed up root development. A heated propagator or placing pots on a seedling heat mat can make a big difference.
- Patience is paramount. Eucomis can be a tad slow to show signs of life. Don’t dig them up too soon to check for roots! You’ll know they’re happy when you see new leaf growth emerging from the soil.
Aftercare & Troubleshooting
Once you see those tiny roots and new shoots appearing, it’s time to give your burgeoning Eucomis a little tender loving care.
Continue to water sparingly, allowing the soil to dry out between waterings. As they grow, you can gradually introduce them to more light, but always avoid scorching direct sun, especially for young plants. Once the new plants have developed a good root system and are actively growing, you can treat them much like a mature Eucomis – plenty of sun and good drainage is key.
The main challenge you’ll encounter is rot. If your cuttings or offsets turn mushy, black, or have a foul smell, it’s usually a sign of overwatering or poor drainage. If this happens, unfortunately, it’s best to discard the affected plant parts to prevent it from spreading. Ensure your potting mix is airy and that your pots have adequate drainage to prevent this.
A Encouraging Closing
There you have it! Propagating Eucomis bicolor is a delightful journey that allows you to multiply these stunning plants for your own garden or to share with fellow enthusiasts. Remember to be patient, observe your plants closely, and enjoy the process. Each new seedling or offset is a little victory, a testament to your green thumb. Happy propagating!
Resource:
https://identify.plantnet.org/k-world-flora/species/Eucomis%20bicolor%20Baker/data