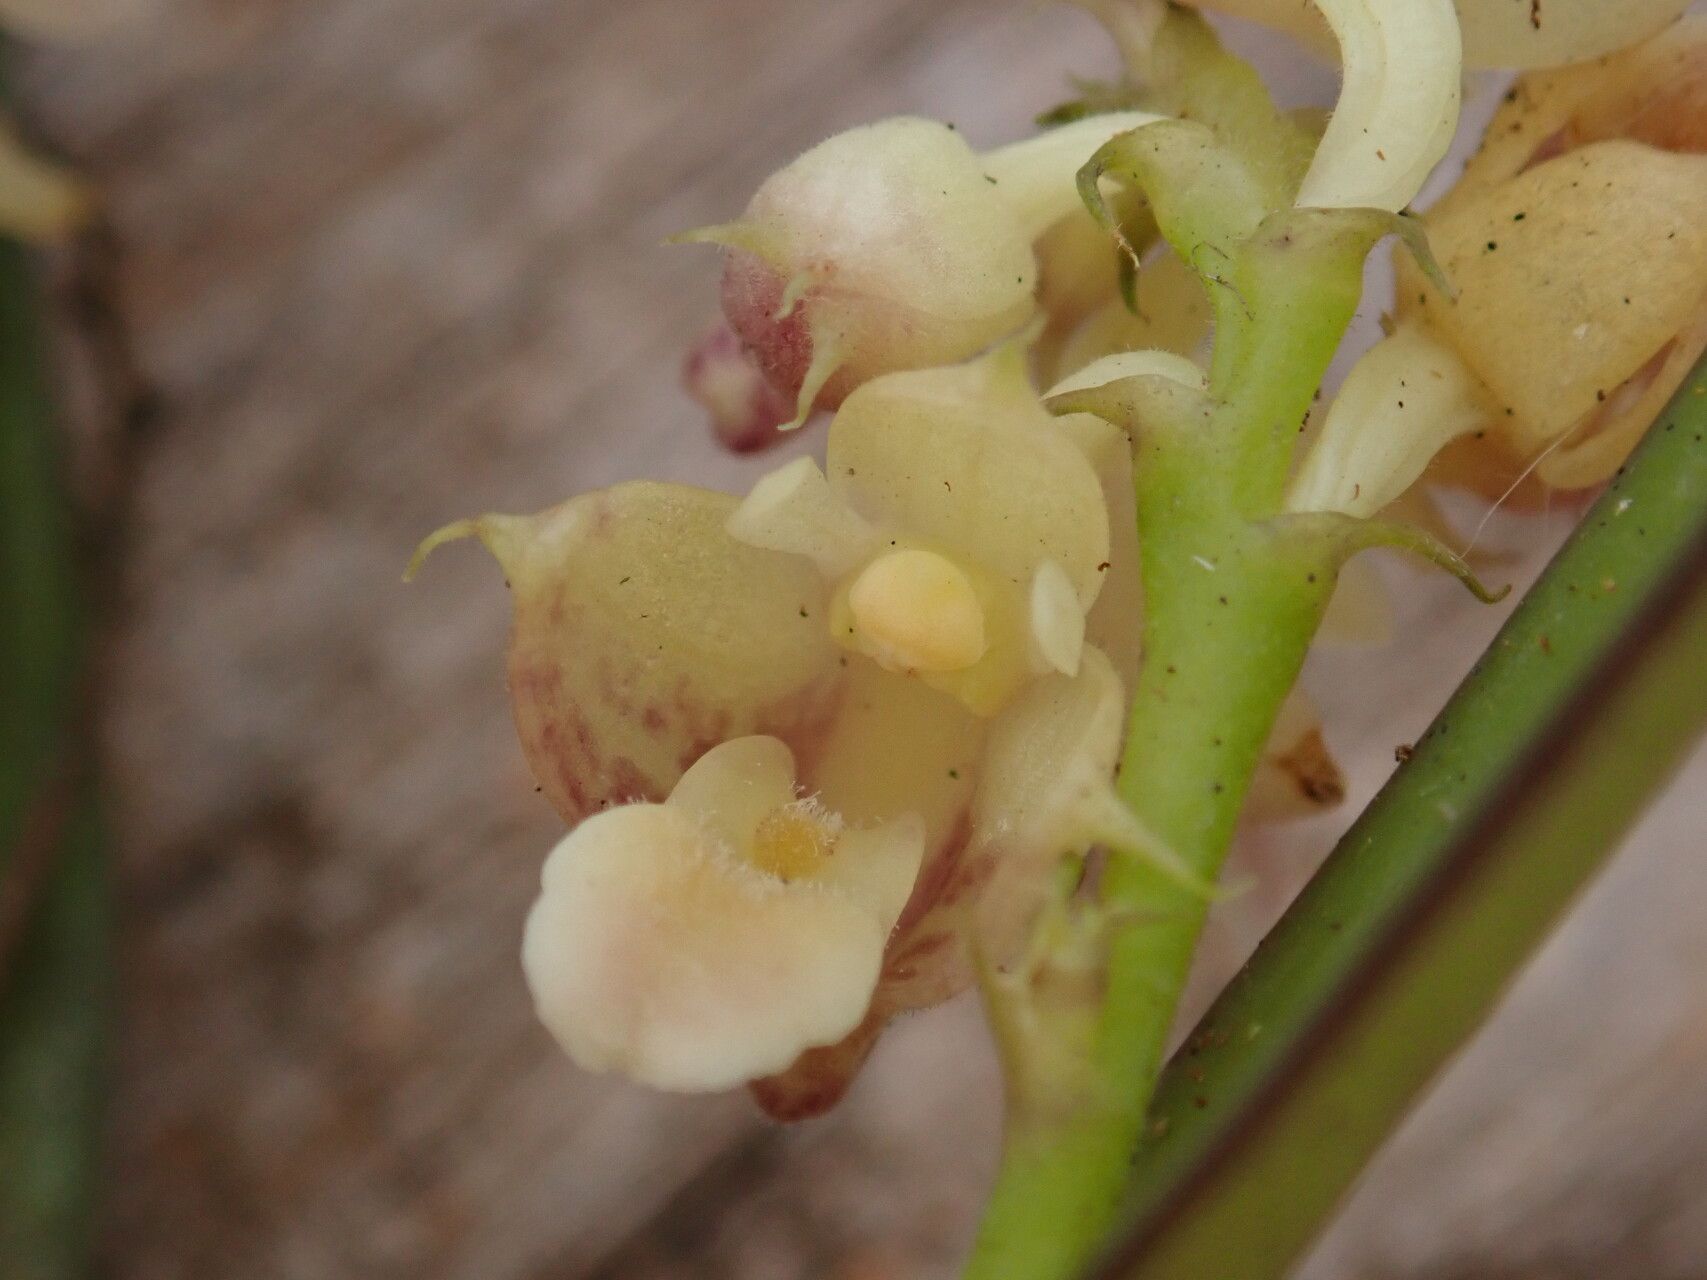
Hello, fellow plant lovers! If you’ve ever admired the delicate blooms of Polystachya carnosa, you know its charm. These beauties, with their waxy petals and often spicy, clove-like scent, can truly elevate a collection. And the joy of creating more of them from your existing plants? It’s a feeling like no other! Good news: propagating Polystachya carnosa is generally quite accessible, even for those just dipping their toes into the wonderful world of plant propagation.
The Best Time to Start
For the most success with propagating Polystachya carnosa, I’ve found that active growing seasons are your best bet. Think late spring through summer. When the plant is pushing out new growth and has plenty of stored energy, it’s more likely to put that energy into developing roots. Trying to propagate during dormancy can lead to disappointment.
Supplies You’ll Need
Gathering your tools beforehand makes the whole process smoother. Here’s what I usually have on hand:
- Sharp, sterile pruning shears or a clean knife: For making precise cuts.
- A quality potting mix: I like a blend that’s well-draining. For Polystachya carnosa, a mix designed for orchids or succulents works wonderfully. You can also create your own with equal parts peat moss, perlite, and orchid bark.
- Small pots or seed trays: Clean, of course!
- Rooting hormone (optional but helpful): A powder or gel can give your cuttings a little boost.
- Watering can or spray bottle: For gentle watering.
- Clear plastic bag or propagation dome: To maintain humidity.
- Small labels: So you don’t forget what you’ve propagated!
Propagation Methods
There are a couple of tried-and-true ways to get your Polystachya carnosa babies going.
1. Stem Cuttings: My Go-To Method
This is often the most direct route.
- Select a healthy stem: Look for a stem that has at least two or three leaf nodes (the little bumps where leaves emerge). It should be firm and green, not woody or overly soft.
- Make the cut: Using your sterile shears, snip the stem just below a leaf node. This is where the magic happens – new roots will emerge from here.
- Prepare the cutting: Gently remove the lower leaves, exposing the nodes. If the cutting is very long, you might want to make it shorter by cutting a few inches off the top.
- Dip in rooting hormone (optional): If you’re using it, lightly dip the cut end into your rooting hormone powder or gel. Tap off any excess.
- Plant the cutting: Fill a small pot with your well-draining potting mix. Make a small hole with your finger or a pencil and gently insert the cut end of the stem. Firm the soil around it so it stands upright.
- Water gently: Give the soil a light watering. You want it to be moist, but not soggy.
2. Division: For Established Plants
If your Polystachya carnosa has become quite bushy and is producing multiple growth points from its base, division is a great option.
- Gently remove the plant from its pot: Turn the pot sideways and carefully slide the plant out.
- Inspect the root ball: Look for natural divisions, where separate plants are growing from the same root system.
- Separate the divisions: Using your fingers or a clean knife, carefully tease apart the root ball into smaller sections. Try to ensure each division has a good amount of roots and at least one or two healthy shoots.
- Pot up the divisions: Plant each new division in its own pot filled with your prepared potting mix, just as you would a stem cutting. Water gently.
The “Secret Sauce” (Pro Tips)
Here are a few things I’ve learned over the years that make a real difference:
- Humidity is key, but avoid wet leaves: Once you’ve potted your cuttings or divisions, pop them into a clear plastic bag or cover them with a propagation dome. This creates a mini-greenhouse effect. However, ensure the leaves don’t touch the sides of the bag or dome, as this can lead to fungal rot. If you see condensation dripping onto the leaves, wipe it off gently.
- Bottom heat can speed things up: Polystachya carnosa appreciates a little warmth from below, especially if you’re propagating during cooler months. A heat mat designed for seedlings can significantly encourage root development.
- Patience is a virtue, especially with these: Some plants are quick to root, but Polystachya carnosa can take its time. Don’t be discouraged if you don’t see significant root growth for several weeks. Trust the process!
Aftercare & Troubleshooting
Once you start to see signs of new growth — a tiny leaf unfurling or the cutting feeling a bit more firm when gently tugged — it’s a good indicator that roots are forming.
- Gradually acclimate: Once roots are established, slowly start to open up the plastic bag or dome over a few days to allow the new plant to adjust to lower humidity.
- Continue with gentle watering: Keep the soil consistently moist but never waterlogged. Overwatering is the quickest way to invite trouble.
- Watch for rot: The most common sign of failure is rot. If your cutting turns black and mushy at the base, or if leaves start to yellow and drop off rapidly without new growth, it’s likely a water issue (too much) or a lack of air circulation. Unfortunately, once rot sets in, it’s often difficult to save the cutting.
A Little Encouragement
There you have it! Propagating Polystachya carnosa is a wonderful way to expand your collection and share the beauty of these unique plants. Don’t be afraid to experiment, and remember that every plant is a little individual. Some will thrive, and some might not, but each attempt is a learning experience. So, grab your tools, get your hands dirty, and enjoy the rewarding journey of creating new life! Happy propagating!
Resource: