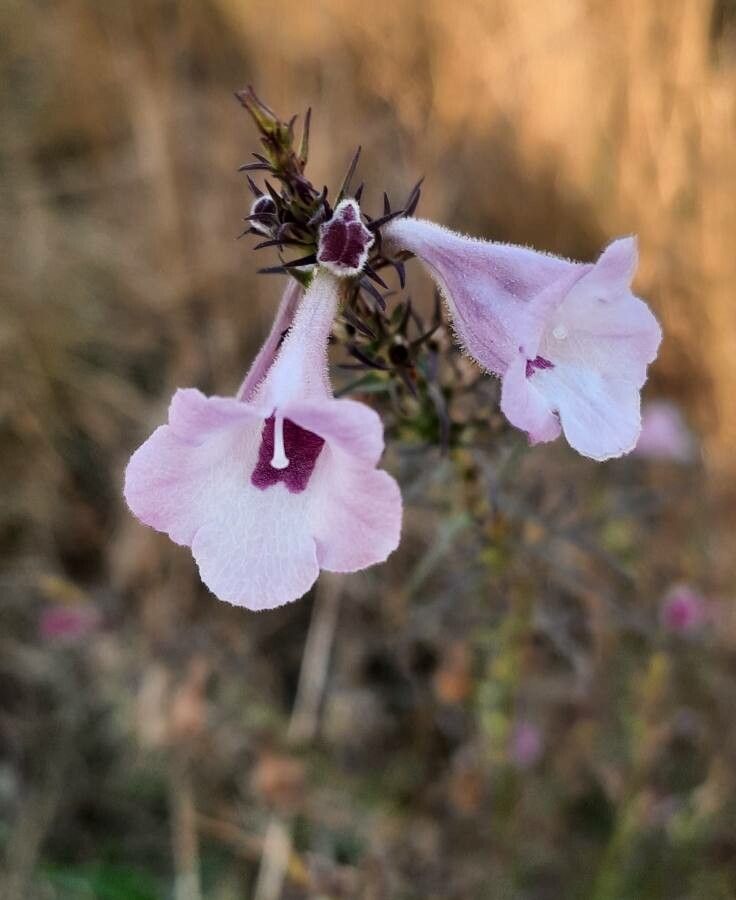
Oh, Micrargeria filiformis! What a joy it is to have this delicate beauty gracing our gardens. With its intricate, fern-like foliage and an almost ethereal grace, it’s the kind of plant that whispers secrets of the forest floor. Propagating it, I’ve found, is a wonderfully rewarding journey, even if it asks for a little patience. For beginners, it’s a plant that will teach you some valuable lessons, but with a few pointers, you’ll be well on your way.
The Best Time to Start
For getting the most robust new plants, I always reach for my secateurs in late spring or early summer. This is when the plant is in its active growth phase, buzzing with energy! New shoots are often plumper and more responsive to rooting. Waiting until after the initial flush of growth has matured a bit, but before the heat of deep summer truly sets in, gives those cuttings the best chance to establish.
Supplies You’ll Need
Gathering your tools beforehand makes the whole process so much smoother. Here’s what I tend to have on hand:
- Sharp, clean pruning shears or a sharp knife: Essential for making clean cuts.
- A good quality potting mix: I like a blend specifically for seedlings or a mix of peat-free compost, perlite, and a little bit of sand for drainage.
- Small pots or seed trays: Clean ones, please! I use __3-4 inch pots__.
- Rooting hormone (optional, but helpful): A powder or liquid can give your cuttings a boost.
- A clear plastic bag or a propagator lid: To create that crucial humid environment.
- A spray bottle: For misting.
- A bit of perlite or grit: For the very bottom of your pots to ensure excellent drainage.
Propagation Methods
Micrargeria filiformis is quite happy to be propagated from stem cuttings. It’s my go-to method, and usually yields the best results without too much fuss.
Stem Cuttings:
- Select your cutting: Look for healthy, non-flowering stems. I aim for pieces about 4-6 inches long. Make a clean cut just below a leaf node (the point where a leaf attaches to the stem). These nodes are where the magic of root formation often happens!
- Prepare the cutting: Gently remove the lower leaves. You want to have a bare stem about an inch or two long to insert into the soil. If the remaining leaves are very large, I’ll sometimes trim them in half to reduce water loss.
- Apply rooting hormone (if using): Dip the cut end into your rooting hormone, tapping off any excess.
- Plant your cutting: Fill your small pot with your potting mix, lightly moisten it, and then make a small hole with your finger or a pencil. Gently insert the cutting, ensuring the bare stem is covered by the soil. Firm the soil around it gently.
- Create a humid environment: Water the pot lightly or place it in a shallow tray of water to let it soak up moisture from the bottom. Then, cover the pot with a clear plastic bag, securing it around the rim with a rubber band, or place it inside a propagator. This is vital for keeping the humidity high, which prevents the cutting from drying out before it can grow roots.
- Location, location, location: Place your planted cuttings in bright, indirect light. Avoid direct sun, as it can scorch the delicate leaves. A warm spot is ideal.
The “Secret Sauce” (Pro Tips)
Here are a few little tricks I’ve picked up over the years that seem to really make a difference:
- Don’t let the leaves touch the water… if you choose water propagation: Although I prefer soil for Micrargeria filiformis, if you do try water, make sure only the bare stem is submerged. Any leaves sitting in water are a surefire invitation for rot.
- Bottom heat is your friend: If you have a heated propagator or can place your pots on a gentle heat mat, this is a game-changer. It encourages root development much faster by keeping the soil consistently warm. Just don’t let it get too hot!
- Patience is key with propagation: I know it’s tempting to check constantly, but resist the urge to tug at your cuttings to see if they have roots. It can damage delicate new growth. A gentle wiggle is okay, but the best indicator is new leaf growth.
Aftercare & Troubleshooting
Once you see new leaf growth or feel a gentle tug when you very lightly check for resistance, it’s a good sign roots are forming! Now it’s time for a change in care:
- Acclimatize: Gradually introduce your new plant to normal room humidity. Start by opening the plastic bag for a few hours each day, then remove it completely after a week or two.
- Watering: Continue to keep the soil consistently moist but not waterlogged. Water from the bottom when possible.
- Repotting: Once the new plant is well-established and has filled its pot, you can gently transplant it into a slightly larger pot with fresh potting mix.
The most common issue you’ll encounter is rot. If a cutting turns black and mushy, it’s likely succumbed to too much moisture and not enough air circulation. Don’t be disheartened; it happens! If you see mold on the soil surface, remove the affected soil and try to improve air circulation. It’s all part of the learning curve.
A Encouraging Closing
Propagating Micrargeria filiformis is a beautiful way to multiply a beloved plant. It teaches us about patience, observation, and the incredible resilience of nature. Enjoy the process of nurturing these tiny new lives, and soon you’ll have multiple specimens to admire or share. Happy gardening!
Resource: