Oh, hello there! Come on in, grab a mug. I’m so glad you’re interested in propagating Cotinus coggygria, often called smoke bush or smoke tree. It’s such a dramatic plant, isn’t it? Those airy, smoky plumes in late summer and fall just steal the show. And there’s something incredibly satisfying about taking a piece of a plant you love and coaxing it into becoming its own new, independent beauty. If you’re new to this, don’t fret! Cotinus can be a bit tricky, but with a little patience and these tips, I think you’ll do wonderfully.
The Best Time to Start
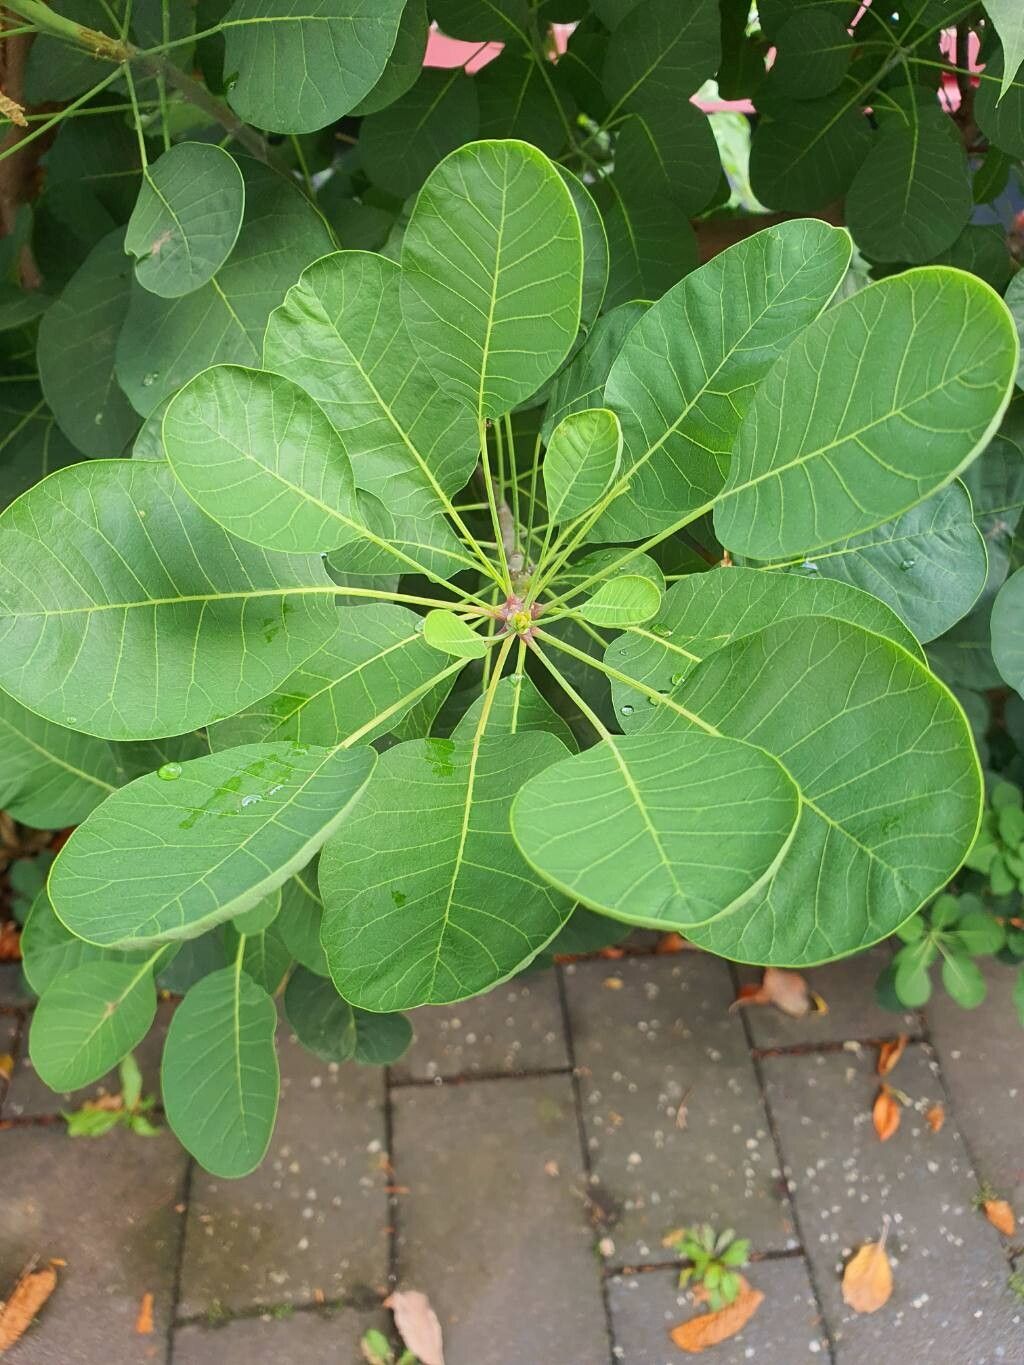
For smoky success, my favorite time to take stem cuttings is in late spring or early summer. This is when the new growth is semi-hardened. You want wood that’s firm but not yet woody and stiff, usually bits that have grown for a few weeks this season. Think of it as the plant being full of vigor, ready to share its strength.
Supplies You’ll Need
Here’s what I always have on hand when I’m propagating:
- Sharp Pruning Shears or a Knife: Cleanliness is key!
- Rooting Hormone: A powder or gel works well to give those cuttings a boost.
- Potting Mix: I like a blend that drains really well. Think 50% peat moss or coco coir and 50% perlite or coarse sand.
- Small Pots or Trays: With drainage holes, of course!
- Plastic Bags or a Propagation Dome: To create a humid environment.
- Labeling Stakes: To remember what you’ve planted.
- Optional: Bottom Heat Mat: This can really speed things up.
Propagation Methods
Let’s get our hands dirty with the most reliable method for Cotinus: stem cuttings.
- Take Your Cuttings: Select healthy, non-flowering shoots from your mature Cotinus. Look for stems that are about the thickness of a pencil. Using your clean pruners, cut sections that are roughly 4-6 inches long. Make sure each cutting has at least two sets of leaves.
- Prepare the Cuttings: At the bottom of each cutting, make a clean cut just below a leaf node (where a leaf attaches to the stem). This is where roots love to emerge.
- Strip the Leaves: Remove the lower leaves from the cutting, leaving only the top two or three leaves. If the top leaves are very large, you can snip them in half to reduce water loss through transpiration.
- Dip in Rooting Hormone: Dip the cut end of each prepared cutting into your rooting hormone. Tap off any excess.
- Pot Them Up: Fill your small pots with the prepared, well-draining potting mix. Make a hole in the center of the soil with a pencil or your finger. Carefully insert the cutting into the hole, ensuring the rooting hormone stays in place. Gently firm the soil around the base of the cutting.
- Create Humidity: Water the soil gently. Then, cover the pots with a plastic bag or place them under a propagation dome. This traps moisture, which is vital for cuttings that can’t draw water from their own roots yet. Poke a few small holes in the bag or prop it slightly open if you see excessive condensation.
The “Secret Sauce” (Pro Tips)
Here are a few tricks I’ve learned over the years that make a big difference:
- Avoid Leaf Rot: When you’re using a plastic bag or dome, make sure the leaves don’t touch the plastic. If they do, they’re more prone to rot, and we definitely don’t want that ruining our efforts. You can use small stakes to prop up the bag if needed.
- Embrace Bottom Heat: If you have a heat mat, place your pots on it. A gentle warmth from below really encourages root development. It’s like giving those little rooties a cozy, warm bed to grow in.
- Don’t Be Too Eager to Uncover: I know it’s tempting to peek! But resist the urge to remove the covering too soon. Leave them covered until you see definite signs of new growth, like tiny new leaves at the tip. This tells you they’ve successfully rooted and can start to acclimate to outside air.
Aftercare & Troubleshooting
Once you spot that first bit of fuzzy new growth, it’s a sure sign that roots are forming! At this point, you can start to gradually introduce your new cuttings to less humid conditions. Slowly lift the plastic bag for longer periods each day over a week or two.
Keep the soil consistently moist but not soggy. You’ll want to water them when the top layer of soil starts to feel dry to the touch. If your cuttings turn yellow and wilt without any sign of new growth, or if the stems become mushy and dark, it’s usually a sign of overwatering leading to rot. Sadly, in that case, the cutting is likely lost, but don’t be discouraged; it’s a learning process!
A Encouraging Closing
Propagating Cotinus can take time and a bit of trial and error, but seeing those first roots emerge is a truly magical moment. Be patient with your little plantlings, offer them consistent care, and celebrate every bit of progress. Happy propagating!
Resource:
https://identify.plantnet.org/k-world-flora/species/Cotinus%20coggygria%20Scop./data