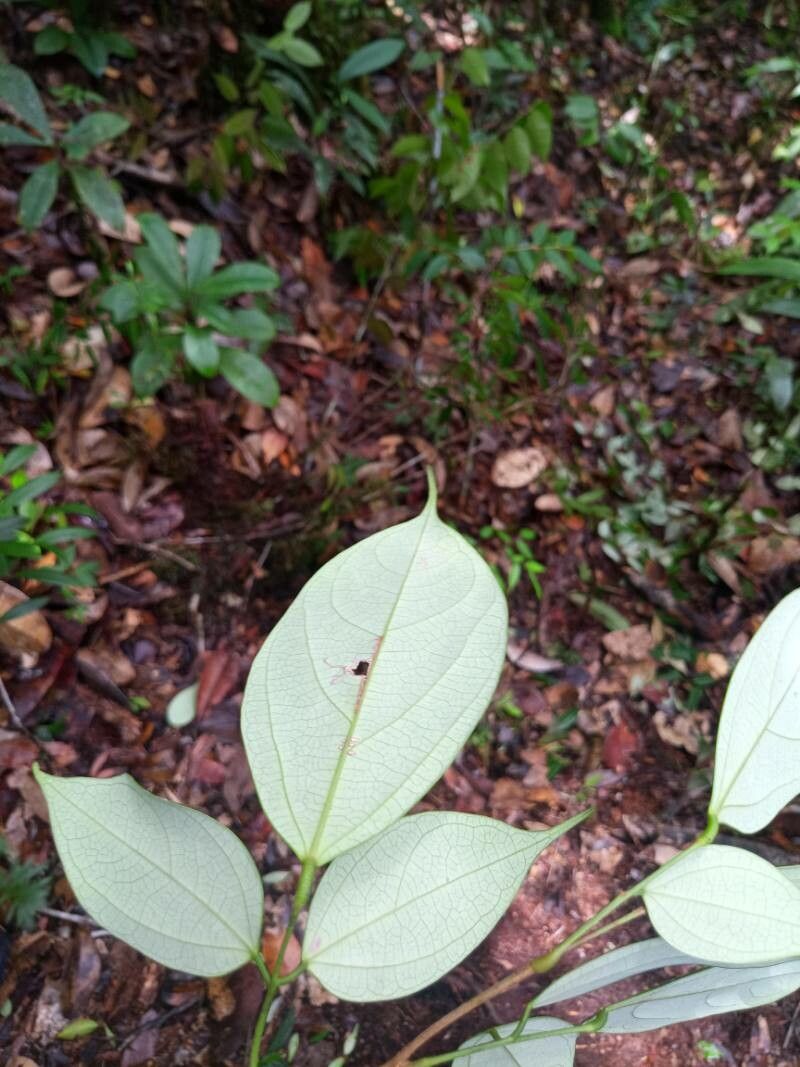
Hello there, fellow plant enthusiasts! I’m so excited about today’s topic. We’re diving into the wonderful world of Sarcotheca griffithii, a plant that brings such a charming, almost exotic touch to any garden. If you’ve ever admired its unique foliage and perhaps even its delicate blooms, you’ll be pleased to know that propagating it is a truly rewarding endeavor. While it might present a slight learning curve for absolute beginners, with a little guidance, you’ll be well on your way to creating more of these beauties.
The Best Time to Start
For the highest success rate with Sarcotheca griffithii, I’ve found that late spring to early summer is the golden window. This is when the plant is actively growing, and the cuttings will have the energy they need to establish roots. You’re looking for semi-hardwood cuttings – that’s wood that is no longer totally soft and flexible, but not yet hard and woody. It should snap cleanly when bent, not just curve.
Supplies You’ll Need
To give your Sarcotheca griffithii the best start, gather these essentials:
- Sharp Pruning Shears or a Knife: Clean, sterile cuts are crucial.
- Rooting Hormone: A powder or gel can significantly boost success.
- Well-Draining Potting Mix: I prefer a blend of equal parts peat moss (or coco coir), perlite, and coarse sand. This prevents soggy feet.
- Small Pots or Propagation Trays: With drainage holes, of course!
- Plastic Bags or a Clear Dome: To create a humid environment.
- Watering Can or Spray Bottle: For gentle watering.
- Optional: Heat Mat: For bottom warmth, which can speed up rooting.
Propagation Methods
We’ll focus on the most reliable method for Sarcotheca griffithii: stem cuttings.
- Take Your Cuttings: Using your clean shears, select healthy stems from your parent plant. Cut stems about 4-6 inches long. Make the cut just below a leaf node (where a leaf attaches to the stem). This is where roots are most likely to form.
- Prepare the Cuttings: Gently remove the lower leaves, leaving just a few at the top. This prevents them from rotting in the soil and directs the plant’s energy into root production. If the remaining leaves are very large, I sometimes snip them in half to reduce water loss.
- Apply Rooting Hormone: Dip the cut end of each stem into your rooting hormone. Tap off any excess.
- Plant Your Cuttings: Fill your small pots or trays with your prepared potting mix. Make a hole in the center with your finger or a pencil. Insert the base of the cutting into the hole, ensuring the leaf nodes are buried. Gently firm the soil around the stem.
- Create Humidity: Water the soil thoroughly but gently. Then, cover the pots with clear plastic bags (propped up so they don’t touch the leaves) or place them under a clear propagation dome. This creates a mini-greenhouse, keeping the humidity high.
- Placement: Place your pots in a bright spot with indirect light. Avoid direct sun, which can scorch the delicate cuttings. If you have a heat mat, place the pots on it.
The “Secret Sauce”
Here are a couple of things I’ve learned over the years that really make a difference:
- Never let the leaves of your cuttings touch the water if you were to try water propagation (which I find less consistent for this plant). In soil, it’s more about keeping the base of the stem consistently moist, not waterlogged.
- Bottom heat is your friend! A gentle warmth from below, around 70-75°F (21-24°C), really encourages those roots to get moving. It mimics the conditions of spring soil warming up.
- Don’t be afraid to check the soil moisture with your finger. It should feel damp but not soggy. Overwatering is the quickest way to spell disaster.
Aftercare & Troubleshooting
Once you’ve got your cuttings planted, patience is key. It can take anywhere from 4 to 8 weeks, sometimes longer, for roots to develop. You’ll know they’re ready when they resist gently tugging or when you see new growth appearing. At this point, you can gradually reduce the humidity by opening the plastic bag a little more each day, or lifting the dome for longer periods. Continue to water as needed, keeping the soil consistently moist.
The most common problem you might encounter is rot. If you see your cutting turning mushy, black, or developing a fuzzy mold, it’s likely due to too much moisture and poor air circulation. In this case, unfortunately, it’s usually best to discard the affected cutting and try again, perhaps with a slightly drier soil mix or better ventilation.
A Little More Patience
Propagating Sarcotheca griffithii is a journey. Some cuttings will take off like gangbusters, while others might be a bit more hesitant. Don’t get discouraged if not every single one succeeds. Enjoy the process of nurturing these new little plants, and know that each attempt is a learning experience. Happy propagating, and I can’t wait to hear about your successes!
Resource: