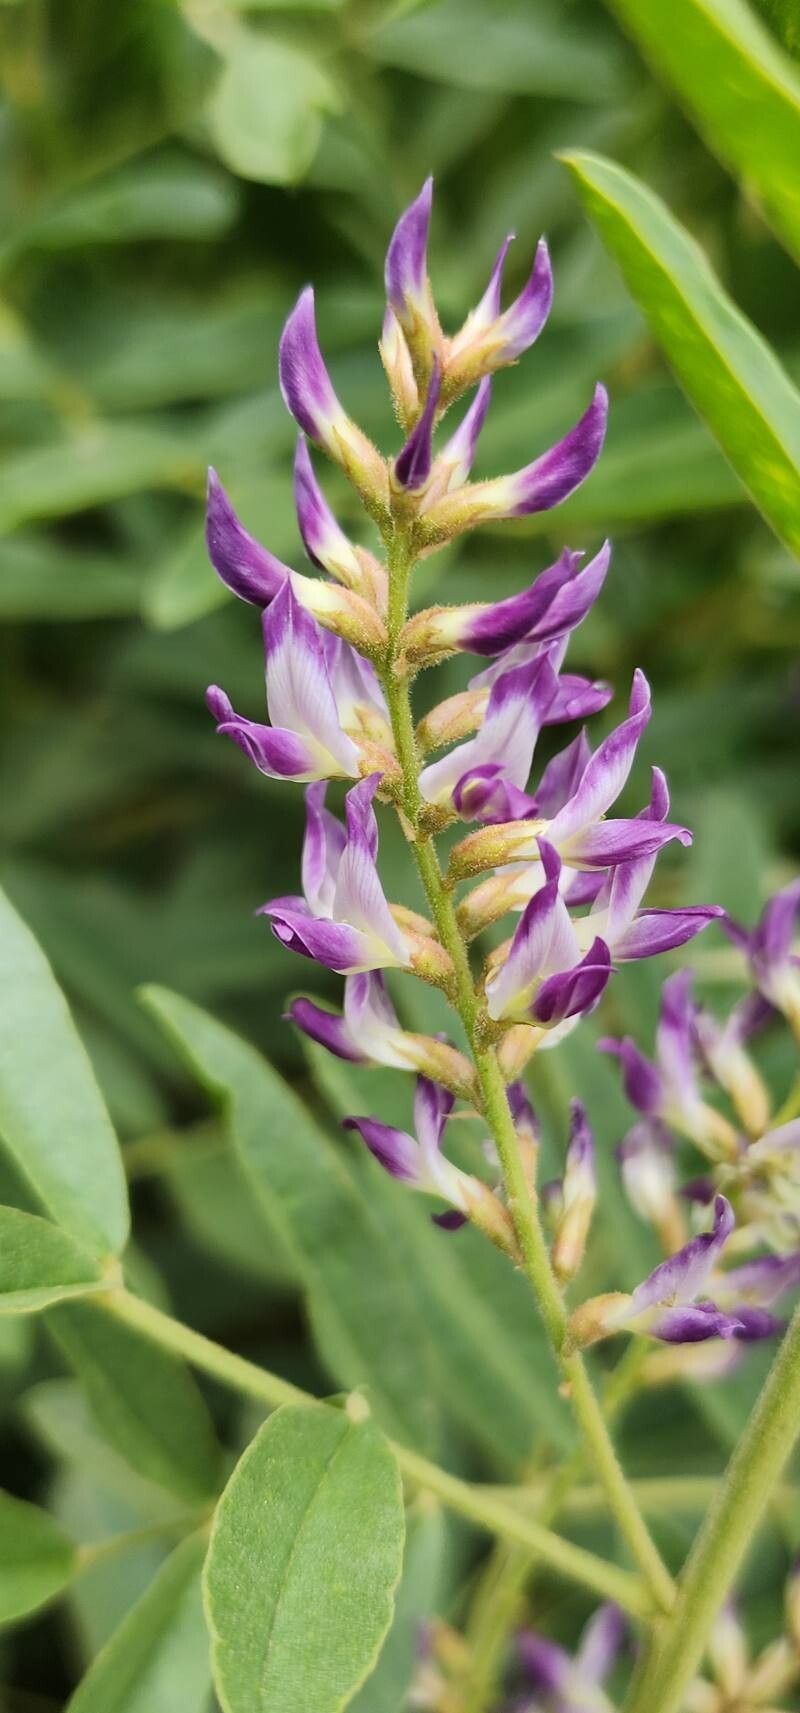
Ah, licorice root! My dear gardening friends, if you haven’t had the pleasure, Glycyrrhiza glabra is a truly fascinating plant. Beyond its intriguing use in confectionary and traditional medicine, it boasts lovely, feathery foliage and delicate, pea-like flowers in summer. Growing your own licorice root is surprisingly rewarding; it’s a plant that deepens your connection to the earth and the gifts it provides. Now, for the big question: is it beginner-friendly to propagate? I’d say it’s moderately easy. With a little patience and the right approach, you’ll be well on your way.
The Best Time to Start
Timing is everything in gardening, isn’t it? For licorice root, the sweet spot for propagation is in the early spring, just as the plant is waking up from its winter slumber. You’re looking for shoots that are about 3-6 inches long and have started to firm up a bit, but haven’t quite gotten woody. Alternatively, you can also have great success in the late summer or early fall, taking cuttings from the current season’s growth before things get too chilly.
Supplies You’ll Need
To give your little licorice sprouts the best start, gather these essentials:
- Sharp pruning shears or a clean knife: For making clean cuts.
- Rooting hormone (optional but recommended): A fine powder that encourages root development.
- Well-draining potting mix: I love a blend of equal parts peat moss, perlite, and coarse sand.
- Small pots or propagation trays: With drainage holes, of course!
- Plastic bags or a humidity dome: To create a humid environment.
- Watering can with a fine rose nozzle: For gentle watering.
- Labels and a permanent marker: To keep track of your precious propagations.
Propagation Methods
Licorice root is primarily propagated through division of its root system or by taking stem cuttings. Let’s dive into how to do both.
Method 1: Division (My Personal Favorite for Licorice)
This is often the most straightforward way to get established plants.
- Digging Up: In early spring, carefully dig up your established licorice root plant. Try to disturb the roots as little as possible. You’re looking for the plumpest, healthiest sections.
- Dividing the Roots: Gently tease apart the root mass. You can use your hands or a clean trowel. The goal is to separate sections that have both roots and a few healthy buds or shoots.
- Replanting: Pot each division into its own container filled with your well-draining potting mix. Make sure the buds or shoots are just at or slightly below the soil surface. Water gently.
- Location: Place the newly potted divisions in a bright spot, but out of direct, harsh sunlight.
Method 2: Stem Cuttings
This method gives you more “babies” from a single plant.
- Taking Cuttings: Using your clean shears, take 4-6 inch tip cuttings from healthy, non-flowering stems. Make your cut just below a leaf node (where a leaf attaches to the stem).
- Preparing the Cuttings: Remove the lower leaves from the cutting, leaving just a few at the top. If you’re using rooting hormone, dip the cut end into the powder, tapping off any excess.
- Planting: Fill small pots with your potting mix. Make a small hole with your finger or a pencil and insert the cut end of the stem, firming the soil gently around it. Water thoroughly.
- Creating Humidity: Cover each pot with a clear plastic bag, supported by stakes so the bag doesn’t touch the leaves, or place them under a humidity dome.
- Location: Place the pots in a warm, bright location, but again, avoid direct sun.
The “Secret Sauce” (Pro Tips)
Here are a couple of my personal tricks that can really boost your success rates:
- Don’t Rush the Water: When taking stem cuttings, I always let the cut end of the stem “callous over” for a few hours before dipping it in rooting hormone and planting. This slight drying helps prevent rot and encourages root formation.
- Bottom Heat is Your Friend: For stem cuttings, placing your pots on a heating mat specifically designed for seedlings can make a world of difference. Warmth from below encourages roots to form much faster and more reliably. Think of it as a cozy incubator for your baby plants!
Aftercare & Troubleshooting
Once roots have formed (this can take anywhere from 4-8 weeks for cuttings, or divisions should start showing new growth), it’s time for a bit more attention.
- Watering: Keep the soil consistently moist but not soggy. As the new plants grow stronger, you can gradually introduce them to more sunlight.
- Transplanting: Once your cuttings have developed a robust root system and are showing good top growth, you can transplant them into larger pots or their permanent garden spots.
- Common Problems: The most common pitfall with licorice root propagation is rot. This usually happens from overwatering or poor drainage. If you see stems turning mushy and black, or leaves wilting despite moist soil, it’s a sign of too much moisture. If in doubt, always err on the side of slightly drier rather than too wet. Fungal diseases can also be an issue in overly humid and stagnant conditions.
A Encouraging Closing
Growing plants from cuttings or divisions is a wonderfully tangible way to connect with nature. Be patient with your little licorice roots; they’ll show you their progress at their own pace. Enjoy the journey of nurturing these new plants and the satisfaction of seeing them thrive. Happy gardening, my friends!
Resource:
https://identify.plantnet.org/k-world-flora/species/Glycyrrhiza%20glabra%20L./data