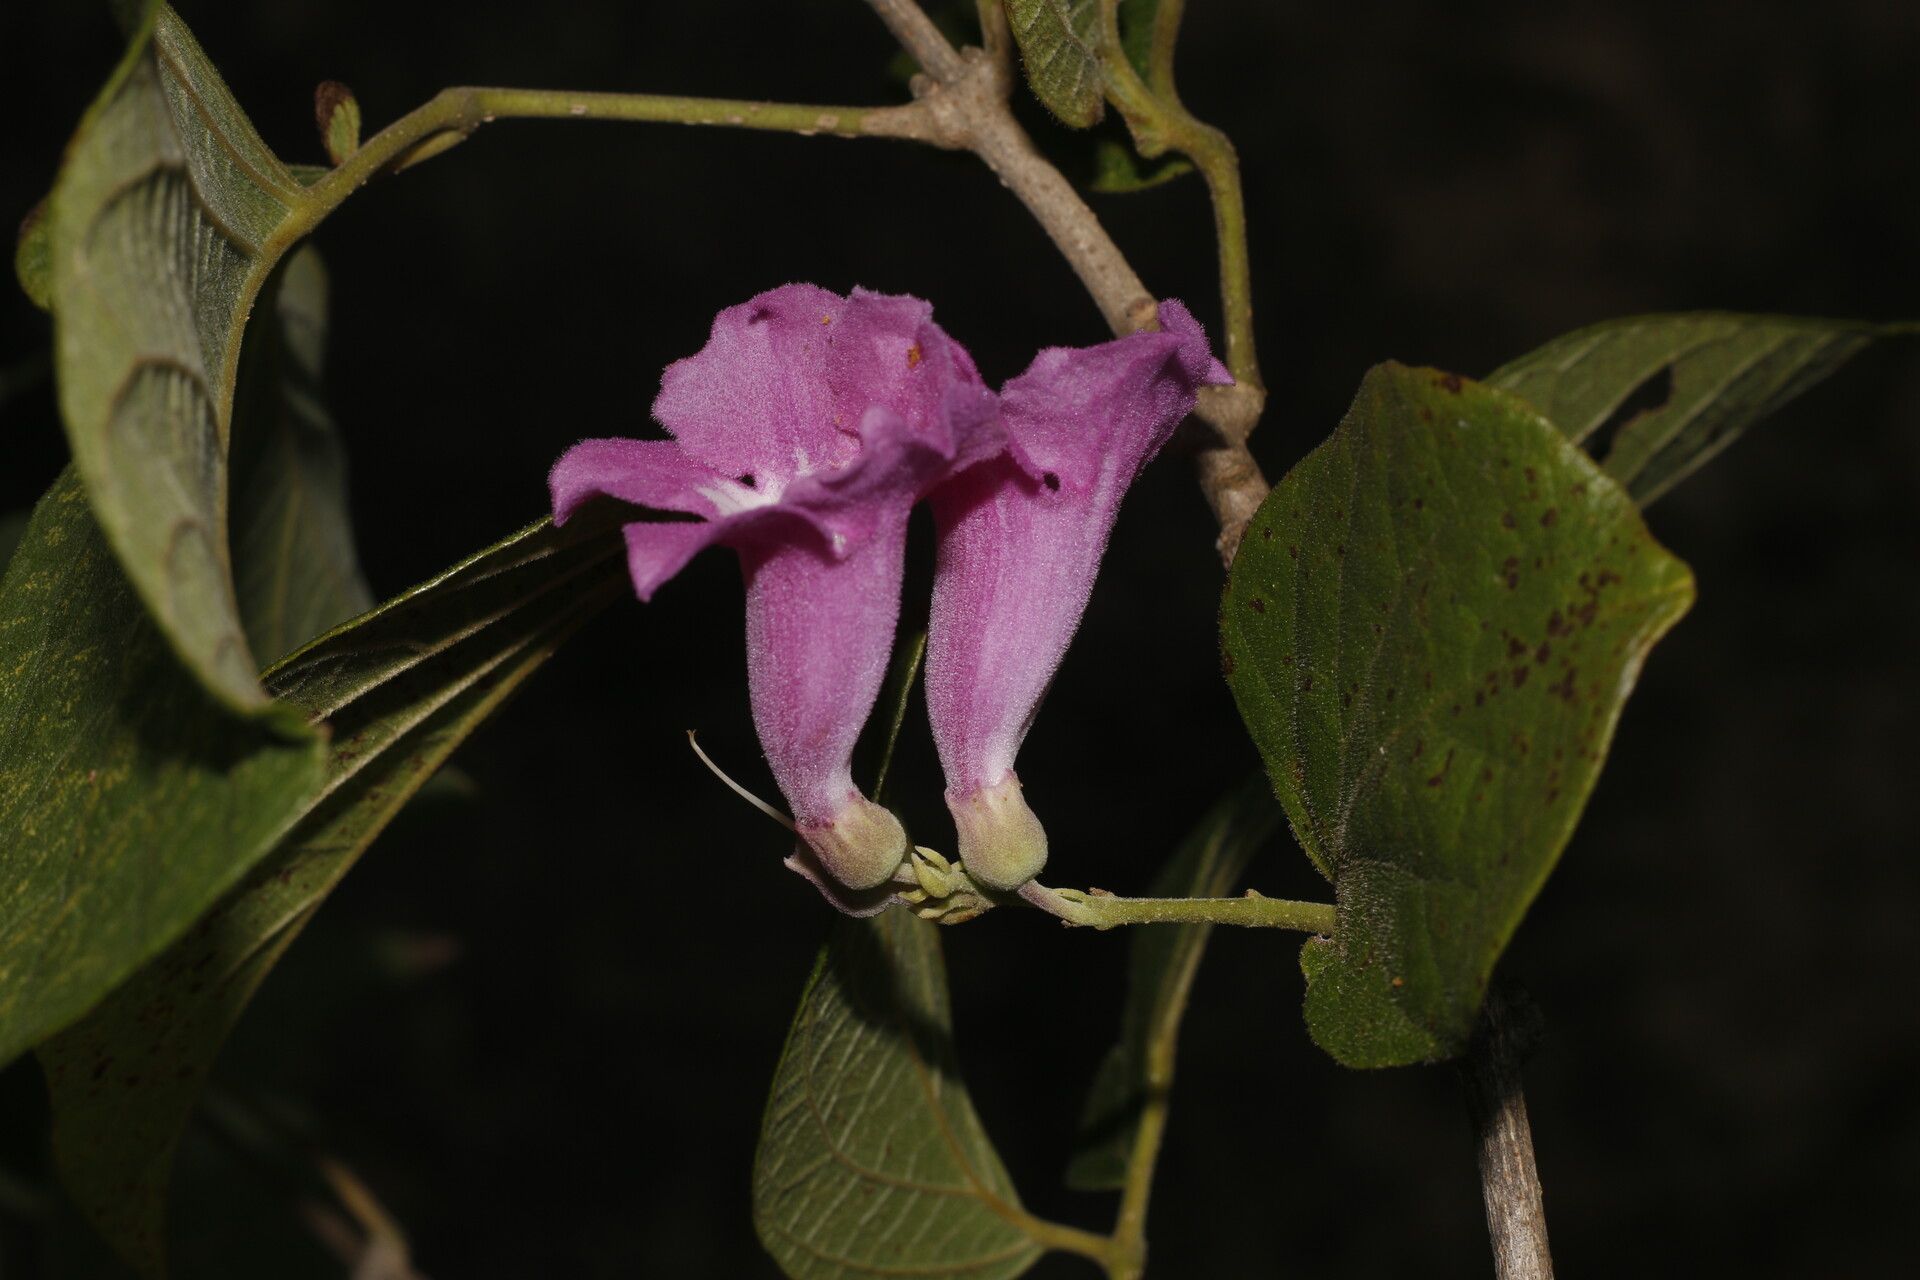
Hello, fellow plant lovers! Today, we’re going to dive into something truly special: coaxing new life from a beautiful Fridericia costaricensis. If you’ve ever marveled at its delicate, trumpet-shaped blooms and perhaps a whisper of tropical charm, you’re not alone. Growing these beauties from scratch is such a fulfilling journey, a chance to share the joy of their vibrant colors and graceful presence with friends, or simply to expand your own green haven.
Now, I know you might be wondering about difficulty. For Fridericia costaricensis, propagation is generally quite manageable. It’s not something I’d call “foolproof” for an absolute beginner, but with a little care and attention, success is absolutely within reach. Think of it as a delightful challenge that rewards your efforts beautifully.
The Best Time to Start
Timing is everything in the garden, isn’t it? For Fridericia costaricensis, the sweet spot for propagation is late spring to early summer. This is when the plant is in active growth. You’ll want to select healthy, new growth that’s firm but not yet woody. Think of it as choosing the most vibrant, energetic pieces of the plant to work with. Avoid anything that looks stressed or is producing flowers right at that moment.
Supplies You’ll Need
Gathering your tools beforehand makes the whole process smoother. Here’s what I typically have on hand:
- Sharp Pruning Shears or a Clean Knife: For making clean cuts.
- Rooting Hormone (Optional but Recommended): Powder or gel can give your cuttings a helpful boost.
- Potting Mix: A well-draining blend is key. I like a mix of equal parts potting soil and perlite or coarse sand.
- Small Pots or Seedling Trays: With drainage holes, of course!
- Clear Plastic Bags or a Propagator: To create a humid environment.
- Watering Can with a Fine Rose: For gentle watering.
- Labeling Stakes: So you don’t forget what you planted where!
Propagation Methods
Fridericia costaricensis is quite amenable to stem cuttings. This is hands-down my favorite way to multiply this plant.
1. Taking Stem Cuttings:
- First, select a healthy stem from your mature Fridericia costaricensis. Look for growth that’s about 4-6 inches long.
- Using your sharp pruning shears or knife, make a clean cut just below a leaf node. A leaf node is where a leaf attaches to the stem. This is where the magic happens, where roots are most likely to form.
- Gently remove the lower leaves from the cutting. You want to keep a few leaves at the top for energy, but too many leaves will draw moisture away from the cutting before it can establish roots.
- If you’re using rooting hormone, dip the cut end into the powder or gel. Just a light coating is all that’s needed.
2. Planting Your Cuttings:
- Prepare your pots or trays with your well-draining potting mix. Moisten the mix before you plant.
- Make a small hole in the soil with your finger or a pencil. This prevents you from rubbing off the rooting hormone when you insert the cutting.
- Gently insert the cut end of the stem cutting into the hole. Make sure at least one leaf node is below the soil surface.
- Firm the soil gently around the cutting to ensure good contact.
- Water lightly to settle the soil.
3. Creating a Humid Environment:
- This is crucial! Fridericia costaricensis loves humidity when it’s trying to root.
- Cover the pot with a clear plastic bag, securing it loosely around the rim with a rubber band or tape. Alternatively, place the pot inside a propagation tray with a lid.
- Place the pots in a bright, indirect light location. Avoid direct sun, which can scorch the delicate cuttings.
The “Secret Sauce” (Pro Tips)
Here are a couple of things I’ve learned over the years that really make a difference:
- Don’t let the leaves touch the water. If you’re using water propagation (though I find stem cuttings in soil more reliable for this beauty), ensure the leaves are above the water line. Any submerged leaves will rot, and that’s a fast track to losing your cutting.
- Bottom heat is your friend. If you have a seedling heat mat, placing your pots on it can significantly speed up root development. The consistent warmth encourages the plant to put its energy into growing roots. It’s like giving them a cozy, warm bed to get started.
- Be patient with the leaves. You might notice the leaves looking a little droopy at first. This is normal! If they perk up after you’ve created a humid environment, you’re on the right track. If they stay droopy and start to yellow, it might be a sign the cutting isn’t taking.
Aftercare & Troubleshooting
Once you start to see new growth – like tiny leaves unfurling or a slight resistance when you gently tug on the cutting – that’s your cue that roots are forming!
- Gradually acclimate your new plants to less humid conditions. Start by opening the plastic bag for a few hours each day, then remove it entirely over a week or so.
- Continue to keep the soil consistently moist, but not waterlogged.
- Watch out for rot! Signs of rot include mushy stems or blackening at the soil line. If you spot this, it’s usually too late, but in the future, ensure your potting mix is free-draining and you’re not overwatering.
- Leggy growth can happen if the plant isn’t getting enough light. Move it to a brighter, but still indirect, location.
A Warm Encouragement
Propagating Fridericia costaricensis is a wonderful way to connect with nature and witness the miracle of new life. Don’t be discouraged if your first few attempts aren’t perfect. Every seasoned gardener has had their share of cuttings that didn’t make it! The key is to keep trying, observe your plants, and celebrate those little successes. Enjoy the journey, and soon you’ll have even more of these lovely blooms to admire. Happy gardening!
Resource: