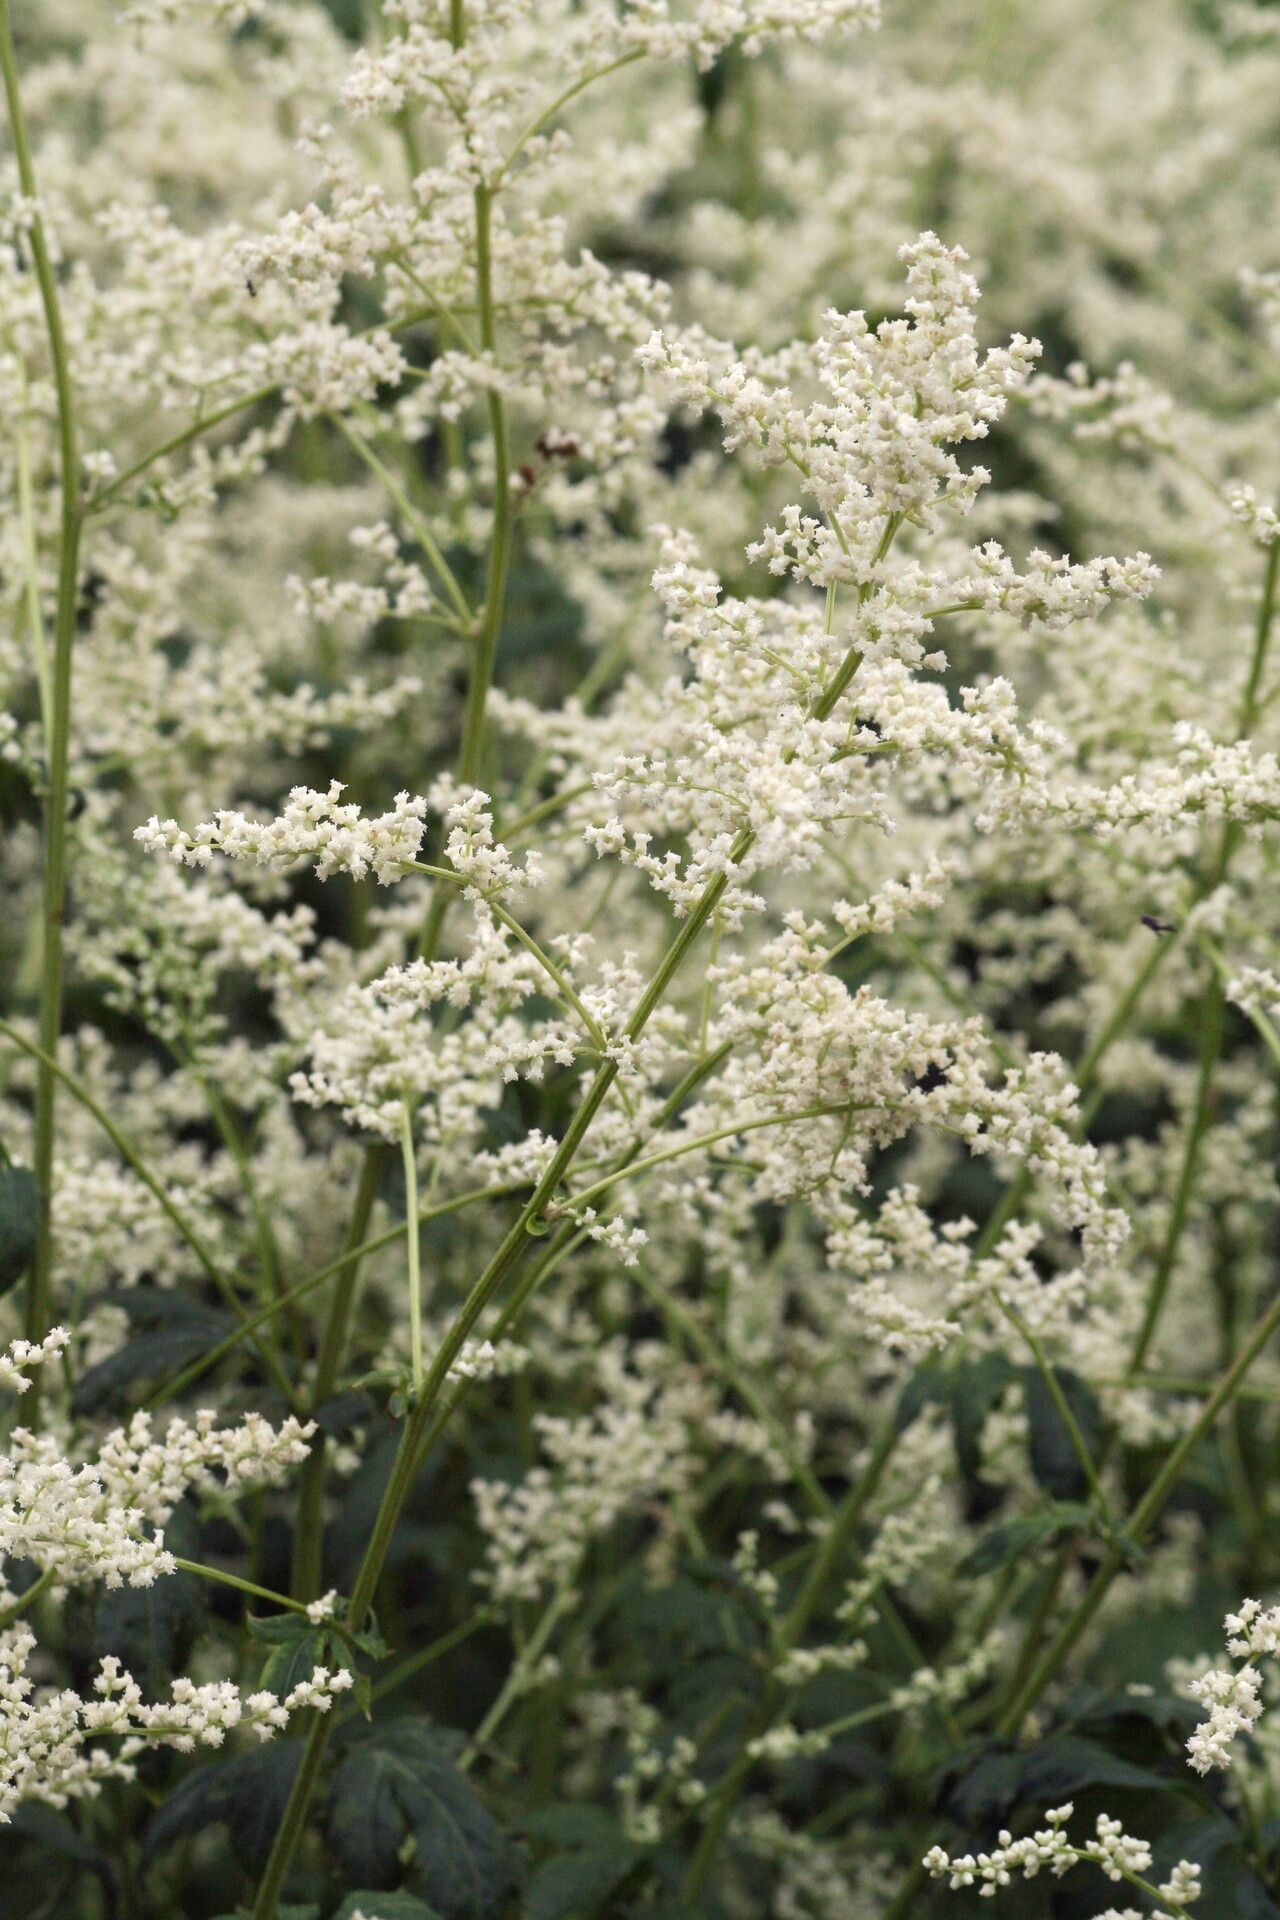
Oh, hello there! Come on in, grab a cup of something warm. Today, we’re going to talk about a plant I truly adore: Artemisia lactiflora, often called American Wormwood or White Mugwort. If you’re looking for a plant that brings a beautiful, frothy elegance to your garden, with lovely silvery-green foliage and creamy white flower plumes that dance in the breeze, you’re in for a treat. And the best part? Sharing this beauty is wonderfully rewarding, and thankfully, Artemisia lactiflora is a relatively easy plant to propagate, even for those just dipping their toes into the world of gardening.
The Best Time to Start
For the highest success rate, I find late spring to early summer is your sweet spot. This is when the plant is actively growing and has plenty of energy to put into developing new roots. You’re looking for healthy, non-flowering stems. If you can catch them before they get too woody, even better!
Supplies You’ll Need
Don’t let this list scare you; you probably have most of it already! Essential tools for a successful propagation session include:
- Sharp Pruning Shears or a Craft Knife: Cleanliness is key.
- Rooting Hormone (Powder or Gel): This is optional but can give you a nice boost.
- Small Pots or Seed Trays: Clean ones, please!
- A Well-Draining Potting Mix: I like to use a 50/50 mix of peat moss or coco coir and perlite or coarse sand. It needs to be airy!
- A Spray Bottle Filled with Water: For keeping things humid.
- Plastic Bags or a Propagator Lid: To create a mini-greenhouse effect.
- A Marker and Labels: So you don’t forget what you planted where!
Propagation Methods
There are a couple of ways we can go about this, and both are quite effective for Artemisia lactiflora.
Stem Cuttings: My Go-To Method
This is my favorite and often the most reliable way to get a whole new plant.
- Take Your Cuttings: On a healthy, vigorous shoot from your mature plant, select stems that are about 4-6 inches long. Make a clean cut just below a leaf node (that’s where a leaf attaches to the stem). Remove any lower leaves, leaving just a few at the top. If you have flower buds, pinch them off so the plant focuses its energy on rooting.
- Prepare the Cuttings: If you’re using rooting hormone, dip the cut end of the stem into it, tapping off any excess.
- Plant Your Cuttings: Fill your clean pots with your prepared potting mix. Make a small hole with your finger or a pencil in the center of each pot. Gently insert the cutting into the hole, ensuring the wounded end makes good contact with the soil. Firm the soil gently around the stem.
- Water and Cover: Water the pot gently until the soil is moist but not soggy. Then, cover the pot with a clear plastic bag or a propagator lid. This traps humidity, which is crucial for cuttings to root. You can use a couple of bamboo stakes to keep the bag from directly touching the leaves.
Division: The Quickest Fix
If your Artemisia lactiflora has gotten a bit large and is looking a bit crowded in its pot or bed, division is a fantastic way to get new plants and also rejuvenate the parent.
- Gently Excavate: Carefully dig up the entire plant. You can do this in spring as new growth emerges or in the fall after flowering.
- Inspect and Separate: Gently shake off excess soil. You’ll see the plant is made up of several clumps growing from a central root system. Using your hands or a clean trowel, carefully pull or cut the root ball into sections. Each section should have some healthy roots and at least one good shoot.
- Replant: Pot up the divisions into new pots with fresh potting mix, or replant them directly into your garden beds. Water them in well.
The “Secret Sauce” (Pro Tips)
Here are a few things I’ve learned from years of hands-on experience that really make a difference.
- Bottom Heat is Your Friend: For stem cuttings, placing your pots on a heat mat can significantly speed up root formation. It mimics the warmth of spring soil and gives those new roots a great start.
- Don’t Drown Them: While humidity is vital for cuttings, overwatering is the quickest way to kill them. Make sure your pots have drainage holes and that the soil is just moist, not waterlogged. If you see water pooling on the surface, you’ve gone too far.
- Cleanliness is Next to Godliness: I can’t stress this enough – sterilize your tools! A quick wipe-down with rubbing alcohol between cuts prevents the spread of any diseases that could infect your precious cuttings.
Aftercare & Troubleshooting
Once your cuttings have been planted, keep them in a bright, indirect light location. Avoid direct sun, which can scorch them. Your goal is to maintain that humid environment. Check the soil moisture regularly and mist the leaves if they look a bit dry.
You’ll know your cuttings are rooted when you see new leaf growth or feel a gentle resistance when you lightly tug on the stem. This usually takes anywhere from 3-6 weeks. Once they’re well-rooted, you can gradually acclimate them to normal conditions by opening the plastic bag a little more each day for a week. Then, transplant them into their own pots or their permanent garden spots.
The most common problem you’ll encounter is rot. If a cutting turns black and mushy, it’s usually a sign of too much moisture and not enough air circulation. If this happens, remove the affected cutting immediately and check the moisture levels of the others. Don’t be discouraged if a few don’t make it. It’s all part of the learning process!
A Little Patience Goes a Long Way
Propagating plants is such a wonderful way to connect with nature and double your garden’s beauty without spending a fortune. Be patient with your new Artemisia lactiflora babies. They’ll get there! Enjoy the process, observe their progress, and before you know it, you’ll have a whole new collection of these graceful plants to admire. Happy gardening!
Resource:
https://identify.plantnet.org/k-world-flora/species/Artemisia%20lactiflora%20Wall.%20ex%20DC./data