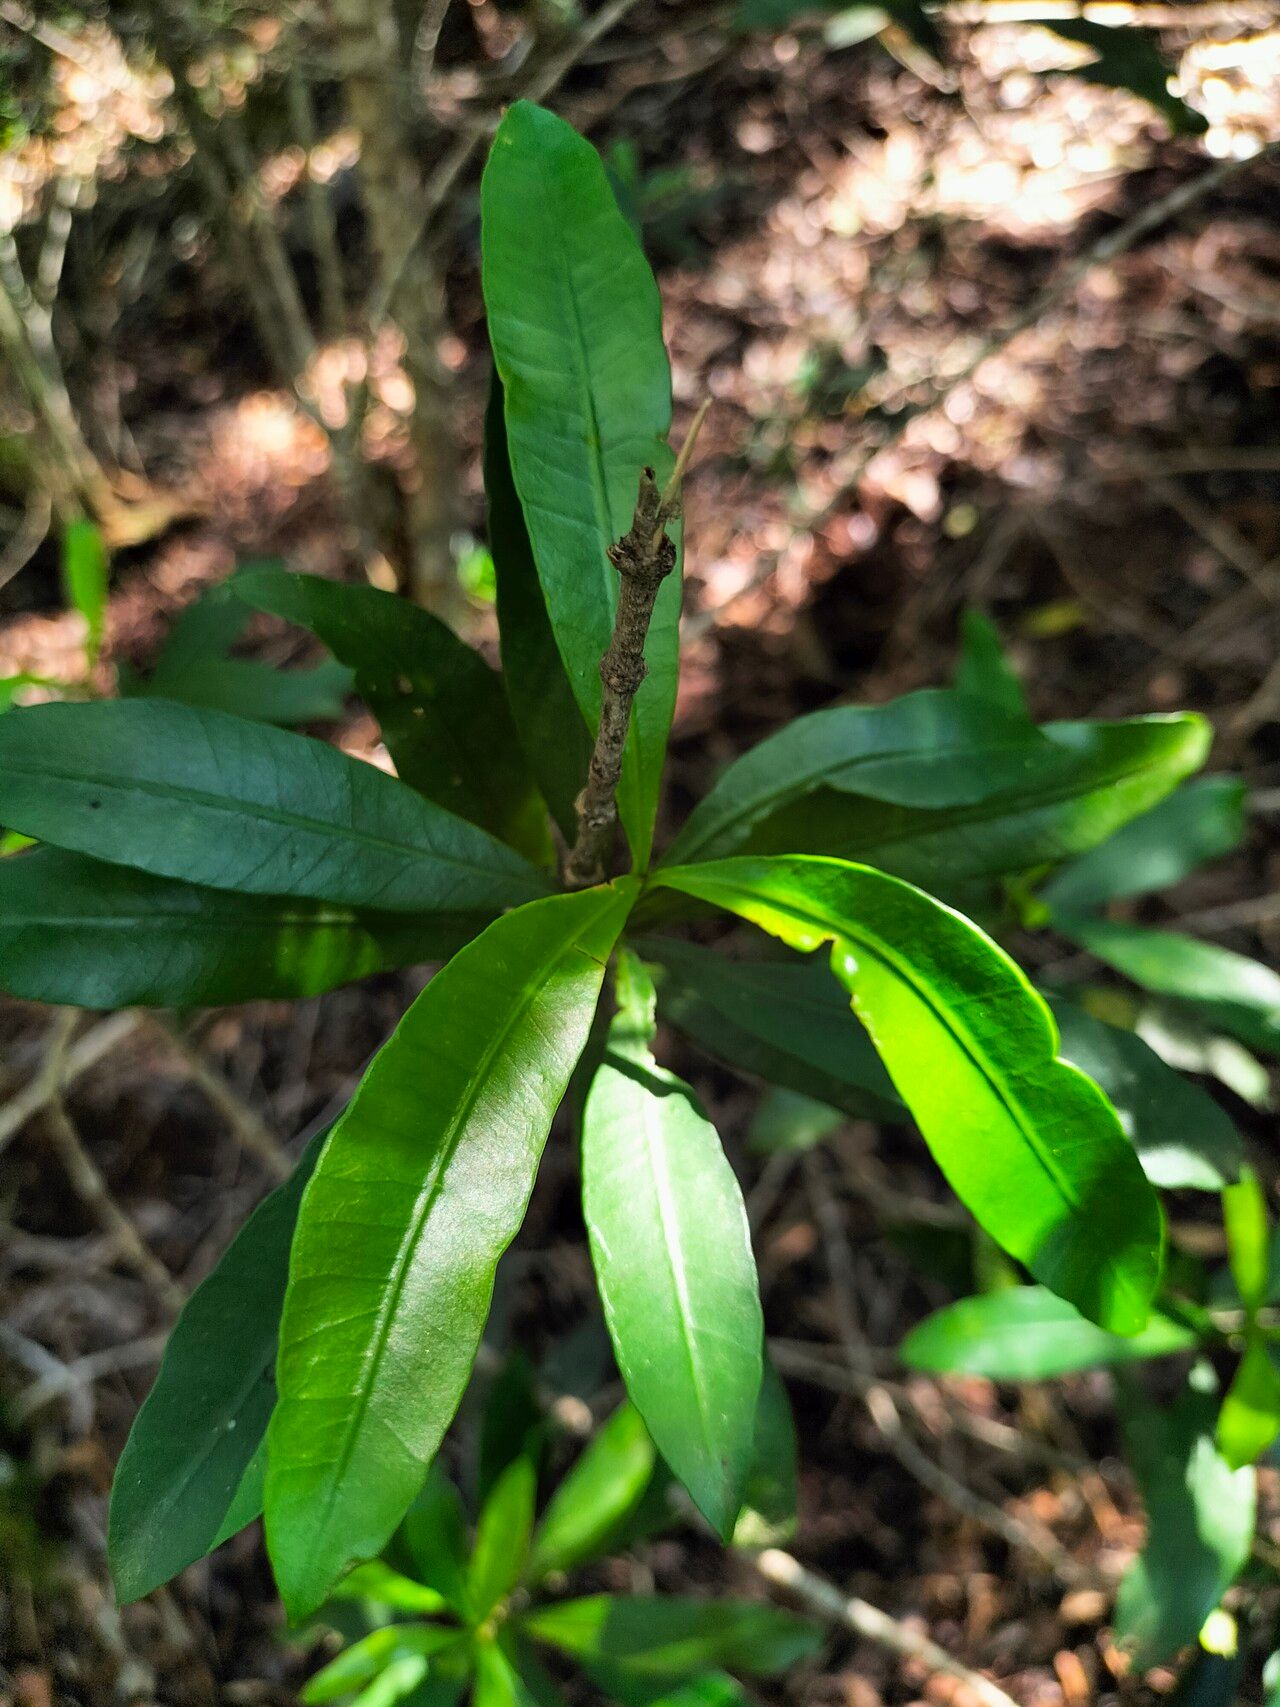
Hello, fellow plant lovers! It’s such a joy to be sharing my passion for gardening with you today. I want to talk about a plant that has really captured my heart over the years: Gonioma kamassi. You know, that stunning evergreen with its glossy, deep green leaves and the most delightful, perfumed white flowers? Absolutely gorgeous, and it brings a touch of the exotic to any space.
Propagating Gonioma kamassi is a truly rewarding experience. It’s your chance to multiply the beauty you already enjoy and share it with friends and family. Now, if you’re a brand-new beginner, I’ll be honest, Gonioma kamassi can be a little bit of a challenge. But don’t let that discourage you! With a bit of patience and these tried-and-true methods, you’ll be well on your way.
The Best Time to Start
For the highest success rate with Gonioma kamassi, you want to tap into its natural growth cycle. The late spring to early summer is your golden ticket. This is when the plant is actively putting out new growth, full of vigor and ready to put that energy into making roots. We’re looking for semi-hardwood cuttings – not the super soft, brand new tips, nor the old, woody stems. Think of that sweet spot, just starting to firm up.
Supplies You’ll Need
Gathering your tools beforehand makes the whole process smoother. Here’s what you’ll want to have on hand:
- Sharp, sterile pruning shears or a clean knife: Essential for making clean cuts that heal well.
- Rooting hormone powder or gel: This is your secret weapon for encouraging root development.
- A well-draining potting mix: I prefer a blend of equal parts peat or coco coir, perlite, and a bit of coarse sand. This ensures good aeration and prevents waterlogging.
- Small pots or propagation trays: Clean containers are key to preventing disease.
- A plastic bag or clear plastic dome: To create a humid environment.
- Labels and a marker: To keep track of your efforts!
- Optional but recommended: A heat mat: Gentle bottom heat can significantly speed up rooting.
Propagation Methods: Stem Cuttings
This is my go-to for Gonioma kamassi. It’s reliable and has given me fantastic results.
-
Take Your Cuttings: On a bright, but not scorching, day, select healthy stems from your mature plant. Using your clean, sharp shears, make a cut just below a leaf node. Aim for cuttings that are about 4-6 inches long. Remove the lower leaves, leaving just a few at the top. This reduces water loss and prevents leaves from rotting in the soil.
-
Prepare the Cuttings: Dip the cut end of each cutting into rooting hormone powder or gel. Gently tap off any excess. You want a nice, even coating.
-
Pot Them Up: Fill your small pots or trays with your prepared, dampened potting mix. Make a small hole in the center of each pot with a pencil or your finger. Carefully insert the cut end of the Gonioma kamassi cutting into the hole, ensuring the rooting hormone stays intact. Firm the soil gently around the stem.
-
Create Humidity: Water the soil lightly. Then, place a clear plastic bag over the pot, securing it around the rim, or cover the tray with a clear plastic dome. This traps moisture and creates that vital humid environment your cuttings need to plump up and form roots.
-
Provide Light and Warmth: Place your cuttings in a bright spot that gets indirect sunlight. Too much direct sun will scorch those delicate new leaves. If you have a heat mat, place the pots on top. This gentle warmth from below is a game-changer for encouraging root formation.
The “Secret Sauce” (Pro Tips)
Here are a few tricks I’ve learned over the years that can really boost your success rate:
- Don’t let the leaves touch the water: If you’re experimenting with water propagation (though less successful for Gonioma, it’s worth a mention!), make sure only the stem is submerged. Any leaves dipping into the water are a fast track to rot.
- Bottom heat is your best friend: Seriously, if you can manage it, a heat mat makes a world of difference. It mimics the warmth of spring soil and encourages roots to sprout much faster.
- Mist, don’t drench: Gently mist the inside of your humidity dome or bag every few days. You want it moist, not soggy. Too much water can invite fungal issues, and that’s the last thing we want for our fragile cuttings.
Aftercare & Troubleshooting
Once you start to see signs of new growth – tiny new leaves unfurling or even a gentle tug resistance when you lightly pull on a cutting – you know roots are forming. This is a moment to celebrate!
Gradually acclimate your new plants to open air by increasing the ventilation. Remove the plastic bag or dome for longer and longer periods each day over a week or so. Continue to keep the soil lightly moist, but never waterlogged. They still need that humidity to transition.
Now, what if things don’t go as planned? The most common issue you might encounter is rot. If your cuttings turn mushy and black, this is a sign of too much moisture and poor air circulation. Unfortunately, once rot sets in, it’s usually game over for that particular cutting. Don’t be discouraged. Go back to your supplies, check your watering habits, and try again. Cleanliness is paramount in preventing these fungal issues.
A Encouraging Closing
Propagating plants is a journey, and with Gonioma kamassi, it’s especially rewarding. Be patient with yourself and your new little green friends. Not every cutting will make it, and that’s perfectly okay. Each attempt is a learning opportunity. Enjoy the process of nurturing these new lives, and soon you’ll have a collection of beautiful Gonioma kamassi to fill your home and garden with their enchanting presence. Happy propagating!
Resource:
https://identify.plantnet.org/k-world-flora/species/Gonioma%20kamassi%20E.Mey./data