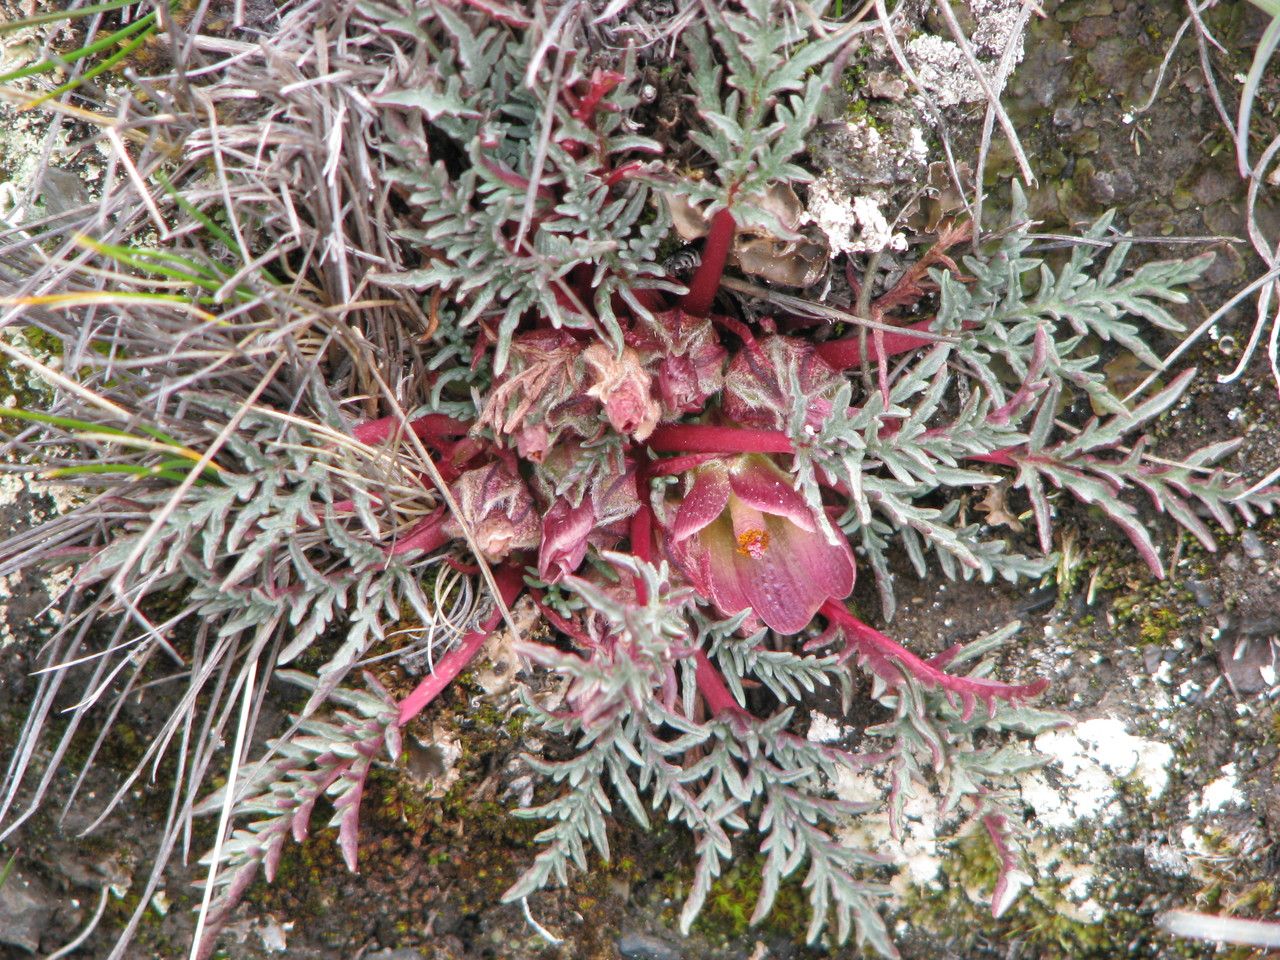
Oh, hello there! I’m so glad you’ve stopped by. Today, we’re diving into the wonderful world of propagating Nototriche purpurascens. If you’ve ever seen this beauty with its stunning purple blooms and wondered if you could have more of it gracing your garden, you’re in the right place. It’s one of those plants that just makes your heart sing, and the joy of coaxing a new life from an existing one is truly something special.
Why Propagate This Gem?
Having more Nototriche purpurascens means more bursts of vibrant purple in your landscape. Plus, propagating is incredibly satisfying. It’s like giving a gift to your future self, or even sharing the love with fellow gardening friends. For many, this plant is moderately easy to propagate, making it a rewarding project for both seasoned gardeners and those looking to expand their indoor jungle.
When is the Best Time to Start?
The absolute sweet spot for propagating Nototriche purpurascens is during its active growing season. Think late spring through early summer. This is when the plant has plenty of energy to put into developing new roots. You’ll want to take cuttings from healthy, vigorous stems that haven’t yet flowered.
What You’ll Need on Hand
Gathering your supplies beforehand makes the whole process much smoother. Here’s what I usually have ready:
- Sharp Pruning Shears or a Clean Knife: For making clean cuts.
- Rooting Hormone (Powder or Gel): This is a real game-changer for encouraging root development.
- Well-Draining Potting Mix: I like a blend of equal parts peat moss, perlite, and a bit of orchid bark. You want it light and airy.
- Small Pots or Seed Trays: Clean and with drainage holes, of course!
- Plastic Bags or a Clear Plastic Dome: To create a humid environment.
- Watering Can with a Fine Rose: For gentle watering.
- Labels and a Marker: To keep track of your cuttings!
Let’s Get Propagating! Stem Cuttings Method
This is my go-to method for Nototriche purpurascens. It’s reliable and gives you the best chance of success.
- Take Your Cuttings: Select a healthy, non-flowering stem. Make a clean cut just below a leaf node (where a leaf attaches to the stem). Aim for cuttings that are about 4-6 inches long.
- Prepare the Cuttings: Gently remove the lower leaves from the cutting, leaving just a few at the top. This helps prevent them from rotting once planted.
- Apply Rooting Hormone: Dip the cut end of the stem into your rooting hormone, tapping off any excess.
- Plant the Cuttings: Fill your small pots with the well-draining potting mix. Make a small hole with your finger or a pencil, insert the cutting, and gently firm the soil around it.
- Create a Humid Environment: Water the soil gently. Then, cover the pot with a plastic bag or a clear plastic dome. This traps moisture and creates the humid microclimate that cuttings love.
The “Secret Sauce” – My Insider Tips
After years in the garden, you pick up a few tricks!
- Bottom Heat is Your Friend: If you have a small seedling heat mat, placing your pots on it can significantly speed up root formation. It mimics the warmth of spring soil.
- Don’t Be Afraid to Experiment: While stem cuttings are great, sometimes I’ll try a few in plain water too, just to see how they do! If using water, make sure no leaves touch the water. They’ll just rot.
- Patience is the Biggest Ingredient: Seriously, don’t rush it. Some cuttings will show roots in a couple of weeks, others might take a couple of months.
Aftercare and When Things Go Wrong
Once you start to see new growth or feel a gentle tug when you lightly pull on a cutting, you know roots are forming!
- Gradually Acclimate: Once roots are established, slowly remove the plastic bag or dome over a few days to let the new plant get used to drier air.
- Watering: Water when the top inch of soil feels dry. Avoid overwatering, which can lead to rot.
- Watch for Rot: The most common sign of failure is a slimy, mushy stem. This usually means too much moisture and not enough air circulation. If you see this, unfortunately, that cutting is likely a goner. Remove it from the pot to prevent it from affecting other healthy cuttings.
Enjoy the Journey!
Propagating plants, especially beauties like Nototriche purpurascens, is a journey of patience and observation. Don’t get discouraged if a few don’t make it – that’s part of learning. Celebrate every little success, and before you know it, you’ll have a beautiful garden filled with your own propagated specimens. Happy gardening!
Resource:
https://identify.plantnet.org/k-world-flora/species/Nototriche%20purpurascens%20A.W.Hill/data