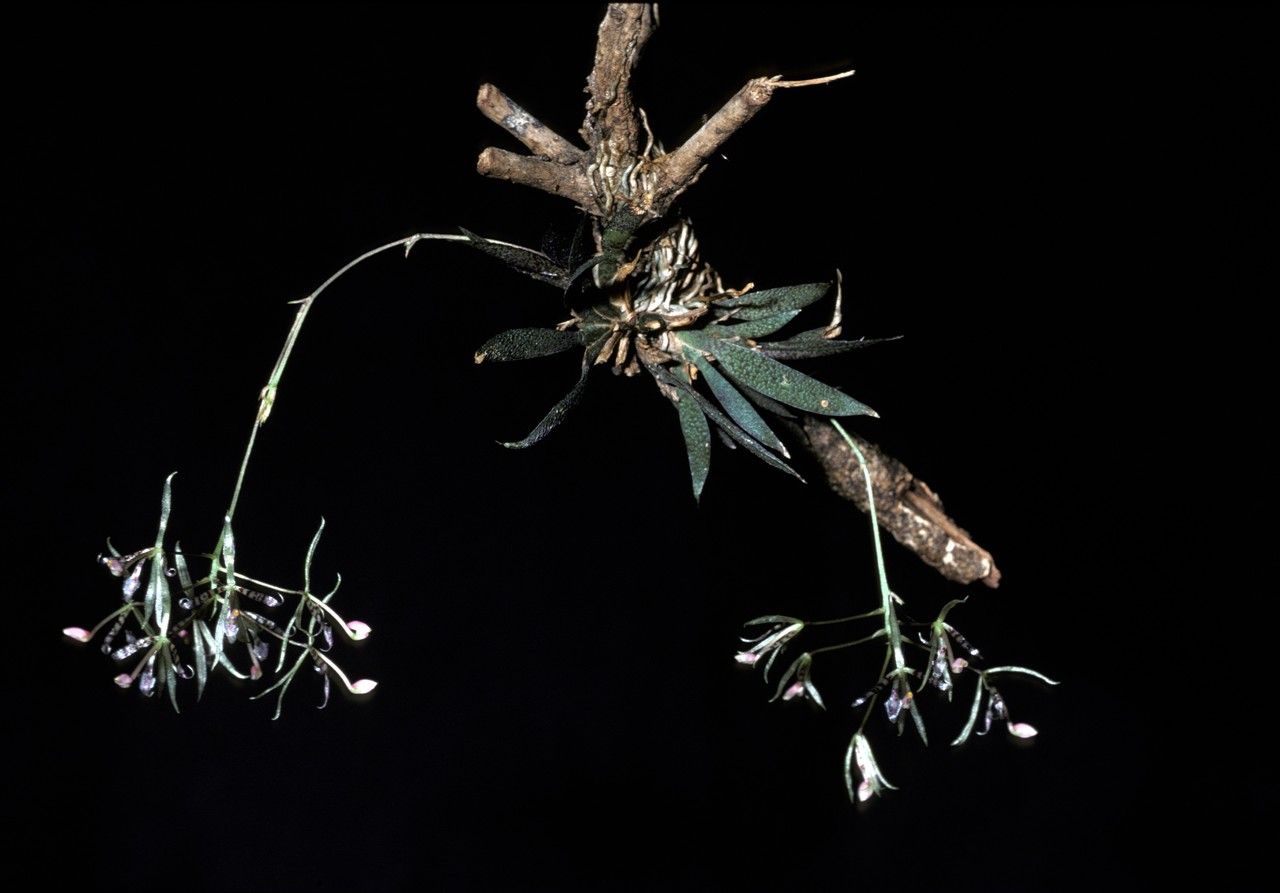
Oh, hello there! Grab a cuppa, and let’s chat about these delightful little orchids, Macroclinium wullschlaegelianum. If you’ve ever seen them, you know exactly what I mean by “delightful.” They’re just charming, with their tiny, almost jewel-like flowers that can truly brighten up any corner.
Propagating them yourself? It’s incredibly rewarding. You get to multiply that little bit of joy, and it’s a wonderful way to connect with your plants on a deeper level. Now, I won’t lie – Macroclinium can be a tad bit fussy compared to, say, a pothos. A beginner might find it a touch challenging, but with a little patience and these tips, you’ll be well on your way.
The Best Time to Start
When it comes to getting new Macroclinium going, spring is your best bet. Think about when your established plants are really putting on a growth spurt. After they’ve finished their main flowering period and you see new roots or leaves starting to emerge – that’s your signal. This active growing phase means they have the energy reserves to put into developing new roots. Avoid trying to propagate when the plant is dormant or stressed.
Supplies You’ll Need
Here’s what you’ll want to have on hand before you get started:
- Sterile pruning shears or a sharp knife: Cleanliness is key to preventing disease.
- A well-draining orchid mix: I like a blend of fine bark, perlite, and a bit of sphagnum moss. It needs to dry out but still hold some moisture.
- Small pots or divisions trays: Something appropriately sized for your new cuttings or divisions.
- Rooting hormone (optional, but helpful): A powdered or liquid form can give cuttings a nice boost.
- Spray bottle: For misting.
- Clear plastic bag or propagation dome: To create a humid environment for cuttings.
- Patience! Honestly, this is the most important tool.
Propagation Methods
For Macroclinium, I find division to be the most reliable and straightforward method. Stem cuttings can be a bit hit-or-miss with these orchids.
Division
This is essentially dividing your established plant into smaller, independent plants.
- Gently remove the plant from its pot. If it’s really stuck, a gentle squeeze around the pot might help.
- Carefully tease away some of the old potting medium from the root ball. You want to get a good look at where the plant’s natural breaks are.
- Identify where the plant naturally divides. Look for pseudobulbs or growth points that have their own set of roots.
- Using your sterilized pruning shears or knife, carefully cut through the rhizome (the creeping stem) to separate the divisions. Make sure each division has at least two or three healthy pseudobulbs and a good root system.
- If there are any damaged or dead roots, trim them away.
- Pot up each division into its own small pot, using your fresh, well-draining orchid mix. Bury the roots, but don’t pack the medium too tightly.
- Water gently to settle the mix.
The “Secret Sauce” (Pro Tips)
Alright, here are a few things I’ve learned over the years that make a real difference:
- Don’t overwater divisions right away. While they need moisture, letting them sit in soggy conditions immediately after division can lead to rot. Let the potting mix dry out a bit between waterings for the first couple of weeks.
- Consider gentle bottom heat. If you have a seedling heat mat, placing your newly divided plants on it can really encourage root development. Just a gentle warmth, not scorching heat!
- Think about air circulation when it comes to humidity. For divisions, you don’t need a super humid tent like with cuttings. Good air movement is more important to prevent fungal issues. If you’re using a plastic bag over cuttings (which I’d only recommend as a last resort for Macroclinium), ensure the leaves don’t touch the sides of the bag or the water if you attempted water propagation. Condensation on leaves for long periods is an invitation for trouble.
Aftercare & Troubleshooting
Once your divisions are potted up, keep them in bright, indirect light. Avoid direct sun, which can scorch young growth. Water them when the potting mix starts to feel dry to the touch – usually every few days to a week, depending on your conditions. Mist them lightly if the air feels particularly dry.
Keep an eye out for signs of trouble. The most common issue is rot. If you see mushy, dark stems or roots, it’s usually a sign of overwatering or poor drainage. If you catch it early, you might be able to save the division by cutting away the rotted parts and repotting it in fresh, dry mix. If you see no new root or leaf growth after a few weeks, don’t despair! Macroclinium can be slow to establish.
A Little Bit of Magic
So there you have it! Propagating Macroclinium wullschlaegelianum takes a bit of care, but the payoff is so worth it. Be patient with your new plants. Watch them closely, learn from what they tell you, and soon you’ll have even more of these tiny treasures to enjoy. Happy growing!
Resource: