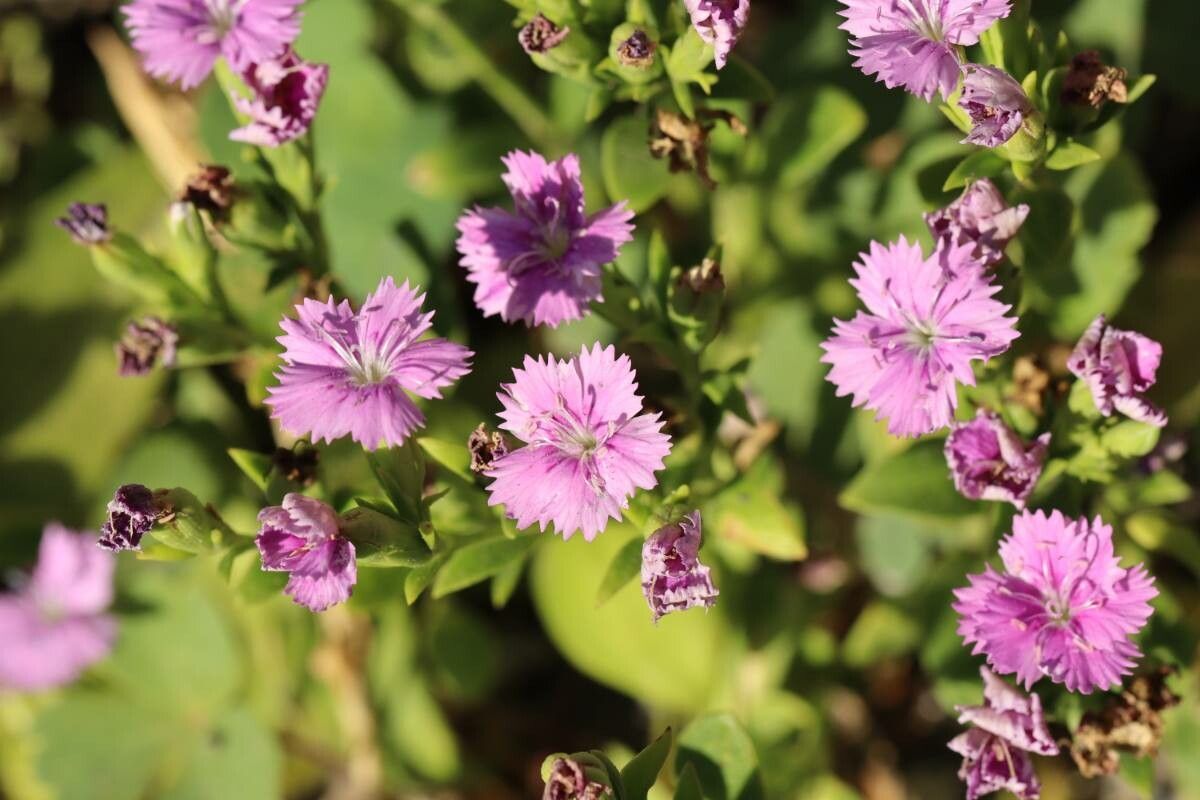
Ah, Dianthus japonicus! That’s a wonderful choice. I’ve always loved how its delicate, often fringed flowers bring such a cheerful pop of color to the garden. And honestly, coaxing new life from an existing plant is one of the most satisfying things we can do as gardeners. Dianthus japonicus is generally a pretty forgiving plant, even for those of you who are just dipping your toes into the world of propagation. You’ll find it a rewarding experience, I promise!
The Best Time to Start
For Dianthus japonicus, I’ve found the sweet spot for propagation is just after it’s finished its main bloom cycle, usually in late spring or early summer. This is when the plant has plenty of energy stored up and is actively growing. You want to take cuttings from healthy, non-flowering stems. Think of it as harvesting from a vigorous, happy plant!
Supplies You’ll Need
Gathering your tools beforehand makes the whole process much smoother. Here’s what I always have on hand:
- Sharp pruning shears or a clean, sharp knife: For clean cuts, which are key to good rooting.
- Rooting hormone (optional but recommended): A little powder or gel can give your cuttings a significant boost.
- Sterile potting mix: A good blend of peat moss, perlite, and a bit of compost works wonders. You can also buy specific propagation mixes.
- Small pots or seed trays: Clean ones, of course! Little terracotta pots are my favorite, but plastic works too.
- Watering can or spray bottle: Gentle watering is important, especially for delicate cuttings.
- Plastic bag or propagation dome: To create a humid environment for your cuttings.
Propagation Methods
Dianthus japonicus is wonderfully versatile! While division is certainly an option, stem cuttings are my go-to.
Stem Cuttings
This is my favorite way to multiply my Dianthus. It’s straightforward and effective.
- Select your stems: Look for healthy, non-flowering shoots that are about 4-6 inches long.
- Make the cut: Using your sharp shears, make a clean cut just below a leaf node (where the leaves attach to the stem). This is where the magic happens, as roots are most likely to form.
- Prepare the cutting: Gently remove the lower leaves from the cutting. You want to leave about 2-3 sets of leaves at the top. If the remaining leaves are very large, you can even snip them in half to reduce water loss.
- Dip in rooting hormone (optional): If you’re using rooting hormone, dip the cut end of the stem into the powder or gel. Tap off any excess.
- Plant the cuttings: Fill your small pots with your sterile potting mix. Make a small hole with your finger or a pencil. Insert the cutting, ensuring the leaf node is below the soil surface. Gently firm the soil around the stem.
- Water gently: Water thoroughly but gently. You don’t want to dislodge your cuttings.
Water Propagation (A Quick Note)
While you can certainly try rooting Dianthus in water, I find it a bit trickier. The main thing to remember if you go this route is to ensure no leaves are submerged in the water. They’ll rot quickly and can take your cutting down with them! Change the water every few days to keep it fresh.
The “Secret Sauce” (Pro Tips)
After years of this, you pick up a few tricks!
- Bottom Heat is Your Friend: Especially when starting cuttings indoors, placing your pots on a gentle heat mat can significantly speed up root development. It mimics the warmth of spring.
- Don’t Rush the Transplant: When you think your cuttings have rooted (you can often see a gentle tug resistance or even tiny roots peeking out the drainage holes), don’t be in too much of a hurry to pot them up into larger containers. Let them establish a good root system in their initial pots for a few more weeks. This will give them a stronger start.
- The “Humidity Tent” Trick: After planting your cuttings, water them in, and then cover the entire pot with a clear plastic bag, securing it at the base with a rubber band or string. This creates a mini-greenhouse, keeping humidity high, which is crucial for cuttings to root before they can take up water efficiently. You can also use a clear plastic dome. Just remember to ventilate it daily for a few minutes to prevent fungal issues.
Aftercare & Troubleshooting
Once you see signs of life – new leaf growth is the best indicator! – you’re well on your way. Keep the soil consistently moist but not soggy. If you used the plastic bag method, gradually introduce your new plants to drier air over a few days.
The most common issue you’ll encounter is rot. If a cutting turns black and mushy, unfortunately, it’s time to discard it and clean your pot thoroughly before trying again. This usually happens if the cuttings are kept too wet or don’t have enough air circulation. Yellowing leaves on an otherwise healthy cutting can sometimes mean it’s not getting enough light, or it’s struggling to establish roots.
A Encouraging Closing
Propagating Dianthus japonicus is not about perfection, but about the joy of nurturing new life. Don’t be discouraged if your first few attempts aren’t 100% successful. Every gardener has had their share of failed cuttings! Be patient, observe your plants, and enjoy the process of watching these little soldiers grow. Happy gardening!
Resource:
https://identify.plantnet.org/k-world-flora/species/Dianthus%20japonicus%20Thunb./data