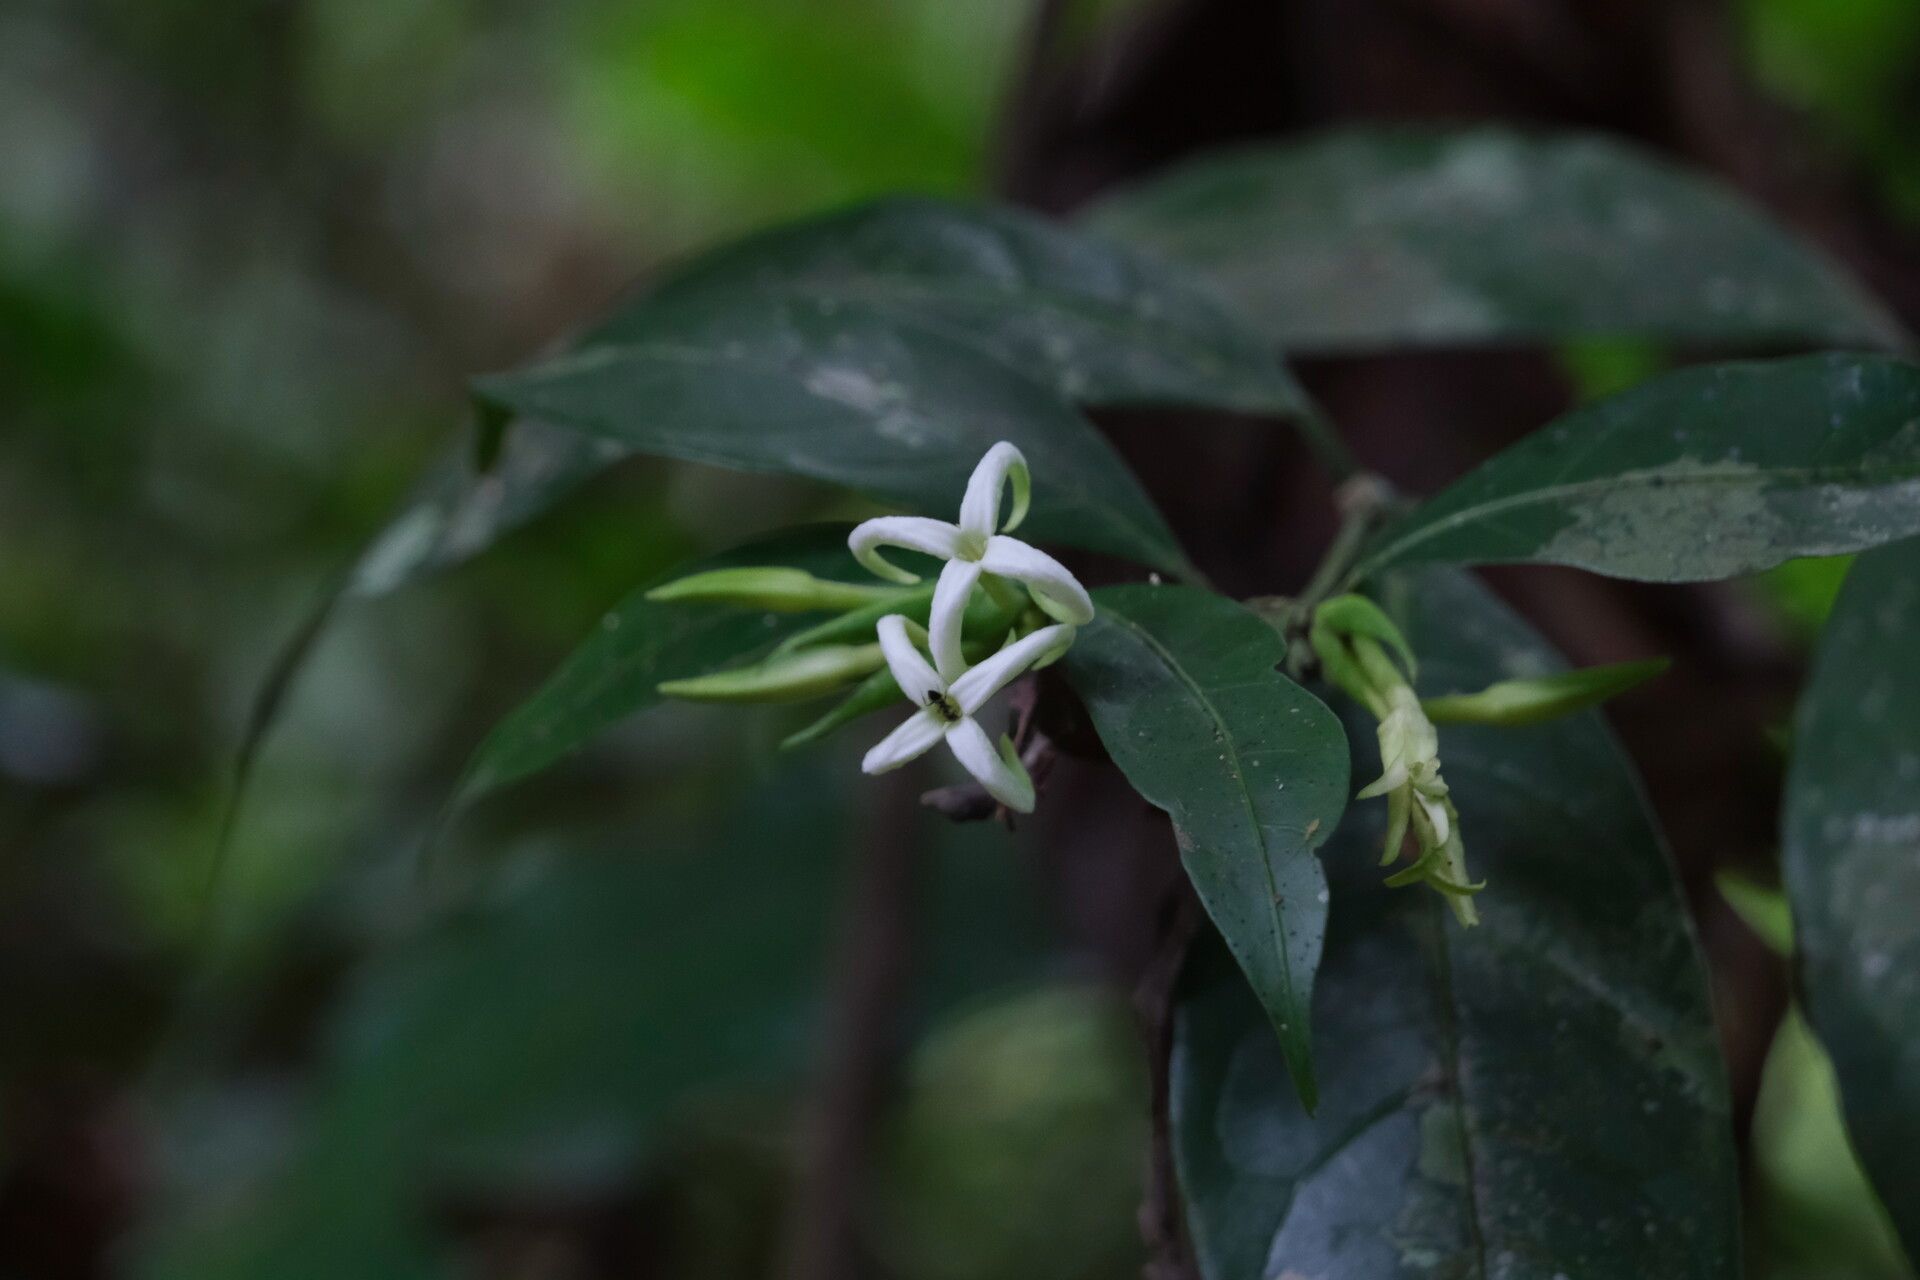
Hey there, fellow plant enthusiasts! Today, I want to talk about a truly special plant: Faramea sessiliflora. You might know it as “Brazilian Snow” or “Blue Gardenia” – and for good reason! Those beautiful, fragrant white flowers that look like tiny stars, often blooming in clusters, are just breathtaking. Plus, it has this lovely, glossy foliage that adds a touch of elegance to any space.
Propagating Faramea sessiliflora is a wonderful way to multiply its charm. It’s not the absolute easiest plant for a complete beginner, but with a little patience and these tips, I promise you’ll find success. Watching a tiny cutting develop into a robust new plant is incredibly rewarding. It’s like giving the gift of green!
The Best Time to Start
For the highest chance of success with Faramea sessiliflora, I always find that early spring is the sweet spot. Think of it as the plant waking up from its winter rest and entering its most vigorous growth phase. You want to propagate when the plant is actively growing and has plenty of energy to put into those new roots. Late spring or early summer can also work, but spring is usually prime time.
Supplies You’ll Need
Here’s what I usually have on hand when I’m ready to start propagating:
- Sharp Pruning Shears or a Clean Knife: For taking clean cuts.
- Rooting Hormone: I like a powder form, as it clings well to cuttings.
- Well-Draining Potting Mix: A good blend of peat moss, perlite, and a bit of orchid bark works wonders.
- Small Pots or Seed Trays: Ones with drainage holes are essential.
- Plastic Bags or a Propagator Lid: To create a humid environment.
- Watering Can or Spray Bottle: For gentle watering.
- Labels: To keep track of what’s what!
Propagation Methods
My go-to method for Faramea sessiliflora is stem cuttings. It’s straightforward and usually yields great results.
- Select Your Cuttings: Look for healthy, non-flowering stems on your parent plant. You want pieces that are about 4-6 inches long. Make your cuts just below a leaf node (where a leaf attaches to the stem).
- Prepare the Cuttings: Gently remove the lower leaves from your cuttings, leaving just the top few leaves. If the top leaves are very large, you can even cut them in half to reduce water loss.
- Dip in Rooting Hormone: Lightly dip the cut end of each stem into your rooting hormone, tapping off any excess.
- Pot Them Up: Fill your small pots with your well-draining potting mix. Make a hole in the center of the soil with your finger or a pencil.
- Plant the Cuttings: Insert the treated end of the cutting into the hole, making sure at least one leaf node is buried in the soil. Gently firm the soil around the stem.
- Water Gently: Water the soil thoroughly but gently, so you don’t disturb the cuttings.
- Create Humidity: Place a plastic bag over the pot or use a propagator lid to create a mini greenhouse effect. Make sure the leaves don’t touch the plastic if possible.
The “Secret Sauce” (Pro Tips)
Here are a couple of little tricks I’ve learned over the years that really make a difference:
- Bottom Heat is Your Friend: If you have a heat mat designed for seedlings, place your pots on it. Faramea sessiliflora loves a bit of warmth from below, which encourages root development much faster. It’s not always strictly necessary, but it does give you a significant boost.
- Don’t Over-Water, But Keep it Humid: This might sound contradictory, but it’s about balance. You want the soil to be consistently moist, not soggy. The humidity from the plastic bag helps keep the leaves turgid, but if the soil feels waterlogged, you risk rot. A good test is to gently press the soil; it should feel like a wrung-out sponge.
Aftercare & Troubleshooting
Once your cuttings are potted, find a spot with bright, indirect light. Avoid direct sun, which can scorch those delicate new leaves. Keep an eye on the humidity and remove the plastic bag for a few minutes every day to allow for some air circulation.
You’ll know your cuttings are starting to root when you see new leaf growth and they feel a little resistant when you give them a gentle tug. This can take anywhere from 4 to 8 weeks, sometimes longer. Be patient!
The most common problem you’ll encounter is rot. This usually happens if the soil is too wet or the air circulation is poor. If you see wilting and browning at the base of the stem, or a mushy texture, it’s likely rot. Unfortunately, there’s not much you can do once rot sets in, so prevention through good watering and ventilation is key.
A Warm Hug for Your New Plant
So there you have it! Propagating Faramea sessiliflora is a journey, and like all good gardening journeys, it requires a bit of patience. Don’t get discouraged if your first attempt isn’t perfect. Each time you try, you’ll learn more. Enjoy the process of nurturing these little green babies, and soon you’ll be sharing their beauty with friends! Happy propagating!
Resource:
https://identify.plantnet.org/k-world-flora/species/Faramea%20sessiliflora%20Aubl./data