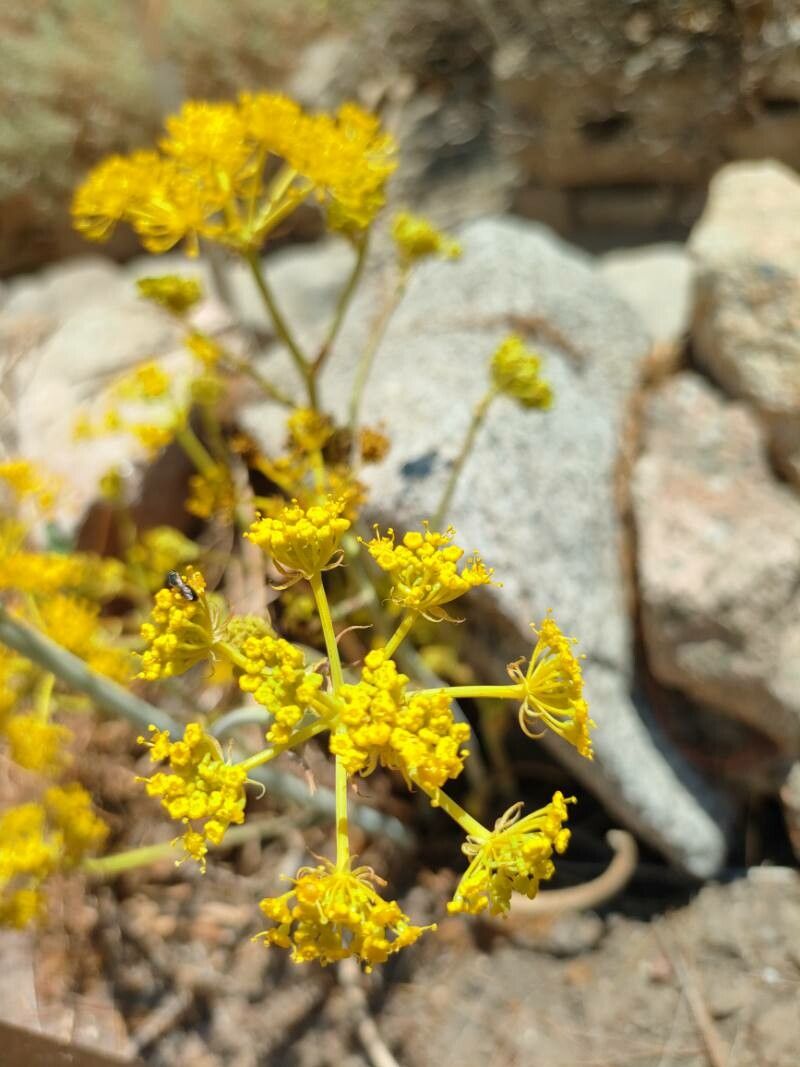
Hello fellow garden lovers! Today, we’re diving into the wonderful world of Thapsia meoides, often called the “False Fennel” or “Mediterranean Parsley.” I’ve been coaxing this beauty to spread for two decades now, and it’s such a joy to see those intricate, lacy leaves unfurl and fill out a sunny corner. Its aromatic foliage and delicate, umbrella-like white flowers are a real magnet for pollinators, and honestly, just possessing a clump of it feels like you’ve unlocked a bit of Mediterranean magic.
Now, if you’re just starting out, you might be wondering if Thapsia is a good beginner plant for propagation. I’d say it’s moderately easy. It’s not as foolproof as some succulents, but with a little know-how and patience, you’ll be rewarded with plenty of new plants.
The Best Time to Start
For the highest success rate, I always aim to propagate my Thapsia in late spring to early summer. This is when the plant is in its actively growing phase. It has plenty of energy reserves to dedicate to developing new roots and shoots. Waiting until the plant has finished its initial flush of vigorous spring growth is usually ideal.
Supplies You’ll Need
Gathering your tools beforehand makes the whole process so much smoother. Here’s what you’ll want:
- Sharp, clean pruning shears or a sharp knife: For making precise cuts.
- Rooting hormone (optional but recommended): A powder or gel can really give your cuttings a boost.
- Well-draining potting mix: A mix of equal parts peat moss or coco coir and perlite or coarse sand works wonderfully. You can also use a good quality seedling mix.
- Small pots or trays: Clean pots with drainage holes are essential.
- Watering can or spray bottle: For gentle hydration.
- Plastic bags or a propagation dome: To maintain humidity.
- Labels: So you know what you’ve planted where!
Propagation Methods
There are a couple of ways to get more Thapsia, but I find division to be the most straightforward and successful method for this particular plant.
Division
This is essentially taking a mature plant and carefully separating its root system to create smaller, independent plants.
- Dig it Up (Gently!): In late spring, when the soil is moist but not waterlogged, carefully dig around the base of your Thapsia plant. Loosen the soil and try to lift the entire plant out without disturbing the roots too much.
- Assess the Roots: Gently shake off excess soil so you can clearly see the root ball and how the stems are attached. You’re looking for natural breaks where a stem has its own set of roots.
- Make the Split: Using your hands or a clean, sharp knife, carefully separate the clump into smaller sections. Each section should have at least one healthy stem and a good portion of the root system. Don’t be afraid to be firm, but also mindful of the delicate roots.
- Replant Immediately: Pot up each division into its own container filled with your well-draining potting mix. Make sure the crown (where the roots meet the stem) is at soil level. Water thoroughly.
The “Secret Sauce” (Pro Tips)
Over the years, I’ve picked up a few tricks that seem to make all the difference.
- The Water Ripple Trick: When planting divisions or even starting seeds, I always give them a really good watering after they’re in their pots. Then, I let them sit. This allows the soil to settle and creates tiny air pockets. I find this helps new roots establish more readily than if the soil is packed too tightly from the start.
- Don’t Over-Fertilize Early: New divisions are fragile. They’re focused on root development. Adding too much fertilizer too soon can actually burn those developing roots. Wait until you see clear signs of new leaf growth before considering a very dilute liquid feed.
- Morning Sun is Best: For those freshly divided plants, I’ll often place them in a spot that gets bright, indirect light, or dappled shade. If they’re in direct, harsh midday sun right away, it can shock them. Morning sun is gentler and still provides that energy to get them going.
Aftercare & Troubleshooting
Once your divisions are potted up, they’ll need a little TLC. Keep the soil consistently moist but not soggy. This is crucial. Too much water can lead to root rot, which is the most common culprit for failed propagations.
Watch for new leaf growth – that’s your signal that roots are forming and the plant is settling in. If your leaves start to yellow and droop, it could be a sign of overwatering or inadequate light. Brown, mushy stems are a clear indicator of root rot. If you see this, you may need to carefully unpot the plant, trim away any affected roots, and repot it in fresh, dry soil. Sometimes, it’s a matter of letting it dry out a bit more than you think it needs.
A Encouraging Closing
Don’t get discouraged if your first attempt isn’t perfect. Gardening is all about learning, experimenting, and enjoying the process. Take your time, be gentle, and trust that nature has a wonderful way of working things out. Happy propagating!
Resource:
https://identify.plantnet.org/k-world-flora/species/Thapsia%20meoides%20(Desf.)%20Guss./data