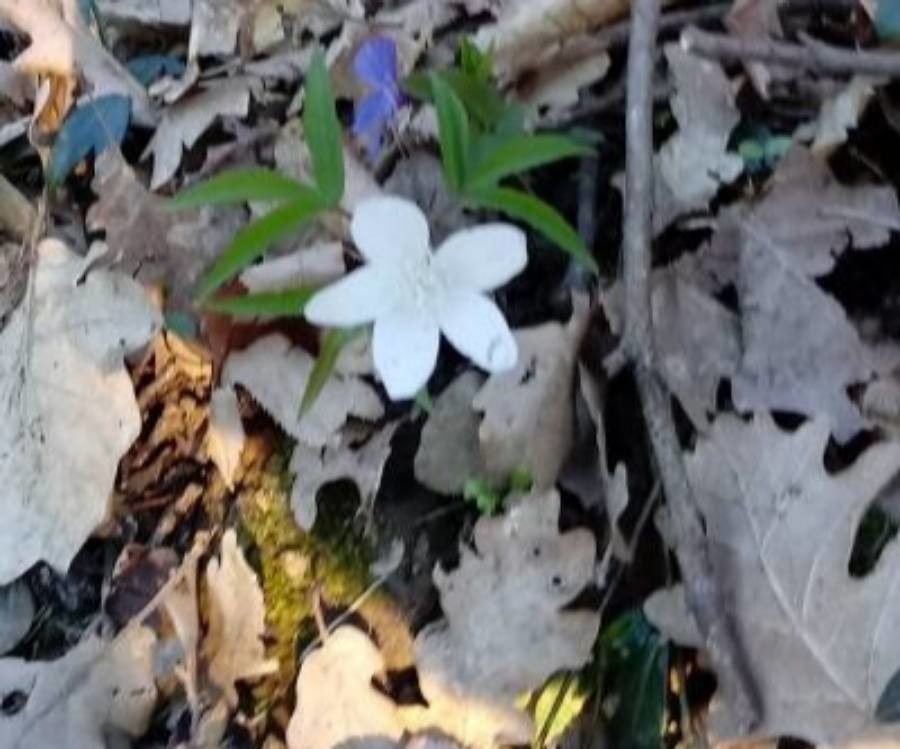
Oh, Anemonoides trifolia! If you’ve ever stumbled upon these delicate woodland beauties, you know exactly why they capture our hearts. With their charming, usually white to pale pink flowers and those lovely trifoliate leaves, they bring a touch of shy elegance to any shady corner. And the best part? They’re not nearly as fussy as some might lead you to believe, making them a wonderfully rewarding plant to propagate. If you’re new to the gardening game, I think you’ll find this little woodland dweller to be a gentle introduction to the magic of making more plants.
The Best Time to Start
For Anemonoides trifolia, timing is everything. The absolute best time to tackle propagation is in the early spring, right as new growth begins to emerge. This is when the plant is full of vigor and has plenty of stored energy to put into developing new roots. You’ll often see tiny shoots just peeking through the soil, and that’s your cue. Waiting until it’s fully bloomed and then trying to divide or move things can stress the plant out unnecessarily.
Supplies You’ll Need
Don’t worry, you don’t need a whole shed full of gadgets for this. Here’s what I usually have on hand:
- A clean, sharp trowel or small spade: For gently loosening soil and dividing rhizomes.
- A clean razor blade or sharp knife: For taking cuttings (if you go that route) or cleanly separating divisions. Sterilize it with rubbing alcohol between cuts if you’re working with multiple plants.
- Small pots or trays: For your new propagations. Old yogurt containers with drainage holes poked in the bottom work great!
- A good quality potting mix: I like a blend that’s light and airy, often a mix of peat moss or coco coir, perlite, and a bit of compost. For woodlanders like this, good drainage is key.
- Optional: Rooting hormone: While not strictly necessary for Anemonoides trifolia, a dip in rooting hormone can give those divisions a little extra boost. Use a powdered or liquid form.
- Watering can or spray bottle: For gentle watering.
Propagation Methods
Anemonoides trifolia is most commonly propagated by division. It’s the most straightforward and least stressful method for this particular plant.
Division:
- Gently excavate: In early spring, when you see those first shoots, carefully dig around the base of your established Anemonoides trifolia plant. You want to expose the root system, which will likely consist of rhizomes (think of them as thick, creeping underground stems). Be as gentle as possible to avoid damaging the roots.
- Identify natural breaks: Look for where the rhizomes naturally branch or divide. You’ll want to separate sections that have at least one or two healthy buds or shoots attached.
- Make clean cuts: Using your clean trowel or knife, carefully separate the rhizome sections. If you’re using a knife, a clean slice is best to minimize damage. Make sure each piece has some roots and at least one visible bud.
- Pot them up: Prepare your small pots with your moistened potting mix. Create a small hole in the center and place your new division in it, ensuring the bud or shoot is pointing upwards. Plant the rhizome just deep enough so the bud is barely covered by the soil.
- Water gently: Water the freshly potted divisions gently but thoroughly. The goal is to settle the soil around the roots without washing them away.
The “Secret Sauce” (Pro Tips)
Over the years, I’ve learned a few little tricks that seem to make a difference:
- Don’t drown them right away: While you want the soil to be consistently moist, avoid waterlogging right after potting. The rhizomes need a bit of air circulation. I often start by watering them in, and then mist them lightly daily for the first week or two, only watering thoroughly when the top inch of soil feels dry.
- Embrace the shade: These plants love dappled shade and cool, moist conditions. When you’re propagating them, keep them out of direct sunlight. A bright room away from the window, or under the eaves of a greenhouse, is perfect. They can be a bit sensitive to drying out in the initial stages.
- Be patient with the “sleepers”: Some divisions might look like they’re doing absolutely nothing for weeks. Don’t give up on them too soon! As long as the rhizome itself isn’t mushy and rotten, it might just be taking its time to establish.
Aftercare & Troubleshooting
Once your divisions start showing active new growth – that’s your sign they’ve taken root! At this point, you can transition them to slightly more regular watering, but always let the top of the soil dry out slightly between waterings. Continue to keep them in a bright, shady spot.
The most common problem you’ll encounter is rot. If you notice your division becoming limp, mushy, or developing dark, soft spots, it’s likely rot. This is usually a sign of too much moisture combined with poor air circulation. If you catch it early, you might be able to salvage a healthy part of the rhizome, but often, it’s a sign that the propagation hasn’t been successful. Another sign of struggle is if leaves yellow and wither quickly without any new growth appearing.
A Little Encouragement
Propagating Anemonoides trifolia is a bit like a gentle dance with nature. It demands a little attention, a touch of patience, and a whole lot of hope. Don’t be discouraged if not every single division thrives; that’s part of the gardening journey! Celebrate the successes, learn from the challenges, and most importantly, enjoy the process of bringing more of these woodland gems into your life. Happy propagating!
Resource:
https://identify.plantnet.org/k-world-flora/species/Anemonoides%20trifolia%20(L.)%20Holub/data