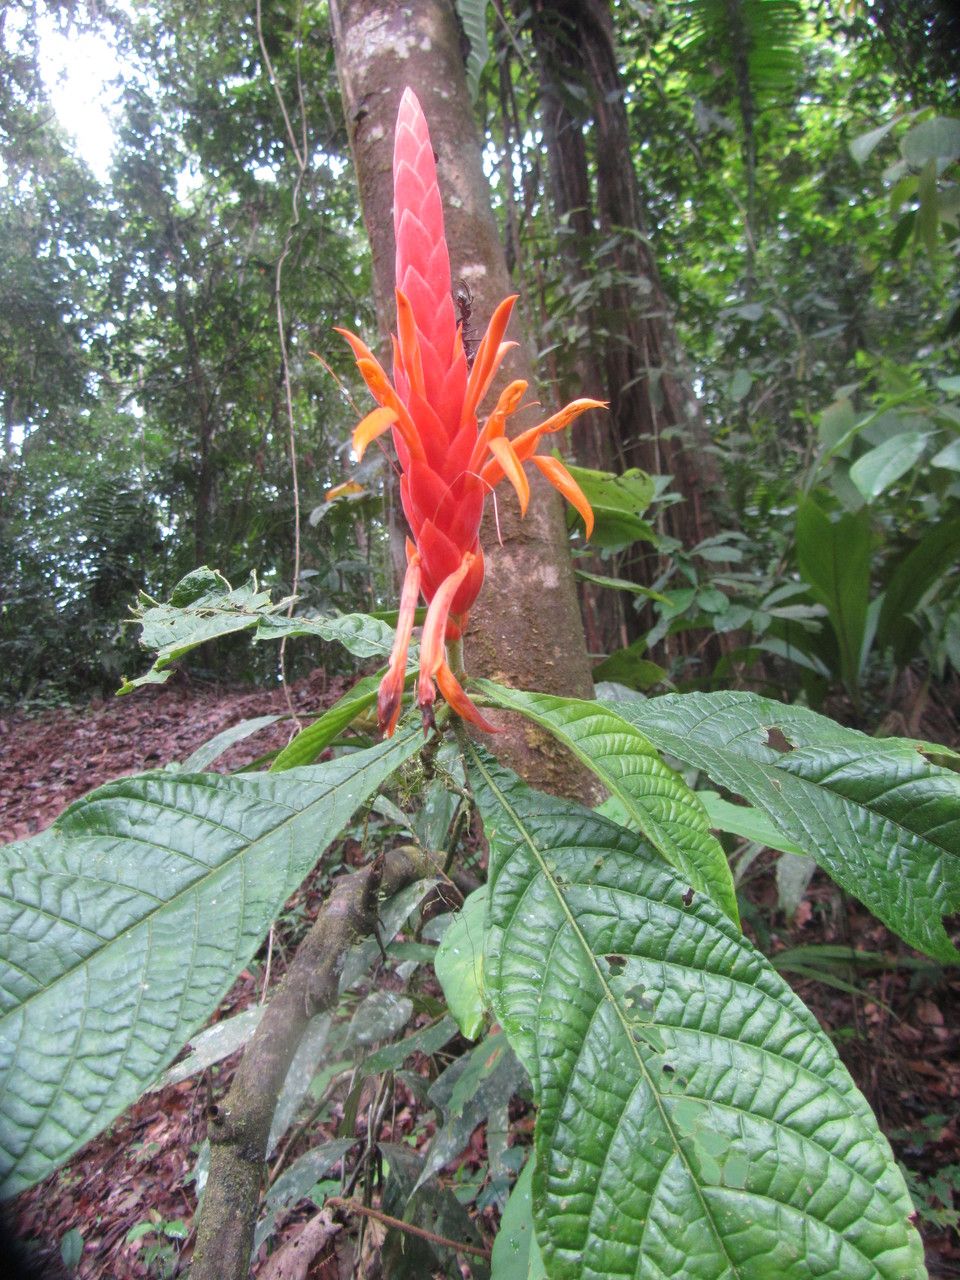
Oh, Aphelandra storkii! What a stunner. Its deep green leaves, often with striking silver or cream variegation and those dramatic, upright flower spikes, bring a real touch of the tropics indoors. Propagating this beauty is a fantastic way to multiply that visual feast, and honestly, it feels like a real gardening accomplishment when you see those new roots taking hold. For beginners, I’d say it’s moderately easy. It’s not quite as forgiving as, say, a pothos, but with a little attention, you’ll do wonderfully.
The Best Time to Start
The sweet spot for propagating Aphelandra storkii is definitely during its active growing season. Think late spring and summer. This is when the plant has the most energy to put into developing new roots. Trying to propagate when the plant is resting in cooler months will likely lead to disappointment. You’re looking for healthy, vigorous new growth to take your cuttings from.
Supplies You’ll Need
Here’s what you’ll want to have on hand before you get started:
- Sharp pruning shears or a clean knife: For making neat cuts.
- Rooting hormone (optional but helpful): A powder or gel to encourage root development.
- Well-draining potting mix: I love a mix of equal parts peat moss or coco coir, perlite, and a bit of orchid bark. This keeps things airy.
- Small pots or propagation trays: With drainage holes, of course!
- Plastic bag or propagation dome: To create a humid environment.
- Watering can or spray bottle: For gentle watering.
- Labels and a marker: So you don’t forget what you’ve planted and when!
Propagation Methods
I find stem cuttings to be the most reliable method for Aphelandra storkii.
-
Take Your Cuttings: Look for a healthy stem that has at least two or three sets of leaves. Using your sharp shears or knife, make a clean cut just below a leaf node (where the leaf meets the stem). Each cutting should be about 4-6 inches long. Remove the lower leaves, leaving just one or two at the top.
-
Prepare for Rooting: If you’re using rooting hormone, dip the cut end of the stem into the powder or gel. Gently tap off any excess.
-
Plant Your Cuttings: Fill your small pots or trays with your well-draining potting mix. Make a small hole in the center of the soil with your finger or a pencil. Insert the cut end of the stem into the hole, ensuring the node is buried. Gently firm the soil around the base of the cutting.
-
Create a Humid Environment: Water the soil gently until it’s evenly moist but not soggy. Then, cover the pot or tray with a plastic bag or a propagation dome. This traps humidity, which is crucial for cuttings to root. You can secure the bag with a rubber band.
-
Find the Right Spot: Place your potted cuttings in a warm spot with bright, indirect light. Avoid direct sunlight, as it can scorch the delicate new cuttings.
The “Secret Sauce” (Pro Tips)
Here are a couple of things I’ve learned over the years that make a big difference:
- Don’t let those leaves touch the soil! Especially the lower leaves you’ve removed. If they sit in damp soil, they’re just asking for trouble and can rot, taking your entire cutting with them. It’s worth trimming them back or ensuring they’re well above the soil line.
- Bottom heat is your friend. If you have a seedling heat mat, placing your pots on it can significantly speed up root development. It mimics the warmth of summer soil, giving those roots a much-needed boost, especially if your home isn’t particularly warm.
Aftercare & Troubleshooting
Once your cuttings have been in their humid environment for a few weeks, gently tug on a leaf. If you feel resistance, you’ve got roots! At this point, you can start to gradually acclimate them to normal humidity. Open the plastic bag or dome for a few hours each day, slowly increasing the time until you can remove it completely. Continue to keep the soil consistently moist but not waterlogged.
The most common issue you’ll face is rot. You’ll know if a cutting has rotted if it turns black and mushy, or a strong, unpleasant smell develops. This usually happens from too much moisture and not enough air circulation. If you see this, sadly, it’s best to discard the cutting to prevent it from affecting others. Another sign of failure is if the cutting simply wilts and never perks up, even with consistent moisture; this often means it’s not developing roots.
A Encouraging Closing
Propagating Aphelandra storkii is a process that requires a little patience, but the reward of creating new life from a single stem is truly special. Don’t be discouraged if your first few attempts aren’t perfect. Each try is a learning experience. Enjoy the journey, watch for those tiny signs of life, and soon you’ll have a whole new mini-jungle of these gorgeous plants! Happy gardening!
Resource:
https://identify.plantnet.org/k-world-flora/species/Aphelandra%20storkii%20Leonard/data