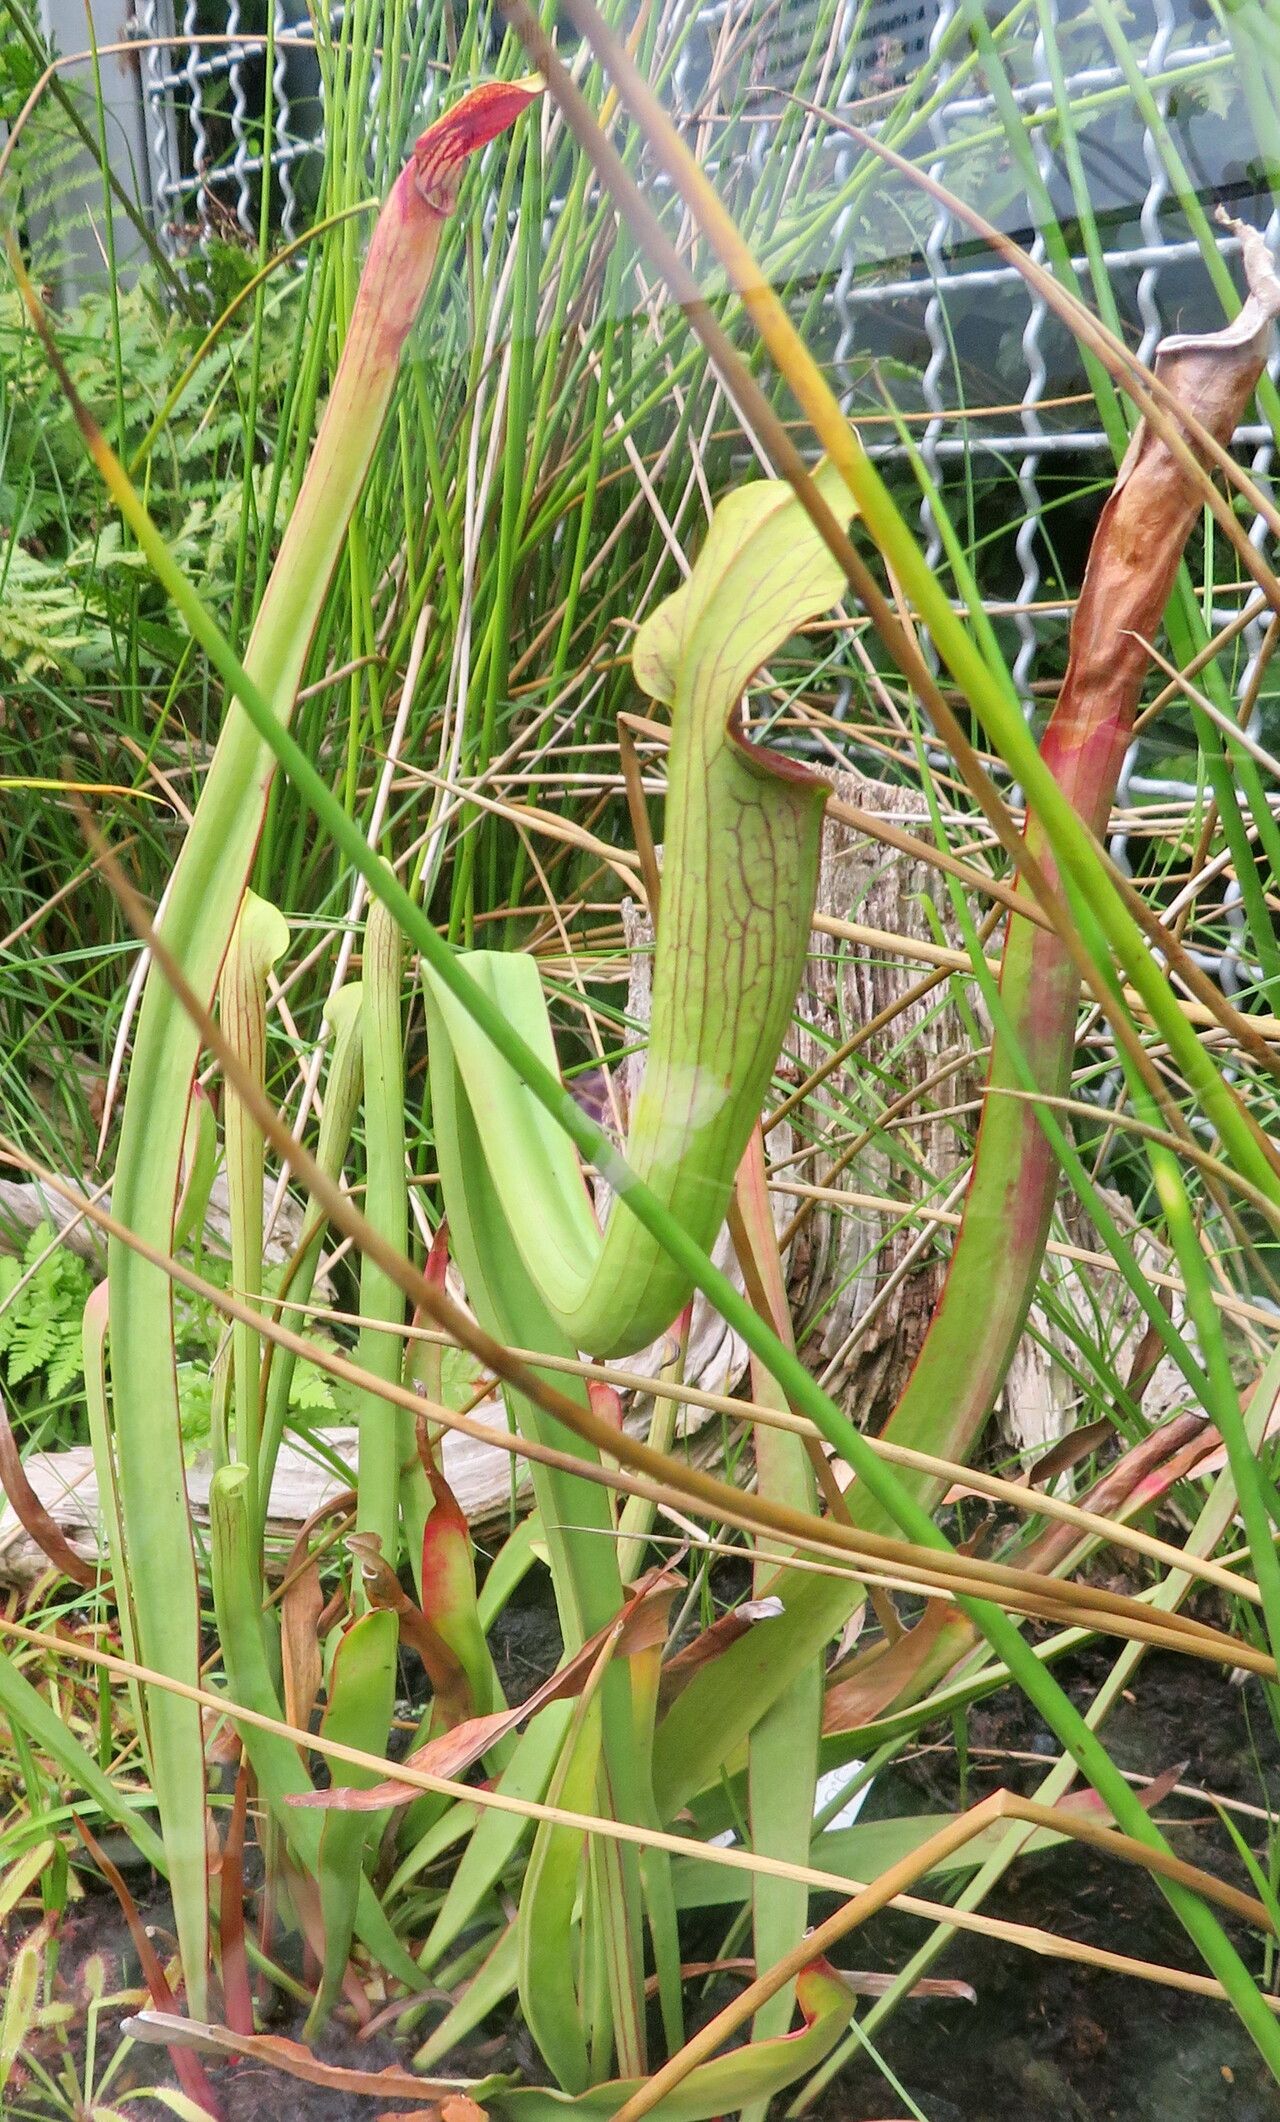
Hello, fellow plant enthusiasts! If you’ve ever marveled at the elegant, trumpet-like pitchers of Sarracenia alata, you know there’s something truly captivating about these native North American pitcher plants. They bring a touch of wild beauty right into our gardens and homes, and truthfully, watching a new one sprout from something you nurtured yourself? It’s a special kind of joy.
Now, I know some folks hear “carnivorous plant” and think it’s all high-maintenance drama. But Sarracenia alata, also known as the pale pitcher plant, is actually one of the more forgiving members of its family. Propagating it isn’t overly complicated, and it’s a fantastic way to share these unique beauties or simply expand your own collection.
The Best Time to Start
For the highest success rate with Sarracenia alata, I’ve found that late spring to early summer is your sweet spot. This is when the plant is actively growing, sending up new pitchers, and has plenty of stored energy. Trying to propagate when the plant is dormant or stressed is like asking a sleepy cat to run a marathon – it’s just not going to happen! Look for new growth that’s firm and showing good color.
Supplies You’ll Need
Gathering your supplies beforehand makes the whole process much smoother. Here’s what I usually have on hand:
- Peat moss and perlite mix: A 1:1 ratio is ideal. Avoid any fertilizers or minerals, as these can burn carnivorous plant roots.
- Sharp, sterilized pruning shears or a razor blade: Cleanliness is crucial to prevent disease.
- Small pots or trays: With drainage holes, of course!
- Distilled water, rainwater, or reverse osmosis (RO) water: Tap water often contains minerals that are harmful to Sarracenia.
- Rooting hormone (optional but recommended): A powdered or gel type works well.
- Plastic bags or a terrarium lid: To create a humid environment.
- A sunny windowsill or a grow light: For consistent light.
- A warm spot (optional): Bottom heat can speed things up.
Propagation Methods
There are a couple of ways to go about this, but my go-to methods for Sarracenia alata are division and stem cuttings.
Division
This is probably the easiest and most natural way to propagate Sarracenia, especially if you have a mature plant that’s started to form multiple crowns.
- Gently unpot the parent plant. Be as gentle as possible with the roots.
- Inspect the root ball. You’ll often see where new growth points (rhizomes with buds) are emerging.
- Carefully tease apart the plant. You want to separate a piece that has at least one healthy growth bud and a decent portion of the root system attached. You can use your fingers or a clean knife to help if it’s tightly connected.
- Pot up the divisions. Plant each division in its own pot filled with your peat/perlite mix, ensuring the growth bud is just at or slightly above the soil surface.
- Water thoroughly with your pure water.
- Keep consistently moist and in bright, indirect light for a few weeks until you see new growth.
Stem Cuttings
This method works best when the plant is actively growing and you’re seeing fresh, non-flowering stems.
- Select a healthy stem. Look for a new, upright pitcher that hasn’t fully hardened off yet but is firm.
- Make a clean cut. Just below a leaf node (where a leaf attaches to the stem), use your sterilized shears or razor blade to take a cutting. It should be at least a few inches long and have at least one leaf or developing pitcher.
- Prepare the cutting. Gently remove any lower leaves that would be submerged in water or soil, as these can rot.
- Apply rooting hormone (optional). Dip the cut end into your rooting hormone, tapping off any excess.
- Plant your cutting. You have two main options here:
- In Media: Stick the cutting into a pot filled with your peat/perlite mix. Make sure the cut end is firmly in contact with the soil.
- Water Propagation: Place the cutting in a small jar or vase filled with pure water, ensuring the leaf nodes are submerged but not the entire leaf.
- Create humidity. Whichever method you choose, cover the pot or jar with a plastic bag or a clear lid to maintain high humidity. Place it in a bright location, but avoid direct, scorching sun.
- Be patient! Roots can take several weeks to develop. For water cuttings, you might see roots emerge in about 3-4 weeks. For cuttings in media, you’ll need to gently tug to feel resistance, or wait for visible new growth.
The “Secret Sauce” (Pro Tips)
Here are a few little tricks I’ve learned over the years that can really make a difference:
- Don’t let leaves touch the water in water propagation. This is a big one! If the leaves of your Sarracenia cutting sit in stagnant water, they’ll quickly rot and take the whole cutting down with them. Just the stem node needs to be submerged.
- Bottom heat is your friend. Sarracenia roots love warmth. Placing your pots or propagation jars on a heating mat set to a low temperature (around 70-75°F or 21-24°C) can significantly speed up root development.
- Don’t overwater, but don’t let it dry out either. This sounds like a contradiction, I know! For Sarracenia, the ideal is to keep the growing medium consistently moist, like a well-wrung-out sponge, not soggy. For cuttings in media, I often set the pot in a tray with a little bit of your pure water so it can wick up moisture from below.
Aftercare & Troubleshooting
Once you see signs of encouragement – new roots developing on your water cuttings, or a tiny new pitcher peeking out from your potted cutting or division – it’s time for the next phase of care.
- Transitioning. For water cuttings, once you have about an inch of roots, you can gently plant them in your peat/perlite mix. Be very careful with those delicate new roots.
- Light and Water. Continue to provide bright, indirect light and keep the soil consistently moist. Never let it dry out completely.
- Beware of Rot. The most common sign of trouble is rot. If your cutting turns black and mushy, or develops soft, discolored spots, chances are it’s succumbed to rot. This is often caused by using tap water, lack of air circulation (too humid without any airflow), or simply the cutting not being viable to begin with. Don’t be discouraged if you lose one; it happens to the best of us!
A Little Patience Goes a Long Way
Propagating plants is an act of hope, patience, and observation. Don’t get discouraged if your first attempt isn’t a roaring success. Each plant and each season is a little different. Enjoy the process of learning, and when you finally see that tiny new pitcher unfurling, you’ll know it was all worth it. Happy growing!
Resource: