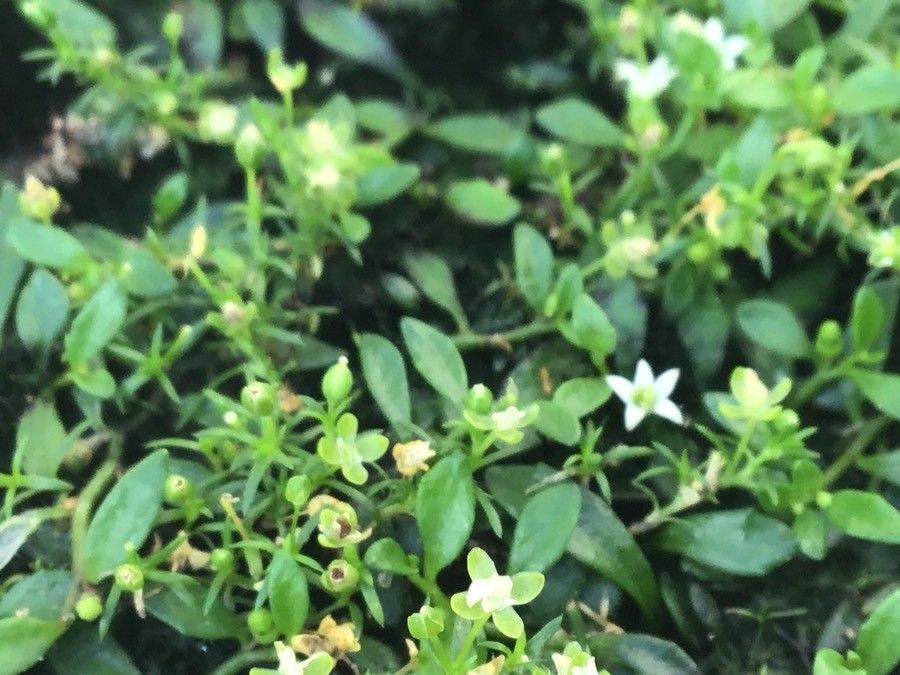
Hello, fellow garden enthusiasts! Today, we’re diving into the wonderful world of Lobelia irrigua. If you’ve ever admired those cascades of delicate blue flowers, you know how magical they are. Getting more of these beauties from the ones you already have is incredibly satisfying, and I’m here to guide you through it. Don’t worry, while some plants can be a bit finicky, propagating Lobelia irrigua is actually quite forgiving, making it a great project even for those new to the world of plant propagation.
The Best Time to Start
For the highest success, aim to propagate Lobelia irrigua in late spring or early summer. This is when the plant is actively growing and has plenty of energy to put into developing new roots. You’re essentially looking for young, healthy, non-flowering shoots to work with.
Supplies You’ll Need
Gathering your supplies beforehand makes the whole process much smoother. Here’s what I recommend:
- Sharp pruning shears or a clean knife: For taking precise cuttings.
- Rooting hormone (optional but helpful): Look for one specifically for softwood cuttings.
- A well-draining potting mix: A blend of peat moss and perlite, or a specialized seedling mix works beautifully. You want something that holds moisture but doesn’t become waterlogged.
- Small pots or trays: Clean recipients for your new plants.
- A spray bottle: For misting.
- Plastic bags or a propagator lid: To create a humid environment.
- Perlite or coarse sand: For added drainage in your pots.
Propagation Methods
Let’s get our hands dirty! We’ll focus on the most reliable method for Lobelia irrigua: stem cuttings.
-
Take Your Cuttings: In late spring or early summer, select healthy, non-flowering stems from your mature Lobelia irrigua. Using your sharp shears or knife, take cuttings that are about 4-6 inches long. Make your cut just below a leaf node (where the leaves attach to the stem).
-
Prepare the Cuttings: Gently remove the lower leaves from the cutting, leaving just a couple of leaves at the top. This helps the plant focus its energy on rooting, not leaf production. If you’re using rooting hormone, dip the cut end of the stem into the powder, tapping off any excess.
-
Planting the Cuttings: Fill your small pots or trays with your prepared potting mix. Make a hole in the center of the soil with a pencil or your finger. Insert the cut end of your Lobelia cutting into the hole, ensuring the leaf nodes are buried. Firm the soil gently around the stem. You can plant several cuttings per pot, spacing them a couple of inches apart.
-
Create a Humid Environment: This is crucial! Mist the soil and the cuttings lightly with your spray bottle. Then, cover the pots with a clear plastic bag or a propagator lid. This traps humidity, which is essential for cuttings to root before they can absorb water through their own roots. Place the pots in a bright location with indirect sunlight. Direct sun can scorch the delicate cuttings.
The “Secret Sauce” (Pro Tips)
Over the years, I’ve picked up a few tricks that seem to make all the difference.
- The Water Logged Danger: Be super careful not to let the leaves of your cuttings touch the water if water propagating. They’ll quickly turn mushy and rot, taking your potential new plant with them. When using soil, ensure the surrounding soil is moist but not waterlogged.
- Bottom Heat is Your Friend: If you have access to a heated propagator mat, a little bottom heat can significantly speed up root formation. It mimics the conditions of spring soil and gives your cuttings that extra boost. Just keep it at a gentle warmth, nothing too hot.
- Don’t Rush the Roots: When you’re tempted to check for roots, be gentle! You’ll see them if you gently tug on a cutting. If there’s resistance, you’ve got roots. If it pulls out easily, give it more time.
Aftercare & Troubleshooting
Once you see new growth emerging from your cuttings, that’s a wonderful sign that roots are forming!
- Gradually Acclimate: Slowly remove the plastic covering over a few days to allow the young plants to adjust to lower humidity.
- Watering: Continue to keep the soil consistently moist but not soggy. Overwatering is the most common culprit for problems.
- Transplanting: When the new plants have a good root system (you can check by gently lifting them or seeing roots emerge from the drainage holes), it’s time to transplant them into their own individual pots.
- Watch for Rot: If your cuttings turn black at the base or become mushy, that’s usually a sign of overwatering and rot. Improve drainage, reduce watering, and ensure good air circulation. Sometimes, sadly, a cutting is just a ‘lemon’ and won’t make it, but don’t let that discourage you.
A Encouraging Closing
Propagating plants is a journey, and Lobelia irrigua offers a delightful path to take. Be patient with yourself and your little cuttings. Observe their progress, enjoy the process of nurturing new life, and soon you’ll have a garden filled with even more of those stunning blue blooms. Happy propagating!
Resource:
https://identify.plantnet.org/k-world-flora/species/Lobelia%20irrigua%20R.Br./data