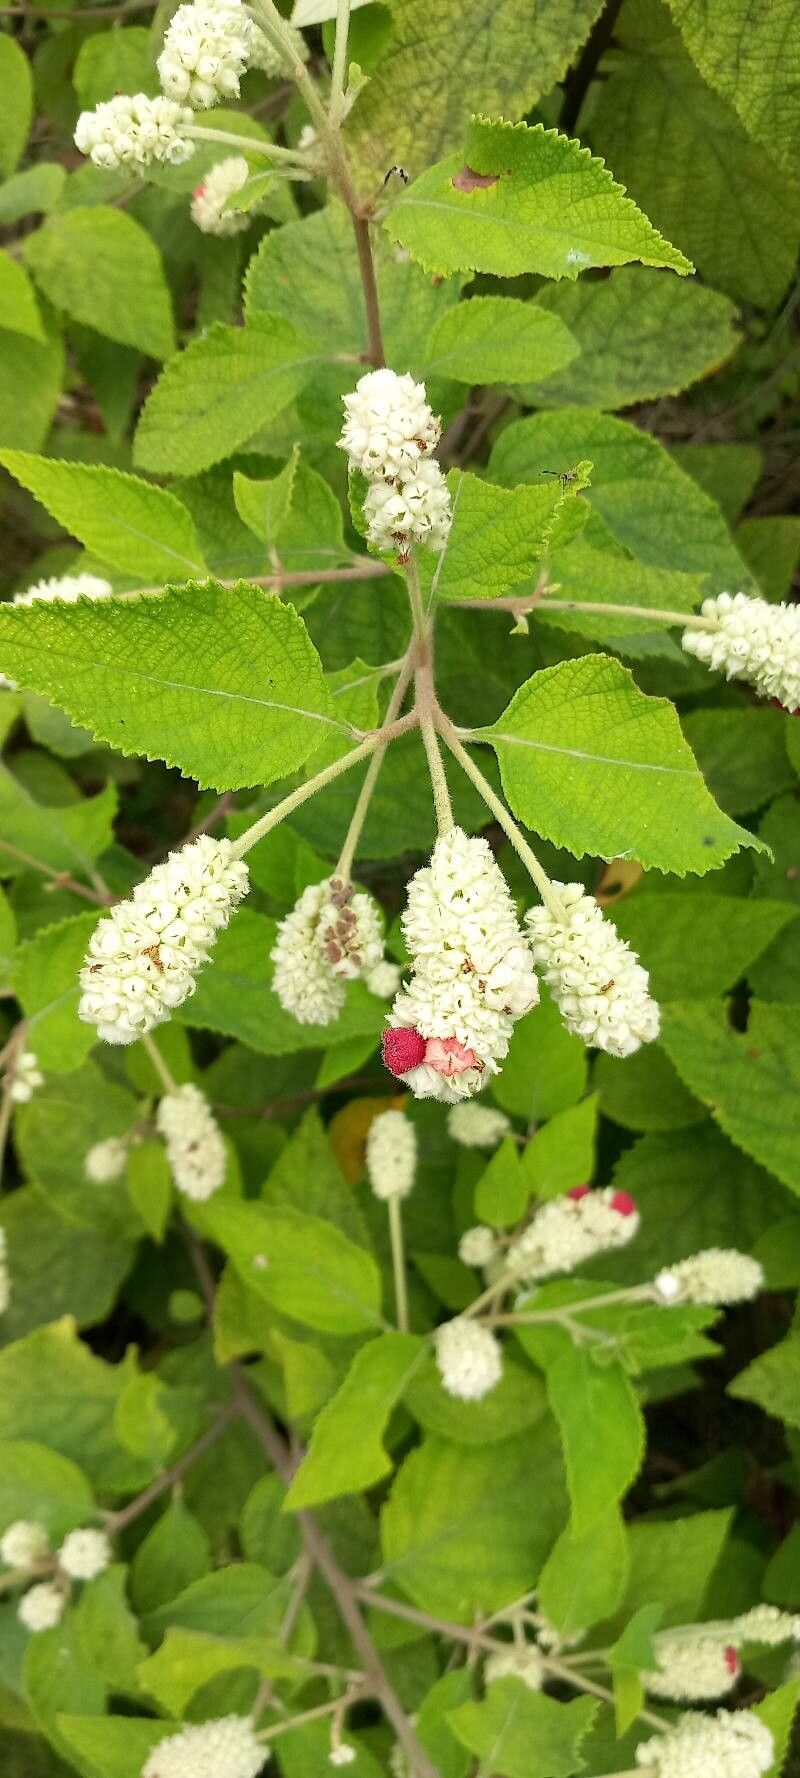
Oh, Varronia tomentosa! What a treat it is to have this lovely plant gracing our gardens. Its fuzzy leaves and delightful blooms are just so welcoming, aren’t they? And the best part? Sharing its beauty by propagating it yourself is incredibly rewarding. Let me tell you, it’s a joy to watch those tiny cuttings develop into flourishing new plants. For beginners, I’d say Varronia is moderately easy. With a little patience and the right approach, you’ll be successful!
The Best Time to Start
When it comes to getting the most bang for your buck with Varronia propagation, aim for late spring through early summer. This is when the plant is actively growing and has plenty of energy to put into rooting. You’re looking for semi-hardwood cuttings – stems that are developing but haven’t become completely woody. Think of it as the “just right” stage, not too soft and not too tough.
Supplies You’ll Need
Get your toolkit ready! Here’s what I always have on hand:
- Sharp Pruning Shears or a Craft Knife: For clean cuts that heal well.
- Rooting Hormone: A good quality rooting powder or gel will give your cuttings a helpful boost.
- Well-Draining Potting Mix: A blend of equal parts perlite, peat moss (or coco coir!), and seed-starting mix works wonderfully. You can also buy a commercial propagation mix.
- Small Pots or Propagation Trays: Clean pots with drainage holes are essential.
- Clear Plastic Bag or Propagation Dome: To create a humid environment.
- Labeling System: Small plant tags and a waterproof pen so you don’t forget what’s what!
- Watering Can with a Fine Rose: For gentle watering.
Propagation Methods
Let’s get our hands dirty! Stem cuttings are my go-to for Varronia tomentosa.
- Take Your Cuttings: Select healthy, vigorous stems. Using your sharp shears or knife, take cuttings that are about 4-6 inches long. Make a clean cut just below a leaf node (where a leaf attaches to the stem).
- Prepare the Cuttings: Gently remove the lower leaves from the cutting, leaving just two or three at the top. This prevents them from rotting in the soil. If the remaining leaves are very large, you can even snip them in half to reduce water loss.
- Apply Rooting Hormone: Dip the cut end of the stem into your rooting hormone, tapping off any excess.
- Plant the Cuttings: Fill your clean pots with your well-draining potting mix. Make a small hole in the center of the soil with your finger or a pencil. Carefully insert the calloused end of the cutting into the hole, ensuring it makes good contact with the soil. Firm the soil gently around the base of the cutting.
- Create the Humid Environment: Water the soil lightly. Then, cover the pot with a clear plastic bag (propping it up with a skewer or two so it doesn’t touch the leaves) or place it under a propagation dome.
The “Secret Sauce” (Pro Tips)
Now for a few tricks up my sleeve that make a real difference:
- Bottom Heat is Your Friend: For even faster and more reliable rooting, place your pots on a gentle heat mat designed for propagation. This warmth encourages root development from below.
- Don’t Overwater, Ever: This is the most crucial point. Soggy soil is the fastest way to rot your cuttings. Water only when the top inch of soil feels dry to the touch. It’s much better to err on the side of slightly too dry than too wet.
- Air Circulation is Key: While you want humidity, you also need some air exchange. Lift the plastic bag or open the dome for a few minutes each day to let fresh air in and prevent fungal issues.
Aftercare & Troubleshooting
Once your cuttings are potted, keep them in a bright location, but out of direct, harsh sunlight. Be patient! You should start to see signs of rooting – usually new leaf growth – in about 4-6 weeks.
If you notice yellowing leaves that then turn brown and drop, it’s often a sign of too much moisture or insufficient light. Mushy stems at the base are a clear indicator of rot, usually from overwatering. If you see this, you might need to discard the affected cutting and reassess your watering schedule and soil drainage.
A Encouraging Closing
Propagating Varronia tomentosa is a wonderful journey into the life cycle of plants. Don’t get discouraged if your first few attempts aren’t perfect. Gardening is all about learning and observing. Enjoy the process, celebrate every tiny sprout, and soon you’ll be sharing your beautiful Varronia creations with friends and family. Happy growing!
Resource:
https://identify.plantnet.org/k-world-flora/species/Varronia%20tomentosa%20Lam./data