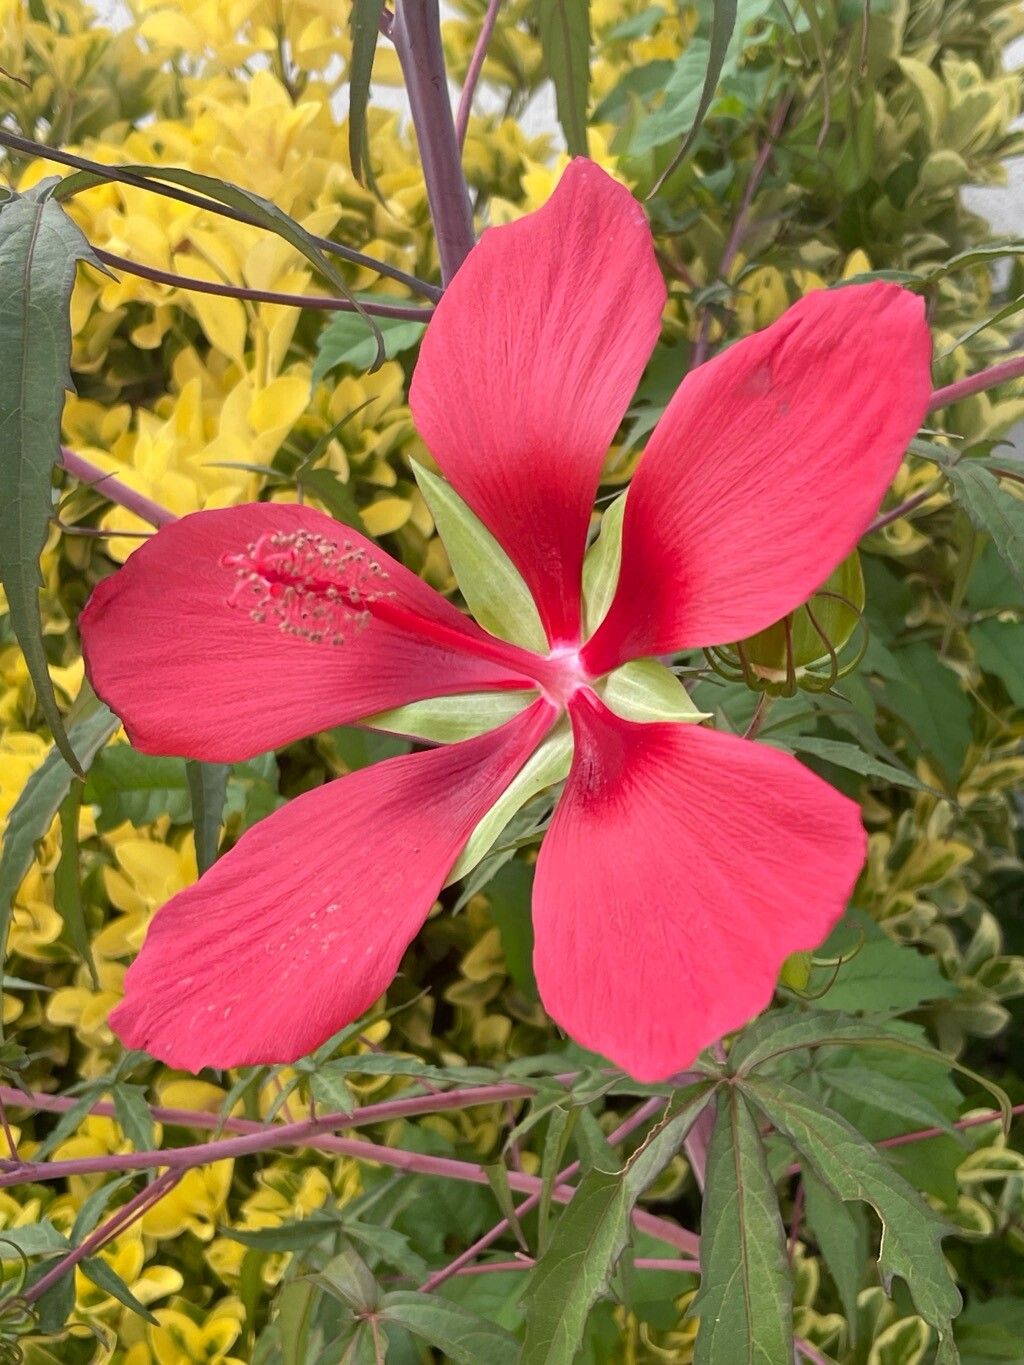
Hello there, fellow garden enthusiasts! I’m so delighted to chat with you today about one of my absolute favorite plants: Hibiscus coccineus, also known as Scarlet Rose Mallow. If you’ve ever seen its magnificent, fiery red blooms gracing a garden, you know its charm. They’re like little bursts of summer sunshine, aren’t they?
For me, propagating Hibiscus coccineus is a truly rewarding experience. It’s not just about getting more plants; it’s about understanding the life cycle, nurturing new growth, and sharing that beauty with others. Now, let’s talk honestly. For beginners, it can be a little bit of a learning curve, but don’t let that discourage you one bit. With a little patience and these tips, you’ll be well on your way!
The Best Time to Start
When it comes to getting the most bang for your buck with propagation, late spring to early summer is truly your golden window. This is when the plant is actively growing, energized by consistent warmth and plenty of sunlight. You’ll want to take cuttings from new, non-woody growth – think stems that are still a bit flexible, not stiff and woody.
Supplies You’ll Need
Don’t overthink this part! Gathering your supplies beforehand makes the whole process smoother. You’ll want:
- Sharp pruning shears or a clean, sharp knife: For making clean cuts.
- Rooting hormone (optional, but recommended): This really gives your cuttings a boost.
- Well-draining potting mix: A peat-based mix with perlite or coarse sand works wonders. Avoid heavy garden soil.
- Small pots or seedling trays: Clean ones are key to prevent disease.
- Plastic bags or a propagation dome: To create a humid environment.
- Watering can with a fine rose: Gentle watering is important.
- Labels: To keep track of your efforts!
Propagation Methods
Let’s dive into the techniques that usually give me the best results with Hibiscus coccineus.
Stem Cuttings
This is my go-to method for this hibiscus. It’s reliable and you can get multiple plants from a single parent.
- Take your cuttings: In late spring or early summer, select healthy stems. Using your sharp pruning shears, cut sections about 4-6 inches long. Make your cut just below a leaf node (where a leaf attaches to the stem).
- Prepare the cuttings: Gently remove the lower leaves, leaving just the top two or three. If the leaves are very large, you can even cut them in half horizontally to reduce water loss.
- Apply rooting hormone (if using): Dip the cut end of each stem into your rooting hormone powder, tapping off any excess.
- Plant the cuttings: Fill your pots or trays with your well-draining potting mix. Make a small hole in the center of each with a pencil or your finger. Insert the cutting so that at least one leaf node is buried in the soil. Gently firm the soil around it.
- Water gently: Water thoroughly but avoid waterlogging. The soil should be moist, not soaked.
- Create humidity: Cover the pots with a plastic bag or a propagation dome. You can prop up the bag with stakes to keep it from touching the leaves.
Division (for established plants)
If you have a larger, established Hibiscus coccineus plant and want to divide it, this is a simpler option.
- Dig up the plant: Do this in early spring before new growth really takes off, or in the fall after blooming. Carefully dig around the root ball and lift the entire plant.
- Separate the root ball: Gently shake off excess soil. You can usually pull the root ball apart with your hands, or use a clean trowel or knife to make divisions if the roots are tightly intertwined. Ensure each section has healthy roots and at least one shoot.
- Replant: Replant the divisions immediately into their new locations or pots, watering them in well.
The “Secret Sauce” (Pro Tips)
Here are a couple of tricks I’ve learned over the years that often make a big difference:
- Bottom Heat is Your Friend: While not strictly necessary, placing your pots on a heat mat specifically designed for propagation can significantly speed up root development. It mimics the warmth of the soil in summer and gives those roots the encouragement they need to get going.
- Don’t Drown Your Dreams: This is a big one, especially with cuttings. Make sure the leaves never, ever touch the water if you opt for water propagation (though I find stem cuttings in soil more reliable for this one). If leaves sit in water, they’ll just rot. And when watering your soil cuttings, aim for consistent moisture, not swampy conditions. Soggy soil is the fast track to root rot.
Aftercare & Troubleshooting
Once you start seeing signs of new growth – tiny leaves popping out – that’s a great indicator that roots have formed! Gradually acclimate your new plants to normal conditions by opening the plastic bag or dome for increasing periods over a week or two. Once they seem sturdy, you can transplant them into slightly larger pots or their permanent garden spots.
What if things go wrong? The most common culprit is rot. If your cuttings turn black and mushy, it’s usually due to too much moisture and poor air circulation. If you see signs of wilting and the soil feels overly wet, take the plastic off immediately and try to let the soil dry out slightly. Sometimes, even with perfect care, a cutting just won’t take. Don’t get discouraged; it’s part of the process! Just try again.
A Encouraging Closing
There you have it! Propagating Hibiscus coccineus is a journey, not a race. Be patient with your new little plant babies. Watch them grow, nurture them, and soon you’ll be rewarded with those stunning scarlet blooms. Enjoy every step of the process – that’s where the real gardening joy lies. Happy planting!
Resource:
https://identify.plantnet.org/k-world-flora/species/Hibiscus%20coccineus%20Walter/data