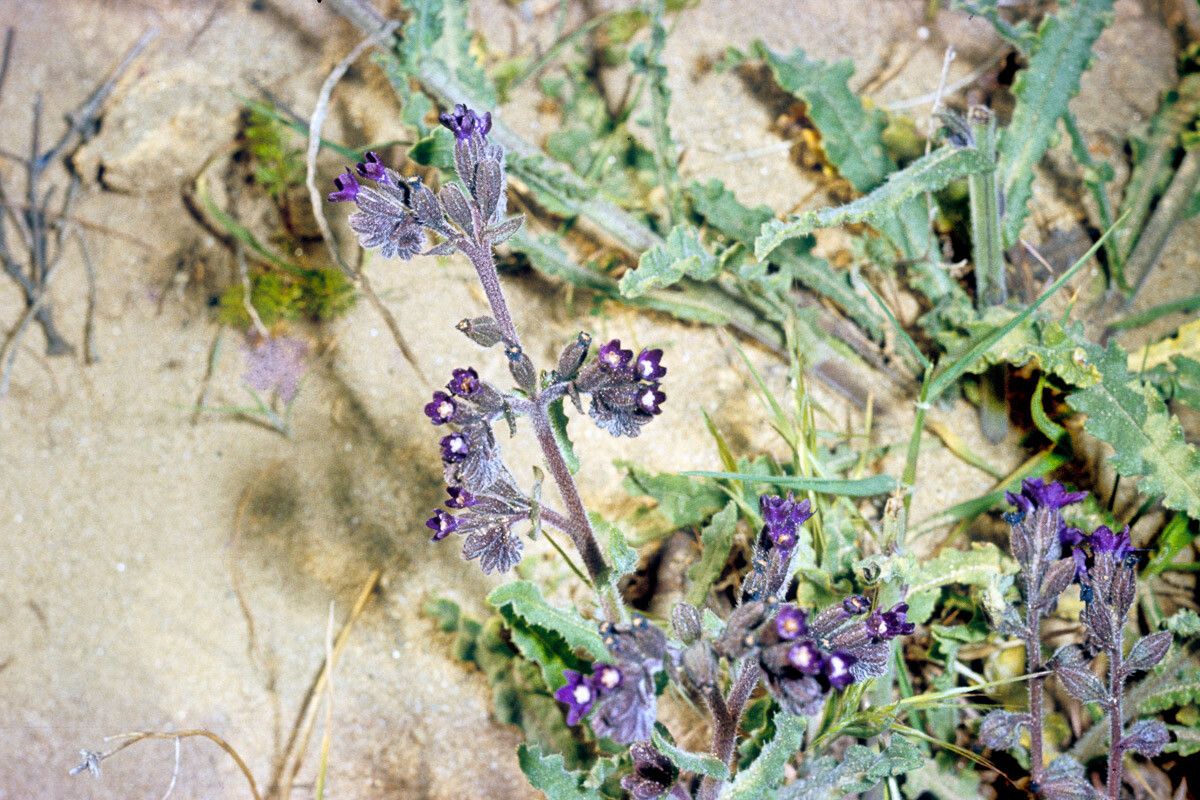
Hello fellow garden enthusiasts! It’s wonderful to connect with you all again. Today, we’re diving into a plant that brings such vibrant, sky-blue joy to any garden: Anchusa hybrida. Often called ‘Blue Angel’ or ‘Pride of Gibraltar,’ these beauties unfurl delicate, azure blooms that are simply captivating. Propagating them isn’t just about getting more plants; it’s about extending that splash of blue and sharing it with friends. And to answer your burning question – are they tricky? For beginners, Anchusa hybrida falls into the moderately easy category. With a little care and the right approach, you’ll be swimming in blue blossoms in no time!
The Best Time to Start
When it comes to getting your Anchusa cuttings to root successfully, timing is everything. I find the late spring or early summer, after the initial flush of flowering, is the absolute sweet spot. This is when the plant has put on some good growth, and the stems are firm but not yet woody. You want to take cuttings from healthy, actively growing shoots. Avoid anything that’s flowering or looking a bit stressed.
Supplies You’ll Need
Before we get our hands dirty, let’s gather our essentials:
- Sharp Pruning Shears or a Clean Knife: For making clean cuts.
- Rooting Hormone (Optional but Recommended): A powder or gel to encourage root development.
- Seed Starting Mix or a Well-Draining Potting Mix: Something light and airy for good aeration. I often mix my own with perlite and peat moss.
- Small Pots or Trays: Clean containers for your cuttings.
- Plastic Bag or Dome: To create a humid environment.
- Water: For misting.
- Labels: To remember what you’ve planted where!
Propagation Methods
Anchusa hybrida is quite amenable to propagation via stem cuttings. It’s my go-to method and generally offers the best results.
- Select Your Cuttings: Look for healthy, non-flowering stems on your mature Anchusa plant. You’re aiming for pieces about 4-6 inches long.
- Make the Cut: Using your sharp shears or knife, make a clean cut just below a leaf node. A leaf node is that little bump where a leaf or bud emerges from the stem. This is where roots are most likely to form.
- Prepare the Cuttings: Gently remove the lower leaves from the cutting, leaving only the top few set of leaves. This prevents them from rotting when buried in the soil. If the leaves are very large, you can even cut them in half horizontally to reduce water loss.
- Apply Rooting Hormone (Optional): Dip the cut end of the stem into your rooting hormone. Tap off any excess powder.
- Plant Your Cuttings: Fill your small pots or trays with your prepared potting mix. Make a small hole with your finger or a pencil, and insert the cut end of the stem into the hole. Gently firm the soil around it.
- Water and Cover: Water the soil gently to settle it around the cuttings. Then, cover the pots with a clear plastic bag or a propagation dome to maintain high humidity. This is crucial for cuttings as they don’t have roots to absorb water yet.
The “Secret Sauce” (Pro Tips)
Now, let’s talk about those little extra touches that really make a difference.
- My absolute favorite tip is to avoid letting the leaves touch the water if you choose to start them in water (though I still favor soil for Anchusa). If there’s any chance, trim them back. Underwatered leaves are sad, but waterlogged leaves often just rot away.
- For an extra boost, especially if your house is a bit on the dry side, use bottom heat. A propagation mat set to a low temperature can significantly speed up root formation. It’s like a cozy, warm bed for your new plant babies!
- Never underestimate the power of patience. Some cuttings will take off immediately, while others might take their sweet time. Don’t give up on a cutting just because it looks a bit limp after a week or two.
Aftercare & Troubleshooting
Once you start to see signs of root development – often indicated by new leaf growth or a slight tug back when you gently pull on a cutting – it’s time for a little more attention.
Gradually introduce your new plants to less humid conditions by opening the plastic bag or dome a little each day over a week. Once they look happy and robust, you can plant them into their own individual pots to grow on. Keep them in a bright spot, but out of direct, harsh sun until they are well established.
The most common issue you might encounter is rot. This usually happens if the soil stays too wet or if humidity is too high without enough air circulation. If you see a cutting turning black and mushy, it’s best to discard it to prevent it from affecting others. Don’t be discouraged; it’s all part of the learning process!
A Little Blue Goes a Long Way…
Propagating Anchusa hybrida is a wonderfully rewarding experience. Watching those tiny stems transform into new, blooming plants is simply magical. Be patient with yourself and your cuttings. Each one is an opportunity to learn and grow. Happy propagating, and may your gardens be filled with glorious blue!
Resource:
https://identify.plantnet.org/k-world-flora/species/Anchusa%20hybrida%20Ten./data