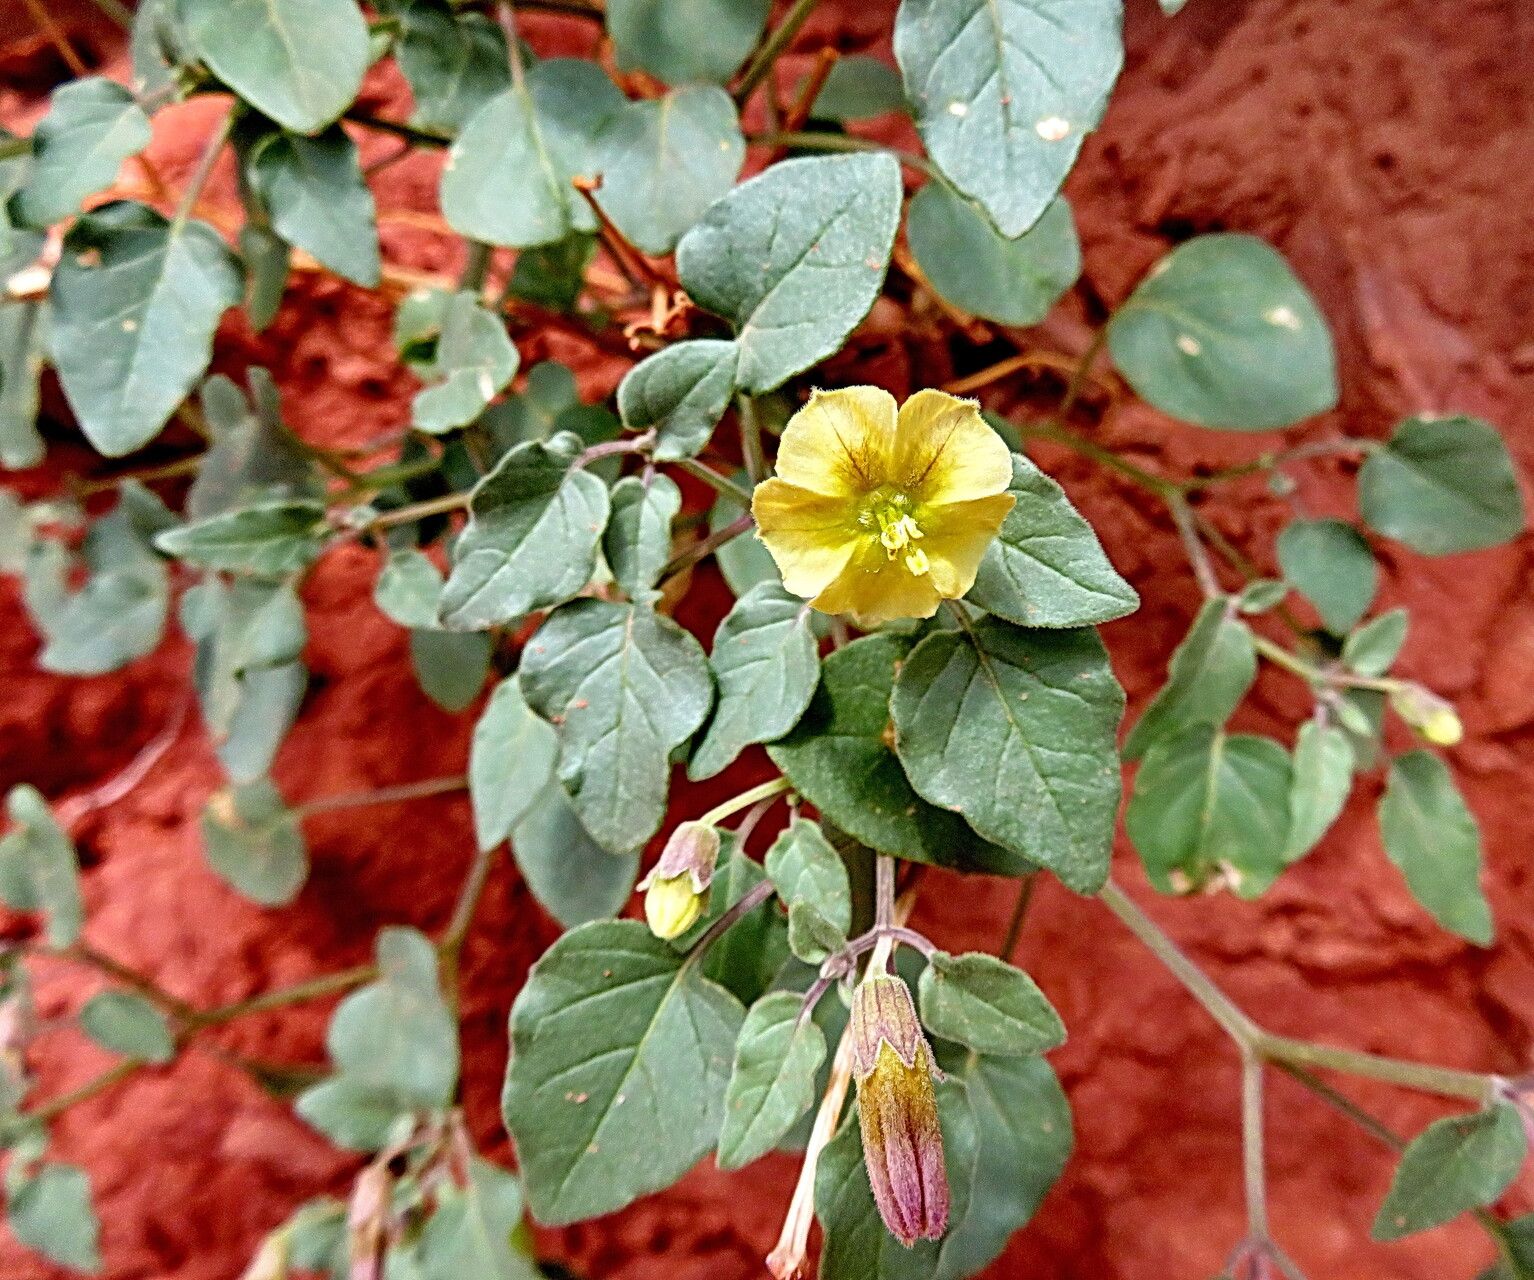
Hello there, fellow garden enthusiasts! If you’re anything like me, you’ve probably caught sight of a Physalis crassifolia – maybe its charming papery lanterns or its surprisingly delicious fruit has caught your eye. This little desert beauty, also known as Desert Groundcherry, is such a rewarding plant to have in the garden. It’s tough, attracts beneficial insects, and those edible fruits? A real treat!
The good news is, propagating Physalis crassifolia here at home is absolutely doable, and I’d say it’s a pretty beginner-friendly endeavor. Seeing a new plant sprout from a little piece of an existing one is one of the most satisfying feelings in gardening, and it means more of these lovely plants for you to enjoy, or even share with friends!
The Best Time to Start
For the highest success rate, try to take your cuttings or start your propagation efforts in late spring or early summer, after the plant has had a chance to really get going after winter. You’re looking for young, actively growing stems. Avoid anything that looks woody or old. This is when the plant has the most energy for producing new roots.
Supplies You’ll Need
Gathering your supplies beforehand makes the whole process go so much smoother. Here’s what I usually have on hand:
- Sharp pruning shears or a clean knife: For making clean cuts.
- Rooting hormone (optional but recommended): This gives your cuttings a little boost.
- Well-draining potting mix: A good blend for cacti and succulents works wonderfully, or you can mix your own with perlite.
- Small pots or seed trays: With drainage holes, of course!
- Clear plastic bags or a propagator: To create a humid environment.
- Watering can or mister: For gentle watering.
- Labels: To keep track of what you’ve planted.
Propagation Methods
Physalis crassifolia is quite amenable to propagation through stem cuttings. It’s my go-to method because it’s quick and effective.
Stem Cuttings:
- Select Healthy Stems: Find a healthy, non-flowering stem that’s about 4-6 inches long. Look for stems that are green and flexible, not stiff and woody.
- Make the Cut: Using your sharp shears or knife, make a clean cut just below a leaf node (where a leaf grows from the stem). This is where the plant is most likely to form roots.
- Prepare the Cutting: Gently remove the lower leaves from the cutting. You want to expose at least one or two leaf nodes for good root development. If the cutting has any flowers or developing fruit, pinch those off.
- Apply Rooting Hormone (Optional): Dip the cut end of the stem into your rooting hormone powder, tapping off any excess.
- Plant the Cuttings: Fill your small pots with the well-draining potting mix and make a small hole with your finger or a pencil. Insert the cut end of the stem into the hole, making sure the nodes where you removed leaves are buried in the soil. Gently firm the soil around the stem.
- Water Gently: Water the soil thoroughly but gently, ensuring it’s moist but not soggy.
- Create Humidity: Cover the pot with a clear plastic bag or place it in a propagator. This traps moisture and creates the humid environment that cuttings love. Make sure the leaves don’t touch the inside of the bag if possible.
- Place in Indirect Light: Find a bright spot that receives indirect sunlight. Avoid direct sun, as it can scorch the delicate cuttings.
The “Secret Sauce” (Pro Tips)
Here are a couple of little tricks I’ve picked up over the years that really make a difference:
- Bottom Heat is Your Friend: While not strictly necessary, providing a little warmth from below can significantly speed up root formation. A heated propagation mat can work wonders, especially if your room tends to be a bit on the cooler side.
- Don’t Drown Your Dreams: When you water your cuttings, always let the soil dry out slightly between waterings. Soggy soil is the quickest way to invite rot. It’s better to underwater slightly than to overwater a cutting.
Aftercare & Troubleshooting
Once your cuttings have been planted, the waiting game begins. Keep the soil consistently moist but not waterlogged, and check for signs of rooting in about 3-6 weeks. You can gently tug on a cutting; if there’s resistance, it means roots have formed.
Signs of failure often include wilting that doesn’t recover after watering, mushy stems, or blackening at the base. If you see these, it’s usually a sign of too much moisture or insufficient light. Sometimes, even with the best efforts, a cutting just won’t take, and that’s okay! Don’t be discouraged.
Once your new plants have developed a good root system and you see new growth, you can transplant them into slightly larger pots. Continue to provide them with bright, indirect light. Gradually acclimate them to their new environment before planting them outdoors in a sunny, well-draining spot.
A Little Patience Goes a Long Way
Propagating Physalis crassifolia is a rewarding journey. It might take a bit of patience, and not every attempt might be a roaring success right away, but the process itself is part of the joy of gardening. Enjoy watching those tiny roots unfurl and your new plants begin to grow! Happy propagating!
Resource:
https://identify.plantnet.org/k-world-flora/species/Physalis%20crassifolia%20Benth./data