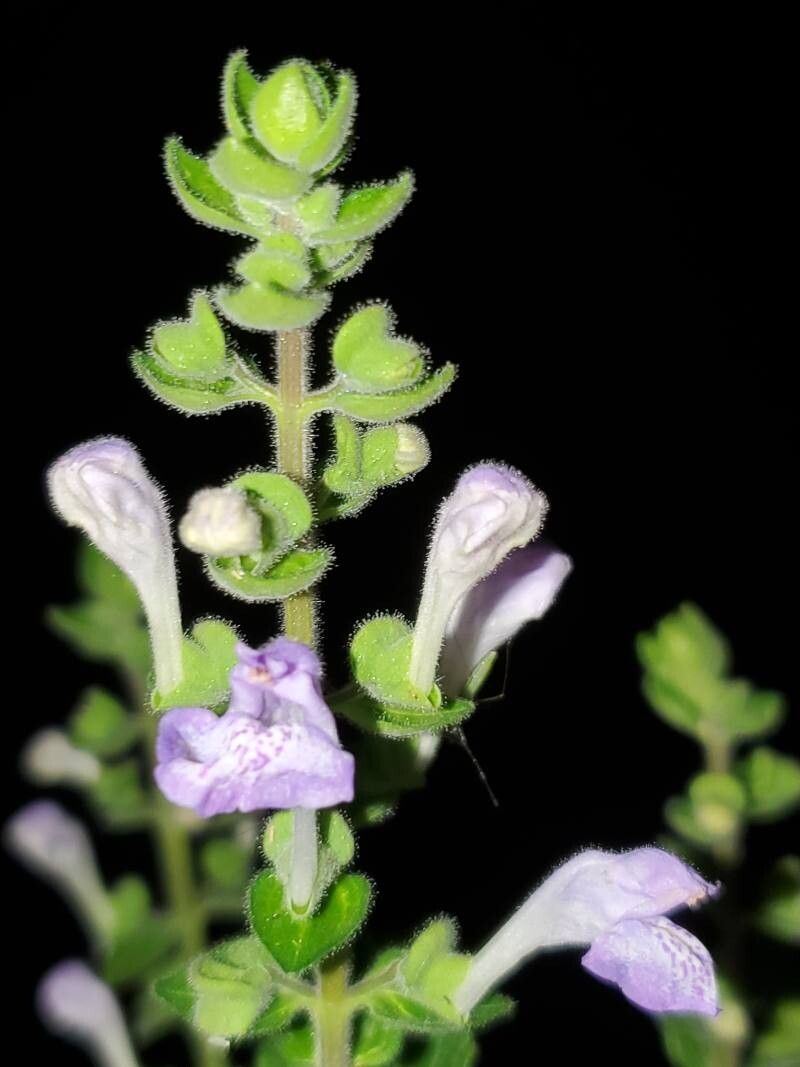
Hello there, fellow plant enthusiasts! Today, we’re diving into the wonderful world of Scutellaria ocmulgee, also known as Ocmulgee Skullcap. This charmer is an absolute gem in my garden. Its delicate purple-blue flowers are like little jewels scattered amongst its foliage, and it has a lovely, somewhat mounding habit that really fills out a space without being unruly. Plus, it’s a fantastic pollinator magnet! If you’ve been admiring it and wishing you had more, you’re in luck. Propagating it is a very rewarding process, and while it’s not rocket science, it does have its little nuances. I’d say it’s moderately easy – a great project for those who have dipped their toes into propagation before.
The Best Time to Start
For the highest success rate with Scutellaria ocmulgee, late spring to early summer is your golden window. This is when the plant is actively growing, buzzing with life, and has plenty of energy to put into creating new roots. You want to take cuttings from stems that are semi-hardwood – meaning they’ve lost their super-soft, floppy new growth but haven’t become totally woody and stiff. Think of it as being in that perfect in-between stage.
Supplies You’ll Need
Before we get our hands dirty, let’s gather our tools:
- Sharp Pruning Shears or a Craft Knife: Cleanliness is key for successful cuttings.
- Rooting Hormone (Optional but Recommended): A powder or gel that helps cuttings develop roots faster.
- Small Pots or Seed Trays: With drainage holes, of course!
- Well-Draining Potting Mix: I like a mix of equal parts peat moss or coco coir and perlite or coarse sand. You can also buy specialized seedling or cutting mixes.
- Plastic Bags or a Propagator Lid: To create a humid environment.
- Watering Can with a Fine Rose: For gentle watering.
- (Optional) Bottom Heat Mat: This can speed up rooting significantly, especially in cooler conditions.
Propagation Methods
Scutellaria ocmulgee is most reliably propagated by stem cuttings. Here’s how I do it:
-
Take Your Cuttings: In late spring or early summer, select healthy, non-flowering stems. Using your clean shears or knife, cut pieces that are about 4-6 inches long. Make the cut just below a leaf node (where a leaf grows from the stem). Remove the lower leaves, leaving just the top couple of leaves. If the leaves are very large, I often cut them in half to reduce water loss.
-
Prepare the Cuttings: Dip the cut end of each stem into rooting hormone, tapping off any excess. This step is especially helpful for getting a good root system going.
-
Plant Your Cuttings: Fill your small pots or trays with your prepared potting mix. Make a small hole in the soil with a pencil or your finger. Insert the cutting into the hole, ensuring the leaf nodes that were buried are nestled in the soil. Gently firm the soil around the base of the stem.
-
Create a Humid Environment: Water the soil gently until it’s moist but not soggy. Then, cover the pots with a clear plastic bag or a propagator lid. This traps humidity, which is crucial for preventing the cuttings from drying out before they can form roots. You can prop up the bag with a skewer or two so it doesn’t touch the leaves.
-
Placement is Key: Place the pots in a bright spot, but out of direct, harsh sunlight. A windowsill that gets bright, indirect light is perfect. If you have a bottom heat mat, now’s the time to use it by placing the pots on top. Maintain a consistent temperature, ideally around 70-75°F (21-24°C).
The “Secret Sauce” (Pro Tips)
Here are a couple of things I’ve learned over the years that make a big difference:
- Don’t Let Leaves Touch the Water (If Water Propagating): While I primarily focus on soil propagation for this plant, some people try water. If you do, make sure no leaves are submerged. Any decaying leaf matter in the water can quickly lead to rot, which is the kiss of death for cuttings.
- Bottom Heat is Your Friend: Honestly, a little bit of warmth from below can dramatically speed up the rooting process for Scutellaria. It mimics the conditions of a warm soil bed and really encourages the plant to get going. You can find affordable propagators with heat mats designed for home use.
- Take More Than You Think You’ll Need: Not every cutting will make it. It’s just the nature of the beast! So, if you want five new plants, take ten cuttings. This way, you’re much more likely to end up with the number you desire.
Aftercare & Troubleshooting
Once your cuttings have started to root – and you’ll know this when you see new growth appearing or gently tug on a cutting and feel resistance – it’s time for a little adjustment. Gradually remove the plastic covering over a few days to help the new plants acclimatize to drier air.
Continue to keep the soil consistently moist but not waterlogged. As they grow stronger, you can begin to water them a bit more like mature plants. Once they have a good root system and are growing well, you can transplant them into larger pots.
The most common issue you might encounter is rot. This usually happens if the cuttings are kept too wet, have poor drainage, or if the environment is too humid for too long without good air circulation. If you see stems turning black and mushy, it’s likely rot. Unfortunately, it’s usually a lost cause at that point, so prevention is key. Another sign of a problem is wilting that doesn’t recover, which could mean they’re drying out too quickly.
A Little Patience Goes a Long Way
Propagating plants is such a wonderful way to connect with nature and grow your garden without breaking the bank. Be patient with your Scutellaria ocmulgee cuttings. Some will take off quickly, while others might be a little slower. Don’t get discouraged if your first attempt isn’t perfect. Just enjoy the process of nurturing these new little lives. Happy propagating!
Resource:
https://identify.plantnet.org/k-world-flora/species/Scutellaria%20ocmulgee%20Small/data