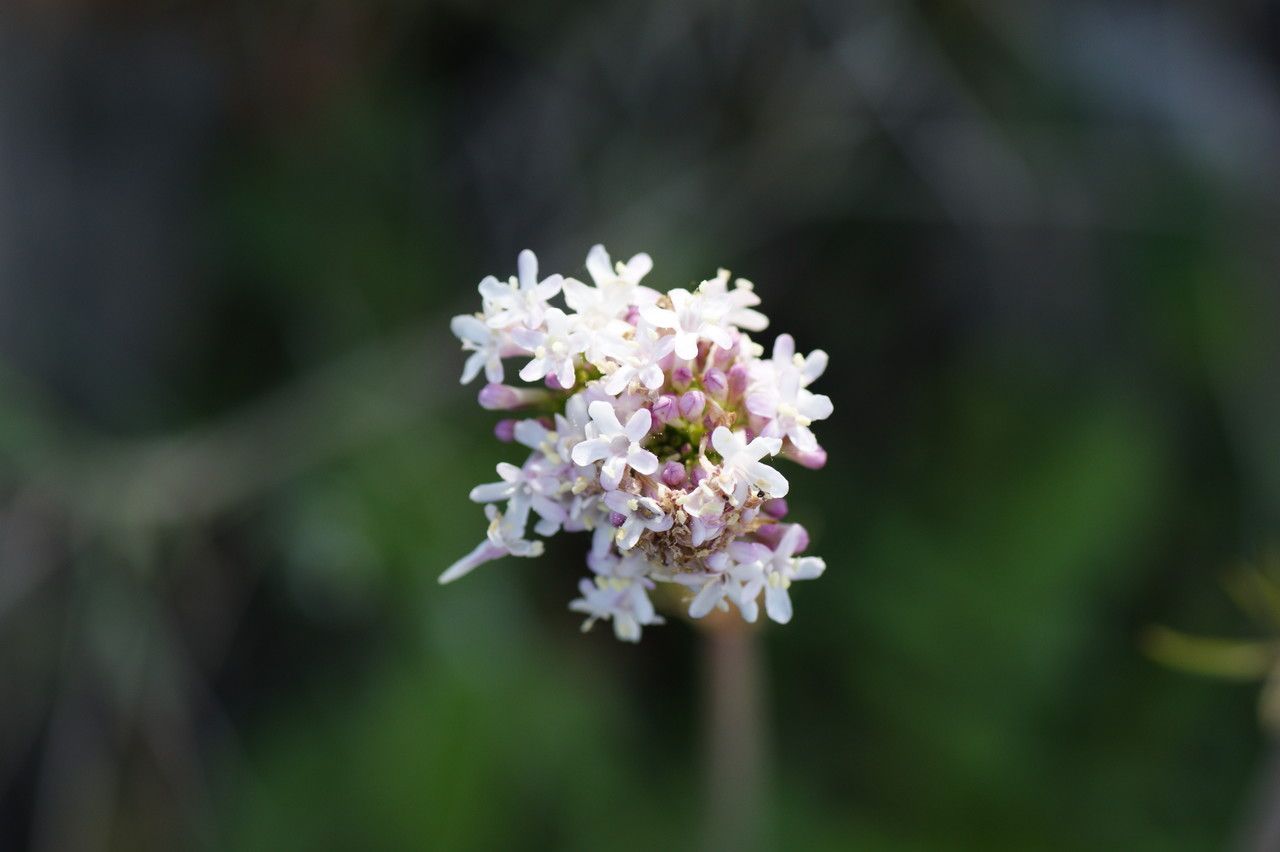
Hello plant friends! I’m so excited to chat with you today about a real gem in the garden: Valeriana italica. You might know it as Italian Valerian, and if you haven’t grown it, you’re missing out. Its delicate, aromatic foliage is simply lovely, and it sends up charming little white flowers that attract pollinators. Propagating it is one of those satisfying garden tasks that allows you to multiply your joy—and your plants! Don’t worry if you’re new to this; Valeriana italica is quite a cooperative plant, making it a friendly option for beginners eager to expand their green collection.
The Best Time to Start
For the most success, I find that early spring is the sweet spot for propagating Valeriana italica. This is when the plant is just waking up from its winter rest and has plenty of energy to put into new growth. Waiting until after the main flowering flush, usually in late spring or early summer, also works beautifully. You want to make sure the plant is actively growing, not dormant.
Supplies You’ll Need
Here’s what you’ll want to have on hand before you get started:
- Clean pruning shears or a sharp knife
- A well-draining potting mix (I like a blend of equal parts peat moss, perlite, and compost)
- Small pots or propagation trays
- Rooting hormone (optional, but it can give an extra boost)
- A mist bottle filled with water
- A clear plastic bag or propagation dome
- A shallow tray or saucer for watering
Propagation Methods
Valeriana italica is a pretty versatile plant, and I’ve had great luck with a couple of methods.
Stem Cuttings
This is my go-to for this plant. It’s straightforward and effective.
- Select your cuttings: Look for healthy, non-flowering stems that are about 4-6 inches long. They should be firm but not woody.
- Make the cut: Using your clean shears or knife, make a clean cut just below a leaf node. A leaf node is where a leaf attaches to the stem.
- Prepare the cutting: Gently remove the lower leaves, leaving a few at the top. If the stem has any flower buds, pinch them off.
- Apply rooting hormone (optional): If you’re using it, dip the cut end of the stem into the rooting hormone, tapping off any excess.
- Plant the cutting: Fill your pots or trays with the potting mix. Make a small hole with your finger or a pencil and insert the cut end of the stem, ensuring at least one leaf node is buried. Gently firm the soil around the stem.
- Water gently: Water lightly with your mist bottle or from the bottom until the soil is moist but not soggy.
- Create humidity: Cover the pot with a clear plastic bag or place it in a propagation dome. This is crucial for keeping the cuttings from drying out.
Division
If your Valeriana italica plant has gotten a bit large and clumped, division is a wonderful way to get several new plants and rejuvenate the mother plant.
- Gently excavate: Carefully dig up the entire plant. You can do this in late fall or early spring.
- Identify sections: Look for distinct clumps or sections of the root system.
- Divide with care: Using your hands or a clean spade, gently pull or cut the root ball into smaller sections. Each section should have plenty of healthy roots and some shoots or stems.
- Replant immediately: Pot up the divisions into individual pots with fresh, well-draining soil. Water them in well.
The “Secret Sauce” (Pro Tips)
Here are a few things I’ve learned over the years that make a difference:
- Don’t let the leaves touch the water (for stem cuttings): If you happen to be trying water propagation (though I find cuttings easier for this plant), make sure the leaves are above the water line. Any submerged leaves are prone to rotting.
- Bottom heat is your friend: While not strictly necessary, placing your propagation tray on a gentle heat mat can significantly speed up root development for cuttings. It mimics the warmth of spring soil.
- Be patient with water: If you’re opting for water propagation, change the water every few days to keep it fresh and prevent bacterial growth. You’ll start seeing tiny white roots emerge.
Aftercare & Troubleshooting
Once your cuttings have taken root (you can usually tell by gentle tugging – they’ll resist), or your divisions are settled in, it’s time for a little extra care.
Watering: Keep the soil consistently moist but not waterlogged. Allow the top inch of soil to dry slightly between waterings. Overwatering is the most common killer of new propagations, so err on the side of caution.
Light: Place your new plants in a bright location, but out of direct, harsh sunlight. Dappled shade or an east-facing window is ideal. Once they’re established and growing well, you can gradually introduce them to more sun.
Troubleshooting: The biggest enemy is rot. If you see stems turning mushy and black, or leaves wilting and yellowing despite consistent watering, it’s likely rot. This is usually a sign of too much moisture and not enough air circulation. You may need to discard infected cuttings and adjust your watering practices for the remaining ones. If your cuttings just seem to be sulking and not developing roots, patience is key! Sometimes it just takes a little longer for them to get going.
A Little Encouragement
Propagating Valeriana italica is a rewarding journey. It’s a chance to connect with your plants on a deeper level and to share their beauty with friends. Remember, nature doesn’t rush, and neither should you. Enjoy the process, learn from each new seedling, and celebrate every tiny root that emerges. Happy propagating!
Resource:
https://identify.plantnet.org/k-world-flora/species/Valeriana%20italica%20Lam./data