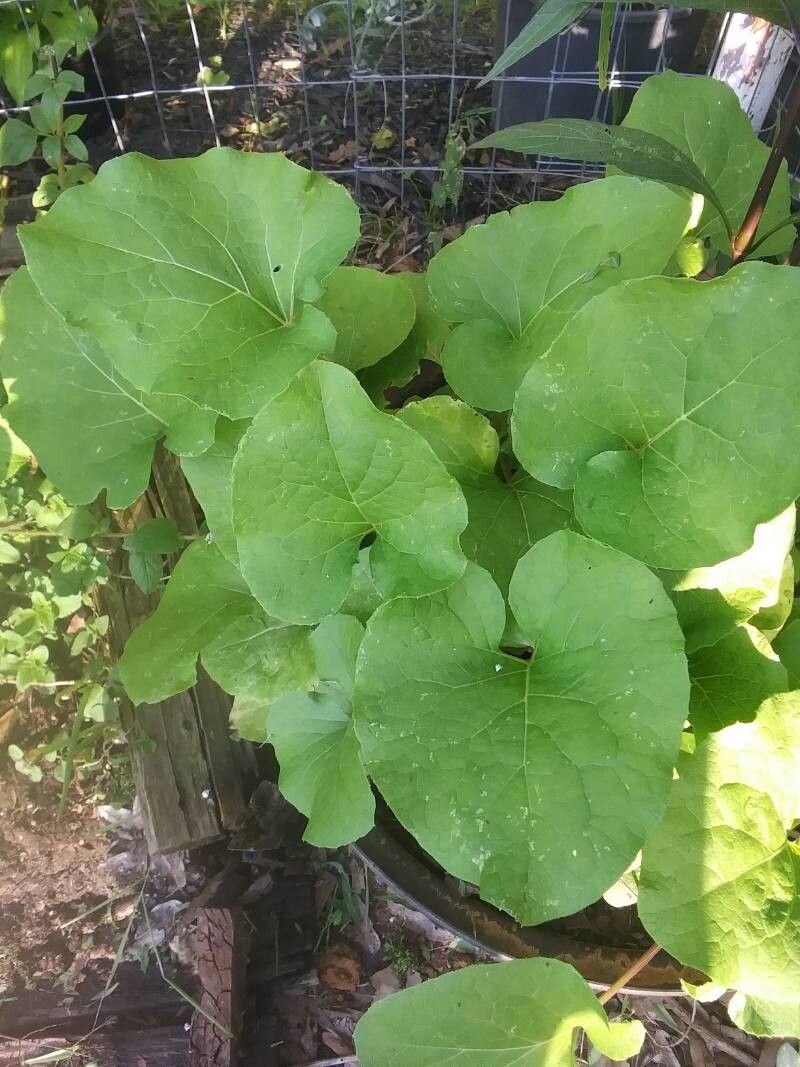
Oh, Asarum canadense! Isn’t it just a dream? Commonly known as wild ginger, this woodland native has these gorgeous, heart-shaped leaves that create such a lush, velvety carpet under trees. It’s one of those plants that makes you feel like you’re stepping into a fairy tale. And the best part? It’s actually quite rewarding to share the magic by propagating it yourself.
Now, if you’re new to the plant world, don’t be intimidated. While some plants can be a bit fussy about being fussed over, Asarum canadense is generally a friendly plant to propagate. It’s more of a gentle persuasion than a high-maintenance drama queen!
The Best Time to Start
For wild ginger, the sweet spot for propagation is when the plant is actively growing but not stressed. Late spring to early summer, right after its main growth spurt, is usually your best bet. You want to catch it when it’s full of life and ready to work its magic. You can also attempt division in early spring as soon as the ground is workable, but the plants might take a little longer to establish once replanted.
Supplies You’ll Need
You don’t need a whole arsenal of fancy tools for this! Here’s what I usually keep on hand:
- Sharp, clean pruning shears or a trowel: For making clean cuts or gently separating divisions.
- Well-draining potting mix: A good blend for woodland plants works wonders. I like to mix in some compost and a bit of perlite for aeration.
- Small pots or trays: Terracotta pots are lovely and breathe well.
- Watering can with a fine rose or a spray bottle: For gentle watering.
- (Optional) Rooting hormone: While not strictly necessary for wild ginger, it can give a little boost, especially for cuttings.
- (Optional) Labels and a marker: To keep track of what you’ve planted and when.
Propagation Methods
Asarum canadense is most commonly propagated through division. It’s the most straightforward and reliable method for this particular plant.
Division (The Gentle Art of Sharing)
This is where you’ll find the most success. Mature Asarum canadense plants tend to spread and form nice clumps.
- Locate a healthy, established plant. You’ll recognize it by its dense foliage and vigorous growth.
- Gently dig around the periphery of the clump. I like to use my trowel to loosen the soil, trying not to disturb the roots too much.
- Carefully lift the entire clump out of the ground. If it’s really dense, you might need to wiggle it a bit.
- Inspect the root ball. You’re looking for natural divisions where the rhizomes (those thick, fleshy underground stems) have split apart.
- Using your hands or a clean trowel, gently pull or carefully cut the clump into smaller sections. Each section should have healthy roots and at least one or two leafy shoots. Don’t be afraid if a few smaller roots break; just try to keep the main root systems intact.
- Prepare your new pots. Fill them with your well-draining potting mix.
- Plant each division. Make a hole in the soil large enough to accommodate the roots. Place the division in the hole, ensuring the top of the rhizome is just at or slightly below the soil surface.
- Water thoroughly. Use your watering can with the fine rose to settle the soil around the roots.
Stem Cuttings (A Bit More Adventurous)
This method is a little less common for Asarum canadense and might have a lower success rate, but it’s worth a try if you’re feeling brave!
- In late spring or early summer, select a healthy, non-flowering stem. Look for a stem that’s about 4-6 inches long and has a few leaves.
- Make a clean cut just below a leaf node. This is the point where a leaf attaches to the stem.
- Remove the lower leaves. Leave just a couple of leaves at the top.
- (Optional) Dip the cut end into rooting hormone. This helps to encourage root development.
- Prepare a small pot with moist, well-draining potting mix.
- Gently insert the cutting into the soil. Make sure the leaf node is buried.
- Water lightly. You can cover the pot with a plastic bag or a propagator lid to create a humid environment, but make sure to ventilate it daily to prevent mold.
The “Secret Sauce” (Pro Tips)
- Don’t drown your divisions! After planting, water them well, but then let the top inch of soil dry out before watering again. Wild ginger likes consistent moisture, but it hates sitting in soggy soil. This is key to preventing root rot.
- Give them shade. Both divisions and cuttings will appreciate being kept out of direct sunlight, especially when they’re first getting established. A dappled shade spot, like you’d find under a larger tree, is perfect.
- Consider bottom heat for cuttings. If you’re trying the cutting method, placing the pot on a gentle heat mat can significantly speed up root formation. Just check that the soil isn’t drying out too quickly with the added warmth.
Aftercare & Troubleshooting
Once your divisions or cuttings have roots, they’re ready for a bit more independence!
- Keep them consistently moist but not waterlogged. As they grow, you can gradually introduce them to slightly more light.
- For divisions, once they look like they’re taking off and showing new growth, you can plant them out in their permanent spot. Choose a shady, moist location.
- Watch for rot. The most common sign of trouble is if the leaves start to yellow and wilt, or if the stems become mushy and turn brown. This is usually a sign of overwatering. If you see this, ease up on the watering and ensure good drainage. Sometimes, if it’s caught early, you can save a plant by repotting it in fresh, dry soil.
Closing
Propagating Asarum canadense is a beautiful way to extend that woodland charm in your garden. Be patient with your new little plants; they’ll tell you when they’re ready. Enjoy the process of nurturing them, and remember, every successful propagation is a little victory to celebrate. Happy gardening!
Resource:
https://identify.plantnet.org/k-world-flora/species/Asarum%20canadense%20L./data