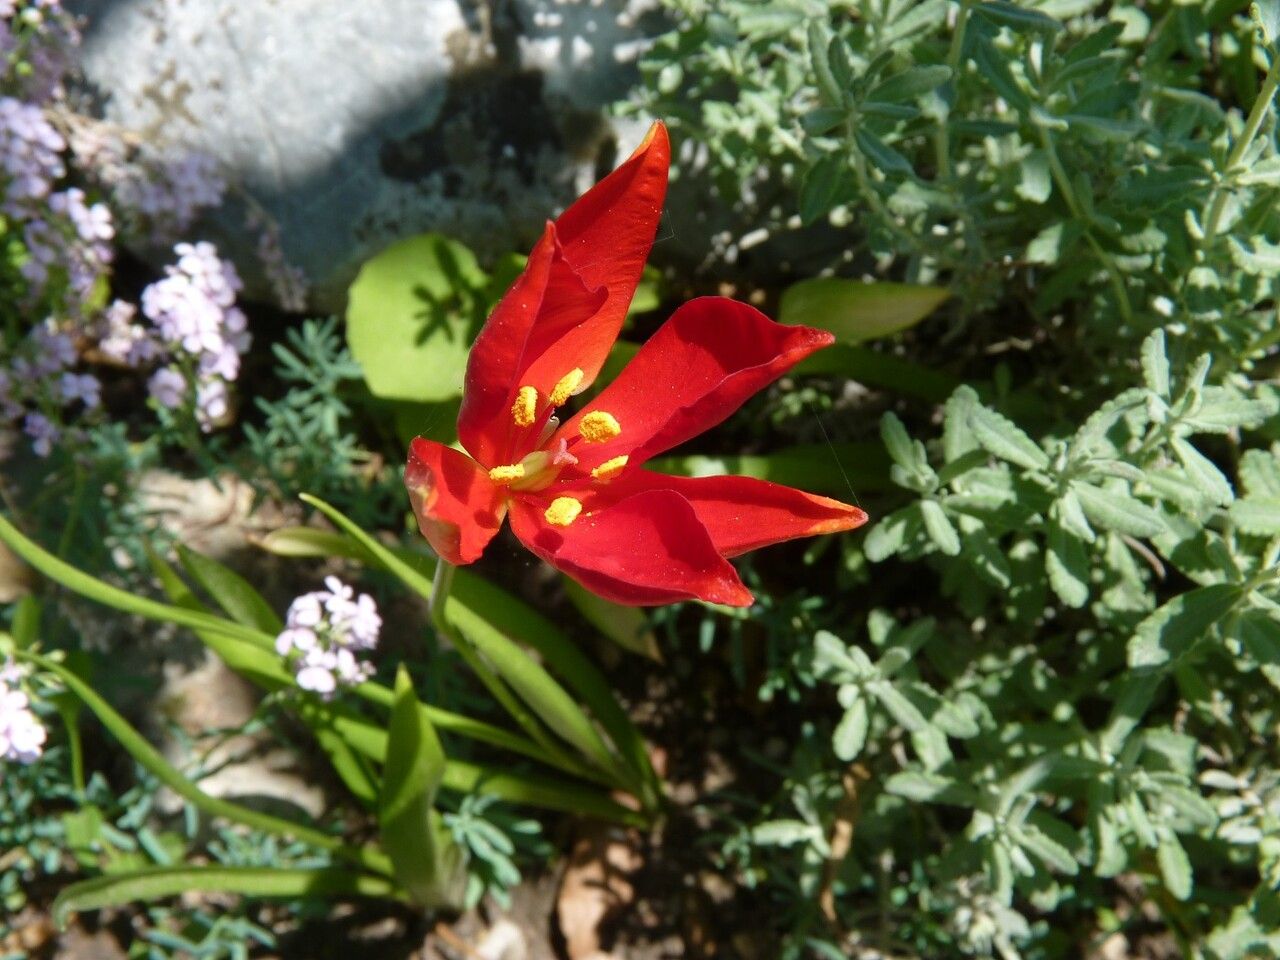
Hello garden friends! It’s so lovely to have you here. Today, I want to talk about a tulip that’s a little bit special, a real gem for those of us who love a bit of botanical intrigue: Tulipa sprengeri. Known for its radiant, cheerful blooms and often blooming later in the season than many of its cousins, it’s a plant that brings a delightful burst of color. Propagating Tulipa sprengeri is a wonderfully rewarding experience. It might seem a tad complex at first glance, but with a little patience and know-how, you’ll be well on your way to enjoying more of this beauty in your garden. For beginners, it’s a project that offers a gentle introduction to bulb propagation, with a satisfying payoff.
The Best Time to Start
Timing is everything, as they say, and with Tulipa sprengeri, the best time to think about propagation is immediately after the plant has finished flowering and the foliage begins to yellow and die back. This is when the bulb has stored up all its energy and is ready to dedicate resources to producing offsets. Resist the urge to tidy it up too soon; let those leaves do their work!
Supplies You’ll Need
Gathering your tools before you begin makes the whole process smoother. Here’s what I usually have on hand:
- Sharp pruning shears or a clean knife: For making precise cuts.
- A well-draining potting mix: A good blend of peat moss, perlite, and a little coarse sand works wonders. Avoid heavy, water-retentive soils.
- Small pots or seed trays: Choose containers with drainage holes.
- Gloves: To keep your hands clean.
- Optional: Rooting hormone powder: While not always essential for bulbs, it can give a little boost.
- Optional: Labeling tags: To keep everything organized!
Propagation Methods
For Tulipa sprengeri, the primary and most successful method is bulb division. This is where we’ll focus our efforts.
- Gentle Excavation: With your trowel or a hand fork, carefully dig around the base of the Tulipa sprengeri plant. You want to lift the entire cluster of bulbs without causing damage. It’s often best to work when the soil is slightly moist, not bone dry or waterlogged.
- Cleaning the Bulbs: Gently brush off excess soil. You’ll likely see the main bulb and smaller offsets attached to its base or sides. These little nubs are your future plants!
- Separating the Offsets: This is the key step. Using your fingers, or a clean knife if they’re very tightly attached, gently twist or cut the offsets away from the parent bulb. Make sure each offset has at least a small basal plate (the very bottom part where roots emerge). If an offset looks really tiny, it might be better to leave it attached for another season to mature.
- Drying the Bulbs (A Short Rest): Once separated, lay the bulbs out in a cool, dry, and well-ventilated spot for a day or two. This helps any cuts to heal over and reduces the risk of rot. Don’t let them dry out completely, though!
- Planting Your New Treasures: Fill your pots with your prepared potting mix. Make a small hole in the center, large enough for the offset bulb. Plant the small bulbs at about the same depth they were growing, or slightly shallower. A good rule of thumb is to plant them about twice their depth if you can gauge it.
- Watering In: Water gently but thoroughly after planting.
The “Secret Sauce” (Pro Tips)
Here are a few things I’ve learned over the years that make a difference:
- Don’t Rush the Dig: I always wait until at least two-thirds of the foliage has turned yellow and brown. If you dig too early, the offsets might not be fully formed or have enough stored energy to thrive.
- Give Them Room to Breathe: When planting the offsets, ensure they aren’t crammed too tightly in their pots. Good air circulation around the bulbs is crucial for preventing fungal issues.
- Think About Protection: If you’re planting very small offsets, consider planting them in a slightly more protected spot in the garden for their first year, perhaps under a light mulch, to shield them from extreme weather.
Aftercare & Troubleshooting
Once your bulbs are planted, keep the soil consistently moist but not waterlogged. As new growth appears in the spring, continue with regular watering. For the first year, I often recommend leaving the foliage of these new little plants to die back naturally as well. They need that time to strengthen their roots and build up energy for future blooms.
The most common sign of trouble is rot. If you notice a bulb turning mushy and dark, or developing fuzzy white mold, it’s likely succumbing to rot. This usually happens from overwatering or poor drainage. Sadly, there’s often not much you can do once the rot has taken hold; it’s best to discard the affected bulb to prevent it from spreading. Another sign of failure might be that the bulb simply doesn’t emerge or grow – this can happen if the offset was too small or didn’t establish well. Don’t get discouraged; that’s just part of the learning curve!
A Encouraging Closing
Growing Tulipa sprengeri from offsets is a beautiful way to connect with your garden and multiply your joy. Be patient with your new little bulbs. They might not flower in their first year, but with a little love and care, they will reward you with their gorgeous blooms year after year. Happy propagating, and may your gardens be ever-blooming!
Resource:
https://identify.plantnet.org/k-world-flora/species/Tulipa%20sprengeri%20Baker/data