Oh, hello there! Come on in, pull up a chair. I’ve got a fresh pot of coffee brewing, and I was just thinking about how much I love sharing secrets with fellow plant enthusiasts. Today, we’re diving into the wonderful world of propagating Thelypteris grandis, also known affectionately as the Giant Maidenhair Fern.
Your New Ferny Friend: The Appeal of Thelypteris grandis
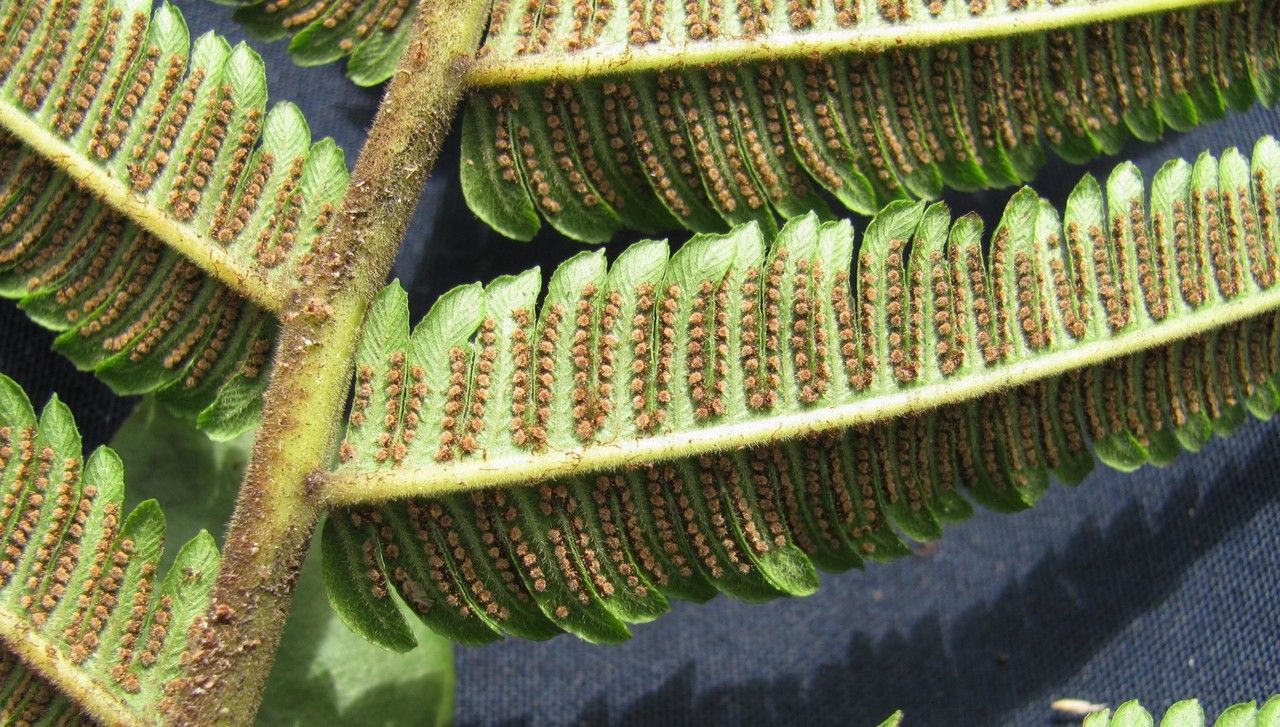
This fern is a stunner, isn’t it? Its delicate, lacy fronds can bring a touch of prehistoric elegance to any shady corner of your home or garden. And the best part? They just keep unfurling, creating a lush, verdant display. Propagating them is incredibly rewarding. It’s like getting little gifts from your existing plant, a chance to fill your space or share the green love with friends. Honestly, for beginners, Thelypteris grandis is quite forgiving when it comes to propagation, especially if you get the basics right.
When to Get Your Hands Dirty: The Best Time to Start
The absolute sweet spot for propagating Thelypteris grandis is during its active growing season. Think late spring through early summer. This is when the plant is full of energy, pushing out new growth, and has the best chance of successfully rooting. Trying to propagate when the plant is dormant in winter is just setting yourself up for a bit of frustration.
Your Propagation Toolkit: What You’ll Need
Gathering your supplies beforehand makes the whole process smoother. Here’s what I usually have on hand:
- Sterilized Potting Mix: A good blend is key. I like a mix of peat moss, perlite, and some fine orchid bark. This ensures good drainage and aeration, which ferns absolutely adore. You can also buy specific fern mixes.
- Sharp Pruning Shears or a Clean Knife: For making clean cuts. Don’t use dull tools, please!
- Small Pots or Trays: Clean ones, of course. Old yogurt cups with drainage holes poked in the bottom work in a pinch!
- Clear Plastic Bags or Domes: To create a humid environment.
- Watering Can with a Fine Rose: For gentle watering.
- Rooting Hormone (Optional but helpful): A soft powder or gel can give your cuttings a little boost.
- Labels and a Permanent Marker: To keep track of what you’ve planted and when.
Bringing New Ferns to Life: Propagation Methods
The most reliable way to propagate Thelypteris grandis is through division. It’s straightforward and gives you a nice head start on your new plants.
1. Division: The Tried and True Method
This is my go-to for Thelypteris grandis. You’re essentially splitting a mature plant into smaller, manageable pieces, each with its own roots and crown.
- Step 1: Gently Uproot. Carefully remove your Thelypteris grandis from its pot. If it’s in the ground, loosen the soil around the edges and gently lift the entire plant.
- Step 2: Clean the Roots. Gently shake off excess soil. You want to be able to see the main root ball and identify where divisions can be made.
- Step 3: Locate the Divisions. Look for natural breaks in the rhizomes (the thick, creeping stems usually found at the surface of the soil). You should be able to see where separate crowns are forming.
- Step 4: Make the Cut. Using your sterilized pruning shears or knife, carefully cut through the rhizome to separate the divisions. Ensure each division has at least one healthy-looking crown and some good roots attached.
- Step 5: Pot Them Up. Fill your clean pots with your specialized potting mix. Create a small nest in the center for the division’s roots and place it in. The top of the crown should be roughly at soil level.
- Step 6: Water Gently. Water each new division thoroughly but gently. You want the soil to be moist, not waterlogged.
The “Secret Sauce”: Insider Tips I’ve Learned
Over the years, I’ve picked up a few tricks that make a difference.
- Don’t Drench, Just Moisten. Ferns love humidity, but they hate soggy feet. For divisions, the goal is consistently moist but not wet soil. Overwatering is the quickest way to invite rot.
- Create a Mini Greenhouse. Once potted, cover your divisions with a clear plastic bag or dome. This traps humidity, which is crucial for ferns to establish their roots without drying out. Make sure the leaves aren’t directly touching the plastic if possible.
- Patience is a Virtue. Ferns can be a little slow to show signs of new growth. Don’t be tempted to dig them up to check for roots too soon. Give them time – usually a few weeks.
Aftercare & What to Watch For
Once your new divisions are potted up, keep them in a spot with bright, indirect light. Avoid direct sun at all costs; it will scorch those delicate fronds. Maintain that consistent moisture in the soil.
You’ll know your division is happy when you start seeing new fiddleheads (those tightly coiled, young fronds) unfurling. That’s the sign of success!
Now, what about trouble? The most common culprit is rot. If you see your fronds turning black and mushy, or if the crown looks slimy, it’s a sign of too much moisture. If this happens, carefully remove the affected parts with sterilized shears, and try to let the soil dry out a little more between waterings. In severe cases, you might have to discard the division.
Go Forth and Grow!
Propagating Thelypteris grandis is a wonderfully accessible way to expand your fern family. Don’t be discouraged if your first attempt isn’t perfect. Gardening is all about learning and observing. Be patient, enjoy the process, and soon you’ll have beautiful new ferns to admire and share. Happy growing!
Resource:
https://identify.plantnet.org/k-world-flora/species/Thelypteris%20grandis%20A.R.Sm./data