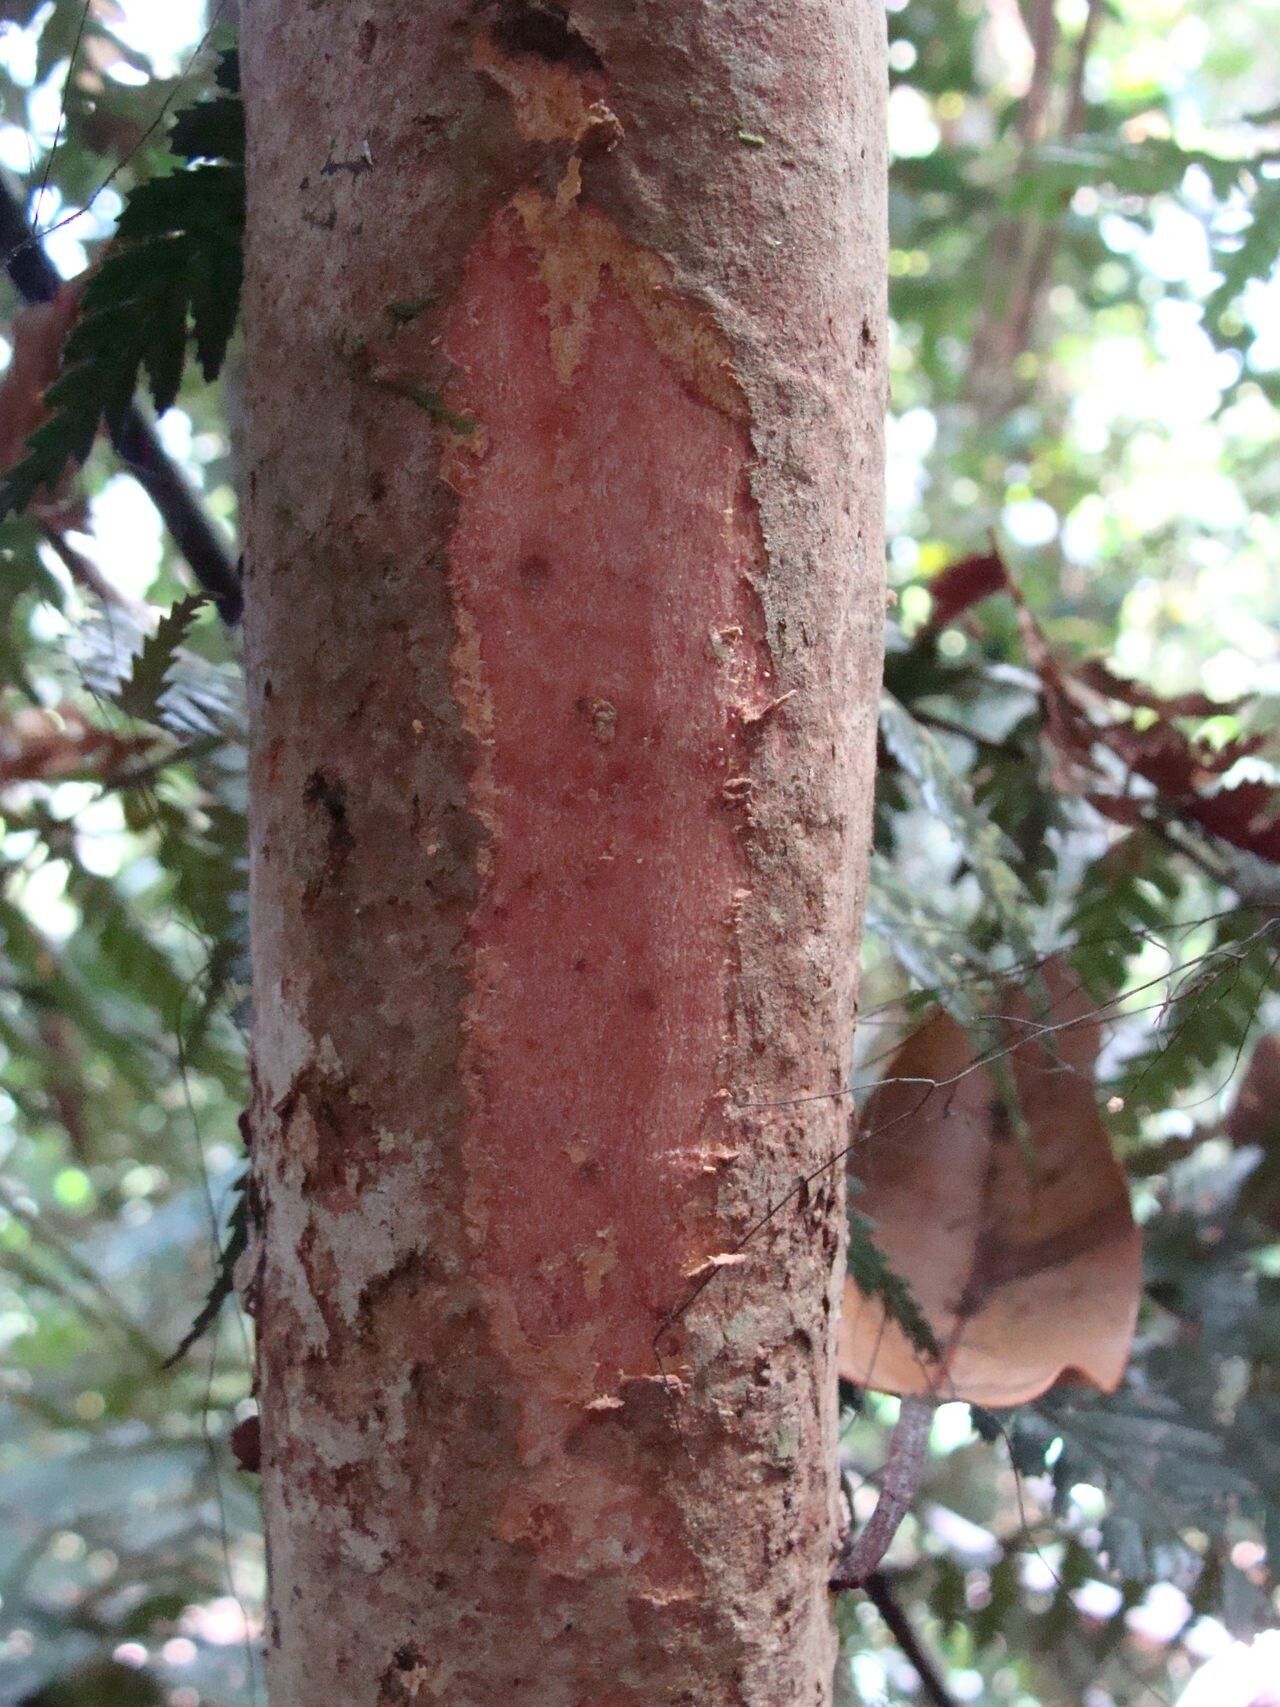
Hey there, fellow plant enthusiasts! Today, we’re diving into the wonderful world of propagating Syzygium coccineum, also known as the Red Eugenia. If you’ve ever admired its glossy green leaves and those delightful pops of red color, you’re in for a treat. Recreating this beauty yourself is incredibly satisfying, and while some plants can be a bit fussy, I’ve found Syzygium coccineum to be quite forgiving. It’s a great one to try, even if you’re just dipping your toes into propagation.
The Best Time to Start
For the highest chance of success with your Syzygium coccineum, I always recommend working with softwood or semi-hardwood cuttings. This means you want to take your cuttings when the plant is actively growing but the stems have started to firm up a bit. Think late spring or early summer. The plant is full of energy then, and those young stems have the best chance of rooting. Avoid taking cuttings from very old, woody growth or brand new, floppy shoots.
Supplies You’ll Need
Gathering your tools beforehand makes the whole process smoother. Here’s what I usually have on hand:
- Sharp Pruning Shears or a Craft Knife: For clean cuts that heal well.
- Rooting Hormone Powder or Gel: This gives your cuttings a significant boost.
- Well-Draining Potting Mix: A mix of perlite, peat moss, and a bit of potting soil works wonders. You can also buy specialized potting mixes for cuttings.
- Small Pots or Trays: With drainage holes, of course!
- Clear Plastic Bags or a Propagation Dome: To create a humid environment.
- Water: For misting and keeping things hydrated.
Propagation Methods: Let’s Get Our Hands Dirty!
The most reliable way to multiply your Syzygium coccineum is through stem cuttings. Here’s how I do it:
- Select Your Cutting: Look for healthy, vigorous stems on your parent plant. You want a piece that’s about 4-6 inches long.
- Make the Cut: Using your clean shears, make a cut just below a leaf node. This is crucial, as this is where the plant’s rooting hormones are most concentrated.
- Prepare the Cutting: Gently remove the lower leaves. Leave just two or three sets of leaves at the top. If the remaining leaves are very large, you can cut them in half to reduce water loss.
- Apply Rooting Hormone: Dip the cut end of the stem into your rooting hormone. Tap off any excess.
- Plant Your Cutting: Fill your small pot with your prepared potting mix. Make a small hole in the center with your finger or a pencil. Insert the cut end of your Syzygium cutting into the hole. Gently firm the soil around the stem, ensuring good contact.
- Water Gently: Water your pot well, but don’t drench it. You want the soil to be moist but not waterlogged.
- Create a Humid Environment: This is key! Cover the pot with a clear plastic bag, making sure the leaves don’t touch the plastic if possible. You can also use a propagation dome. Place it in a bright spot, but out of direct sunlight.
The “Secret Sauce” (Pro Tips)
Having done this for years, a few little tricks really make a difference:
- Bottom Heat is Your Friend: If you have a heat mat designed for seedlings, place your pots on it. Syzygium coccineum absolutely loves a little warmth from below. It really encourages those roots to get going!
- Don’t Be Afraid to Mist: Keep a spray bottle handy and mist your cuttings daily. This helps maintain the humidity inside your little plastic greenhouse. Just a gentle spritz is all they need.
- Patience is Key (and Quarantine): New growth is the first sign of roots! It can take anywhere from 4-8 weeks, sometimes longer. Resist the urge to tug at your cuttings to check for roots. Also, if you have other plants with potential pests, bring your new cuttings inside away from sensitive plants for a week or two. Better safe than sorry!
Aftercare & Troubleshooting
Once you see new leaf growth, it’s a great sign your cutting has rooted! At this point, you can gradually acclimate your new plant to normal room humidity by airing out the plastic bag or propagation dome for a few hours each day, slowly increasing the time. Once it’s unfurl ing new leaves confidently, you can remove the cover entirely.
Keep the soil consistently moist but not soggy. If your leaves start to turn yellow and drop, it could be a sign of overwatering. If the stem turns black and mushy, that’s rot, and unfortunately, that cutting is likely lost. Don’t get discouraged; just try again!
Keep Growing!
Propagating Syzygium coccineum is such a rewarding journey. It’s a chance to learn more about your plant and share its beauty. Be patient with yourself and the process. Every cutting is a new beginning, and even if not every one takes, you’re building experience and nurturing that green thumb. Happy propagating!
Resource:
https://identify.plantnet.org/k-world-flora/species/Syzygium%20coccineum%20J.W.Dawson/data