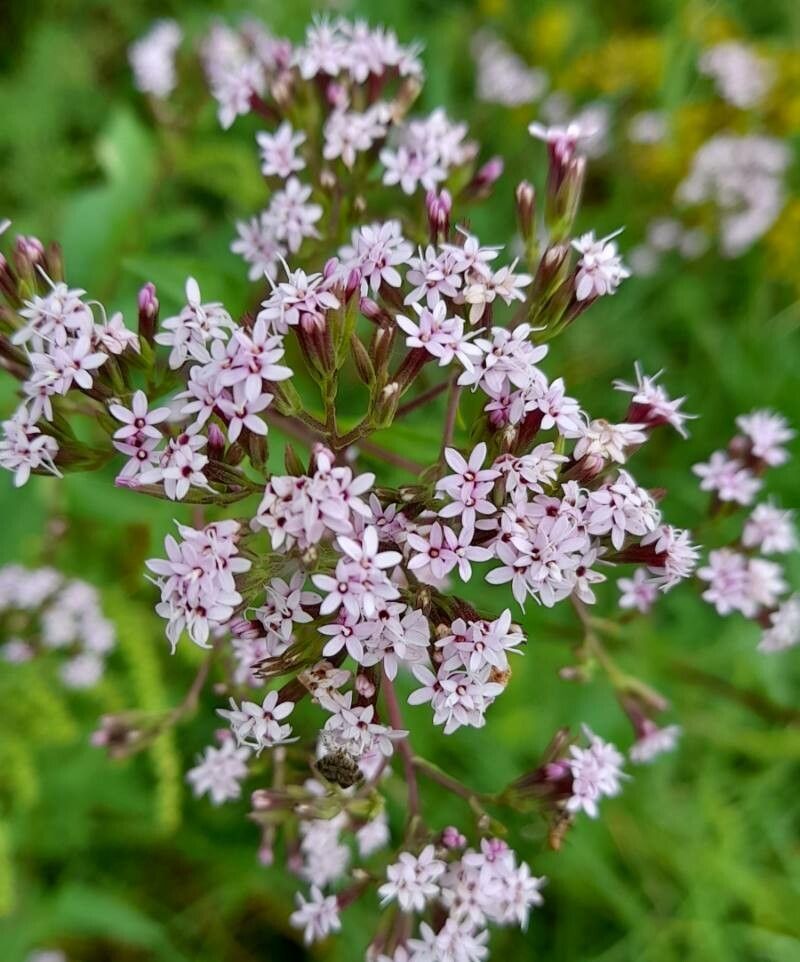
Oh, Stevia! If you’re looking for a natural way to sweeten your tea or your morning smoothie, you’ve probably met this little gem by now. Stevia breviaristata is a delightful plant, not just for its naturally sweet leaves, but for its charming little white flowers that sprinkle through its foliage. And the best part? Growing more of it yourself is entirely doable, and oh-so-worth it. I’d say it’s moderately easy to propagate, a good step up for any gardener ready to expand their plant family.
When the Magic Happens: The Best Time to Start
For the highest chance of success with Stevia breviaristata, I always recommend reaching for your pruning shears in late spring or early summer. This is when the plant is in its most vigorous growth phase. You’ll be taking cuttings from healthy, new growth that’s just starting to get a bit woody, but still flexible. Avoid old, woody stems or the very soft, new tips.
What You’ll Need to Get Started
Gathering your supplies beforehand makes the whole process feel even smoother. Here’s what I usually have on hand:
- Sharp Pruning Shears or a Craft Knife: Cleanliness is key here to prevent disease.
- Small Pots or Seed Trays: Anything from 3-4 inch pots to those handy propagation trays will do.
- Sterile Potting Mix: A light and airy mix is best. I often use a blend of peat moss or coir and perlite or horticultural sand, about a 50/50 ratio. This ensures good drainage.
- Rooting Hormone (Optional, but Recommended): A powder or gel can significantly speed up root development.
- Plastic Bags or a Propagator Lid: To create a humid environment, which is crucial.
- Watering Can with a Fine Rose: Gentle watering is important.
- Optional: Heat Mat: This can be a game-changer, especially if your home is on the cooler side.
Growing New Stevia: My Favorite Methods
I’ve had the best luck with stem cuttings, and it’s a method that’s pretty straightforward.
- Take Your Cuttings: Select a healthy stem and make a clean cut just below a leaf node (where a leaf attaches to the stem). You want cuttings that are about 4-6 inches long. Remove the lower leaves, leaving just the top two or three.
- Apply Rooting Hormone (If Using): Dip the cut end of the stem into your rooting hormone, tapping off any excess.
- Plant Your Cuttings: Fill your small pots with the prepared potting mix. Make a hole in the center with your finger or a pencil and gently insert the cutting, firming the soil around it.
- Water Gently: Water thoroughly but gently, ensuring the soil is moist but not waterlogged.
- Create a Humid Environment: Place the pots inside a clear plastic bag, or cover them with a propagator lid. This traps moisture and helps the cuttings stay hydrated until they can root. Make sure the leaves aren’t pressed against the plastic.
- Provide Warmth and Light: Place the pots in a warm spot with bright, indirect light. Avoid direct sunlight, which can scorch the delicate cuttings.
Another method, though I find it a bit less reliable for this particular plant, is water propagation.
- Prepare the Cutting: Similar to stem cuttings, take a healthy cutting and remove the lower leaves.
- Place in Water: Put the cutting into a jar or glass filled with clean water. Ensure that no leaves are submerged; they’ll just rot.
- Change Water Regularly: Change the water every few days to keep it fresh and prevent bacterial growth.
- Wait for Roots: Place in a bright, indirect light location and wait patiently for roots to appear. Once they are about an inch long, you can carefully transplant them into a pot with potting mix.
The “Secret Sauce” – My Insider Tips
Here are a couple of things I’ve learned over the years that really make a difference:
- Don’t Drown Them: Even with the plastic bag, I always poke a few small holes in the bag to allow for a bit of air circulation. This helps prevent that dreaded fungal rot.
- Bottom Heat is Your Friend: If you have a heat mat that you use for seedlings, it’s gold for propagating Stevia cuttings. A consistent soil temperature of around 70-75°F (21-24°C) encourages root development much faster than just relying on ambient room temperature.
Life After Rooting: Aftercare and What to Watch For
Once you see new growth appearing on your cuttings, that’s a sure sign that roots have formed! You can gently try to pull on the cutting; if there’s resistance, roots are developing.
- Acclimatize: Gradually remove the plastic bag or lid over a few days to help your new plants adjust to normal humidity levels.
- Potting Up: Once they have a decent root system and are showing healthy new leaves, you can transplant them into their own slightly larger pots with a good quality potting mix.
- Watering: Water them when the top inch of soil feels dry. They still need to be kept moist, but not soggy.
Troubleshooting is part of the journey, and with Stevia cuttings, the most common issue is rot. If your cutting turns black and mushy, it’s likely from too much moisture and not enough air circulation. Sometimes, if you catch it early, you can take a fresh cutting from further up the stem and try again, being more mindful of drainage and airflow. Drooping may mean it’s too dry, or the roots haven’t formed yet.
Keep Growing, My Friend!
Propagating Stevia breviaristata is a wonderfully rewarding process. It might take a little patience, and you might have a few that don’t make it – that’s just nature! Don’t be discouraged. Each small success is a joy, and soon you’ll have a whole patch of your own sweet-leafed plants to enjoy. Happy growing!
Resource:
https://identify.plantnet.org/k-world-flora/species/Stevia%20breviaristata%20Hook.%20&%20Arn./data