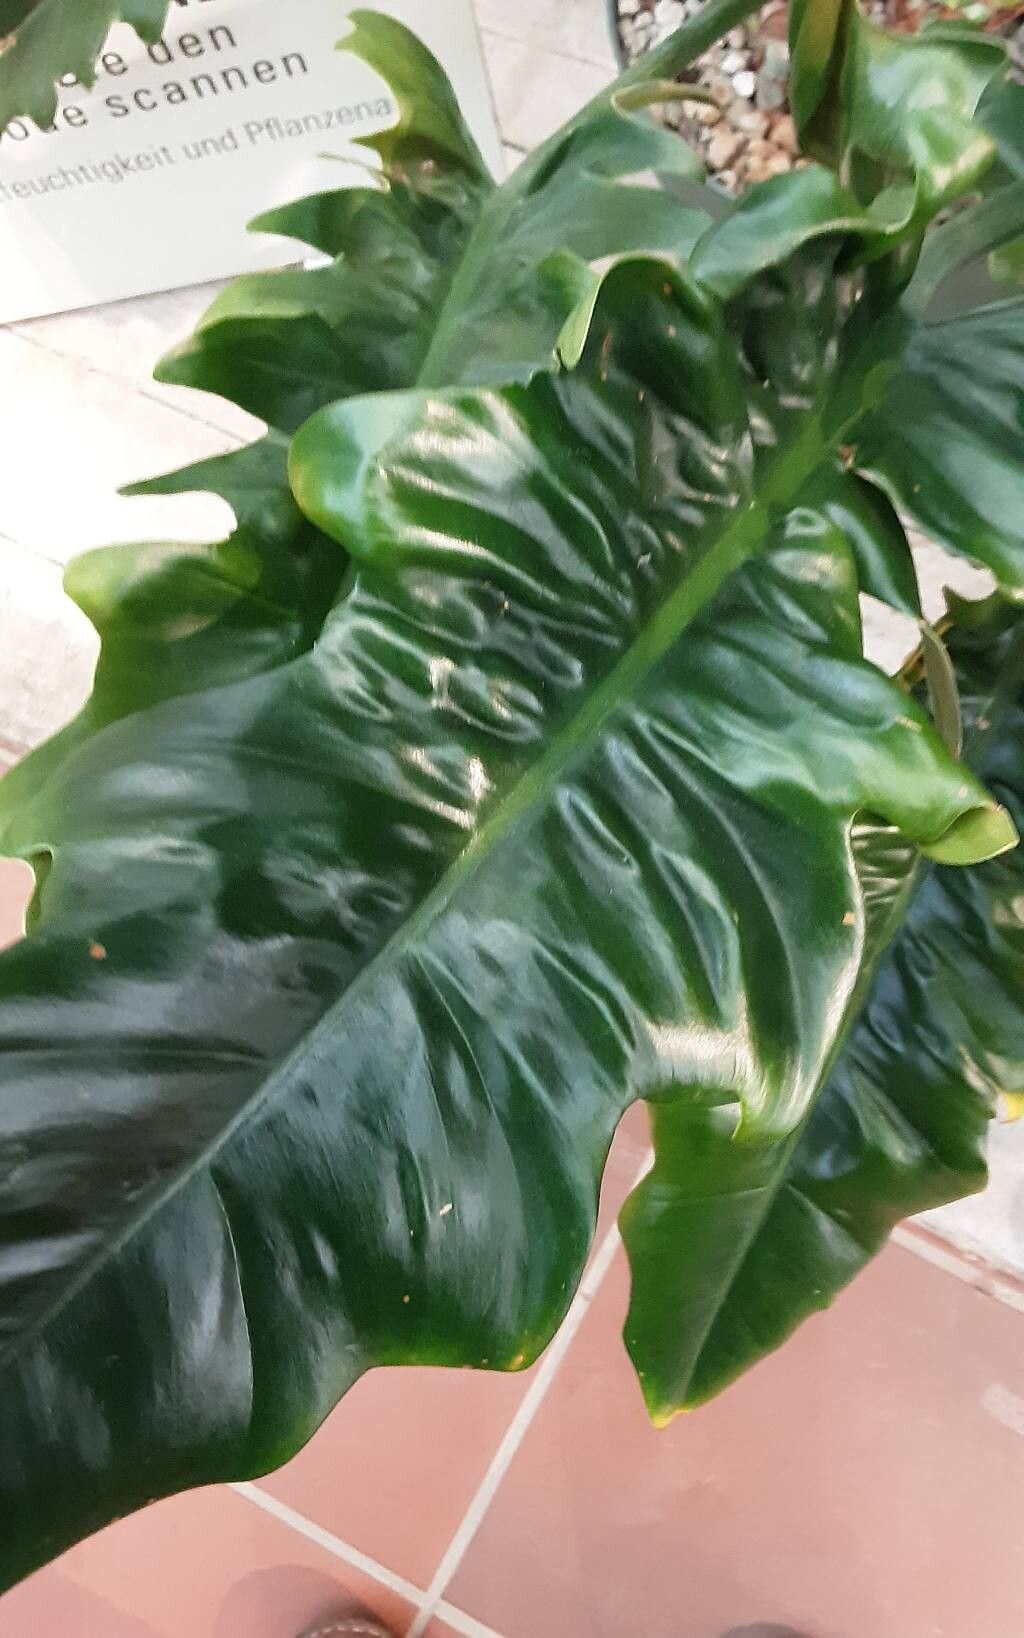
Oh, Philodendron bipennifolium! If you haven’t met this beauty yet, get ready. Its unique, violin-shaped leaves are like nothing else in the houseplant world, and seeing those leaves unfurl? Pure magic. The best part? You can easily share that magic by propagating them!
I get asked a lot if this one is tricky to prop. Honestly, I find Philodendron bipennifolium to be quite forgiving. It’s a wonderful plant to get started with if you’re new to propagation. You’ll feel like a plant wizard in no time!
The Best Time to Start
For the absolute best success, spring and early summer are your golden ticket. The plant is actively growing, and it’s just bursting with energy. This makes it much easier for cuttings to establish themselves and start rooting. Think of it as catching your plant when it’s feeling its most robust and ready to share!
Supplies You’ll Need
Gathering your tools beforehand makes the whole process so much smoother. Here’s what I always have on hand:
- Sharp Pruning Shears or a Clean Knife: Essential for making clean cuts.
- Rooting Hormone (Optional but Recommended): A little boost can speed things up. I like the powder kind.
- Potting Mix: A well-draining mix is key. I usually use a blend of peat moss, perlite, and a bit of coco coir. A pre-made houseplant mix with added perlite works well too.
- Small Pots or Propagation Trays: Whatever you’ll be planting your cuttings in.
- Water Container (for water propagation): A clear glass or jar so you can see those roots forming!
- Sphagnum Moss (Optional for rooting medium): Some people swear by it for creating a humid environment.
Propagation Methods
Let’s get our hands inky! There are a couple of tried-and-true ways to multiply your Philodendron bipennifolium.
Stem Cuttings
This is my go-to method. It’s straightforward and highly effective.
- Find a Healthy Stem: Look for a healthy, mature stem on your plant. You want a section that has at least one to two nodes. A node is that little bump on the stem where a leaf grows from. This is where new roots will emerge.
- Make the Cut: Using your sharp shears or knife, make a clean cut about half an inch below a node. It’s also a good idea to remove the lowest leaf so it doesn’t rot when you plant it.
- Apply Rooting Hormone (Optional): Dip the cut end into your rooting hormone powder, tapping off any excess. This really helps to encourage root development.
- Plant or Pot:
- In Soil: Fill your small pot with your well-draining potting mix. Make a small hole and gently insert the cut end of the stem, ensuring the node is buried in the soil. Water lightly.
- In Water: Place the cutting in a clear glass or jar filled with room-temperature water. Make sure the node is submerged, but try to keep the leaves out of the water.
Division (for mature plants)
If your plant is a bit more established and looks like it’s producing multiple stems from the base, you can try dividing it.
- Gently Remove from Pot: Carefully take your plant out of its pot.
- Inspect the Root Ball: Gently shake off some of the excess soil to see the root structure.
- Identify Separate Sections: Look for natural divisions where you can see distinct root systems and stems.
- Separate: Using your hands or a clean knife, carefully separate the plant into smaller sections. Each section should have a healthy root system and at least one or two stems.
- Repot: Pot each new division into its own container with fresh, well-draining soil. Water thoroughly.
The “Secret Sauce” (Pro Tips)
Here are a couple of tricks I’ve learned over the years that can really make a difference.
- Don’t Let Leaves Touch the Water: When you’re propagating in water, it’s super important that the leaves aren’t submerged. Submerged leaves will quickly rot, which can bring down the whole cutting before it even has a chance to root. Keep those pretty leaves dry!
- Bottom Heat is Your Friend: If you’re using the soil method, especially if your home is a bit cool, placing the pots on a seedling heat mat can work wonders. It provides gentle warmth to the roots, encouraging them to get moving much faster.
Aftercare & Troubleshooting
So, you’ve got your cuttings potted or in water. Now what?
- For Water Cuttings: Change the water every few days to keep it fresh and prevent the growth of bacteria. You should start seeing tiny white roots forming in a few weeks. Once those roots are about an inch long, it’s time to pot them up in soil.
- For Soil Cuttings: Keep the soil consistently moist but not waterlogged. A good way to check is to stick your finger about an inch into the soil. If it feels dry, it’s time to water. You can also place a plastic bag over the pot (loosely!) or put it in a propagation dome to create a mini-greenhouse effect, which helps maintain humidity.
- Troubleshooting: Rot is the Enemy: The most common issue you’ll encounter is rot. If your cutting looks mushy, has a foul smell, or turns black and slimy, it’s likely rotten. This usually happens from too much moisture and not enough air circulation. If you see this, try to salvage any healthy-looking part of the stem and start again, ensuring better drainage and less water.
A Little Encouragement
Propagating plants is about patience and observation. It’s like tending to a tiny seedling – it needs a little care and the right conditions, and then you just have to let nature do its thing. Don’t get discouraged if a cutting doesn’t make it; it happens to all of us! Celebrate the successes, learn from the misses, and most importantly, enjoy the process of watching new life emerge. Happy propagating!
Resource:
https://identify.plantnet.org/k-world-flora/species/Philodendron%20bipennifolium%20Schott/data