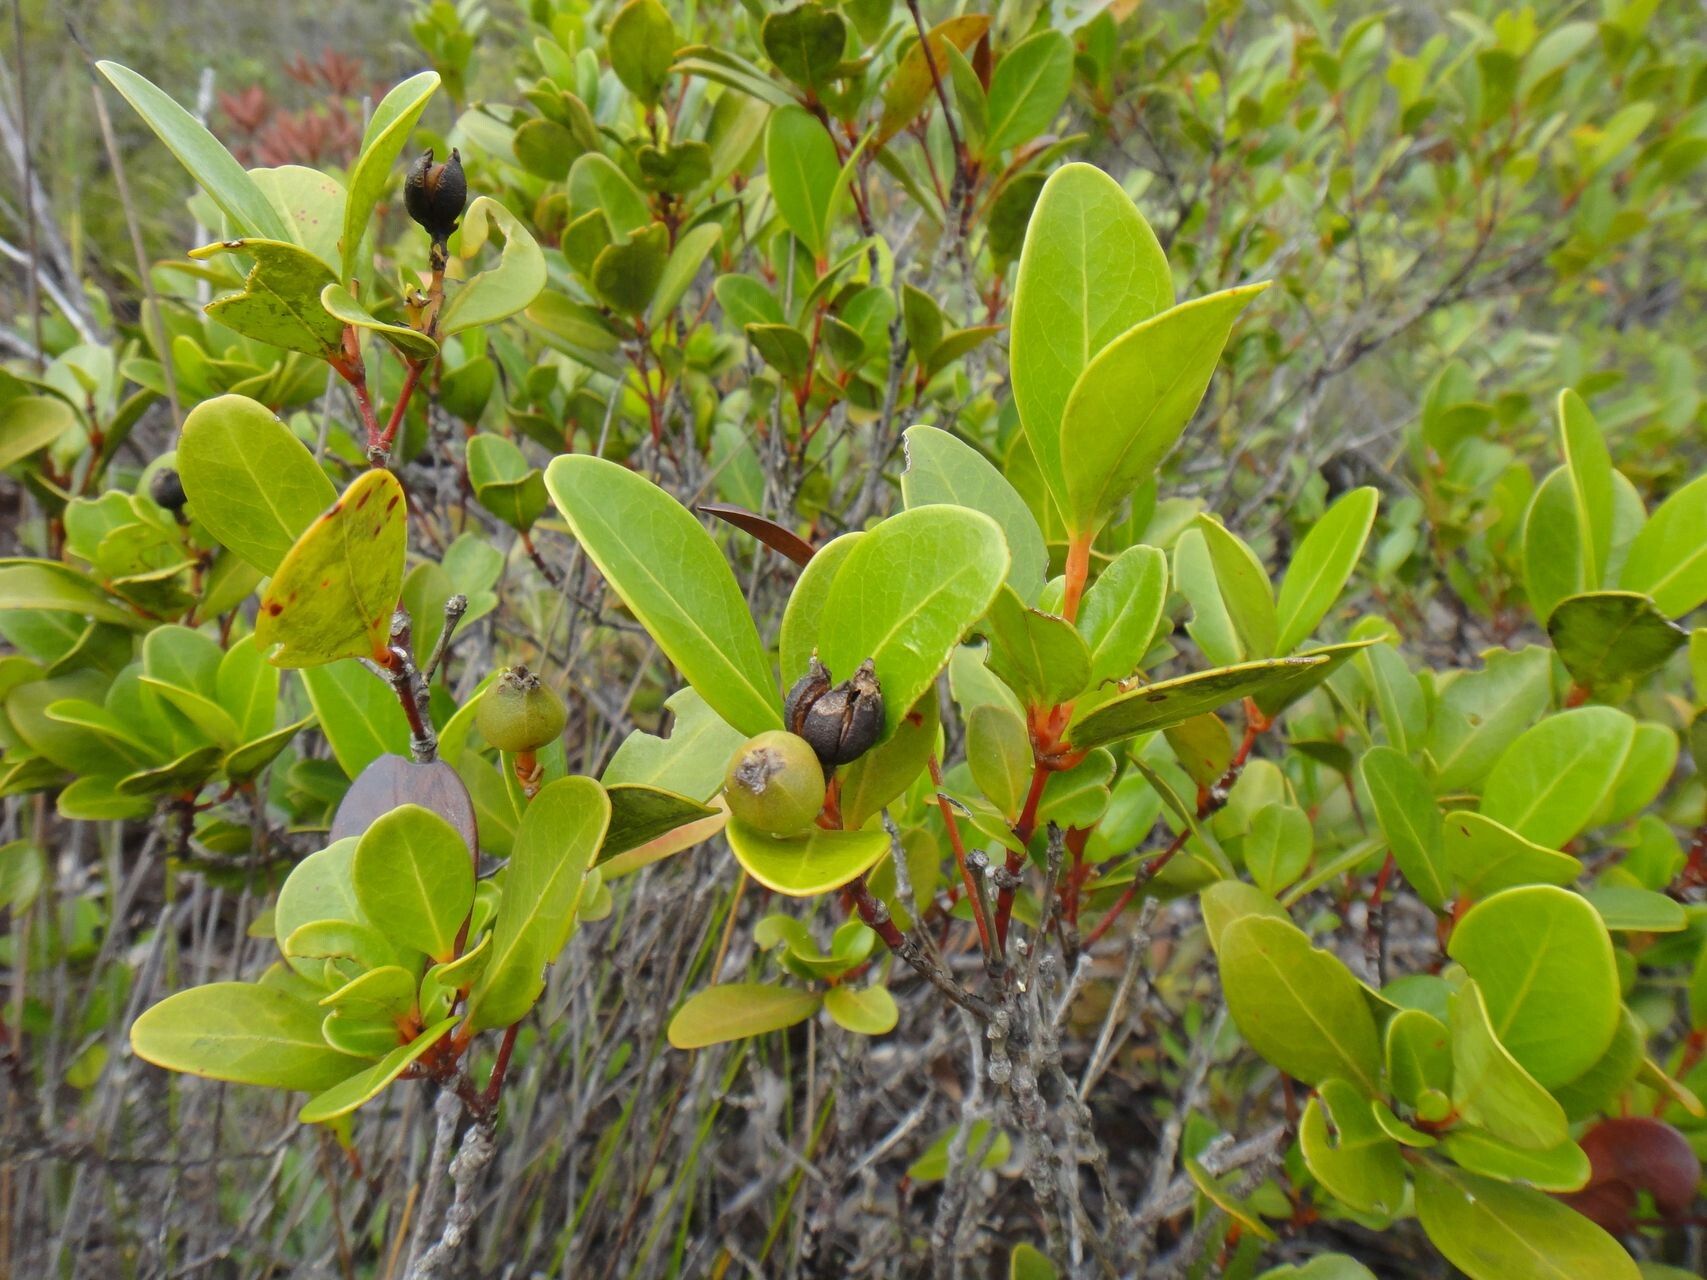
Ah, Longetia buxoides! If you’ve encountered this lovely plant, you’ll know its charm. Its glossy, evergreen foliage brings a touch of refined elegance to any space, and its compact, bushy habit makes it incredibly versatile. Now, the thought of getting more of these beauties for yourself or to share with friends is a wonderful one. And honestly, propagating Longetia buxoides is a quite rewarding endeavor, though I’d say it leans a little towards needing some patience, making it a good project for those who’ve dabbled a bit, rather than a complete beginner.
The Best Time to Start
For the highest chance of success, I like to get my Longetia cuttings going in late spring to early summer. This is when the plant is in an active growth phase, so it has plenty of energy to put into developing roots. Think of it as the plant’s “growing season” – it’s more robust and receptive to the propagation process then.
Supplies You’ll Need
Here’s what I always have on hand:
- Sharp pruning shears or a clean knife: For taking clean cuttings. Dull tools can crush the stems, making rooting harder.
- Rooting hormone (powder or gel): This isn’t strictly essential, but it definitely gives your cuttings a helping hand, encouraging faster and stronger root development.
- A well-draining potting mix: I usually mix equal parts peat moss or coco coir with perlite or coarse sand. This ensures good aeration and prevents waterlogged conditions, which are the enemy of new cuttings.
- Small pots or trays: Clean ones are a must to prevent disease.
- A clear plastic bag or dome: To create a humid environment for your cuttings.
- Watering can or mister: For gentle watering.
Propagation Methods
Longetia buxoides is most reliably propagated by stem cuttings. Here’s how I do it:
- Taking Cuttings: Select a healthy stem that’s not in flower. Look for stems that are somewhat firm but still flexible – not too soft and green, but not old and woody either. I typically take cuttings that are about 4-6 inches long. Make a clean cut just below a leaf node, which is where roots will naturally want to form.
- Preparing the Cuttings: Gently remove the lower leaves from the cutting, leaving just a few at the top. This prevents them from rotting in the soil and encourages the plant to focus its energy on rooting. If your cuttings are particularly long, you can even pinch back the tip to encourage bushiness later on.
- Using Rooting Hormone: Dip the cut end of the stem into your rooting hormone. Gently tap off any excess.
- Planting the Cuttings: Make a small hole in your prepared potting mix with a pencil or your finger. Insert the cut end of the cutting into the hole and gently firm the soil around it. Don’t pack it too tightly.
- Creating Humidity: Water the pot lightly to settle the soil. Then, cover the pot with a clear plastic bag or place a clear dome over it. This traps moisture, creating a mini-greenhouse effect that keeps the cuttings from drying out. You can secure the bag with a rubber band around the pot.
The “Secret Sauce” (Pro Tips)
Here are a few things I’ve learned over the years that can make a big difference:
- Don’t Over-Water, Ever! This is crucial. While the cuttings need moisture, soggy soil will quickly lead to rot. I water thoroughly when I first plant then only when the top inch of soil feels dry. A good rule of thumb is to water when the leaves start to look a touch less turgid, but before they wilt.
- Consider Bottom Heat: If you have it, a propagation mat can work wonders. A gentle warmth from below encourages root development much faster than ambient room temperature. It mimics the conditions of spring soil.
- Watch for the “Wiggle Test”: After a few weeks, you can very gently tug on a cutting. If you feel slight resistance, it means roots have begun to form!
Aftercare & Troubleshooting
Once you see signs of new leaf growth or feel that resistance in the “wiggle test,” your cutting is likely rooting! Gradually acclimate your new plant to the open air by opening the plastic bag or dome a little more each day for a week. Continue to water gently when the soil dries out.
The most common sign of failure is rot. If your cuttings turn black and mushy, or if the leaves start to yellow and drop off rapidly, it’s usually a sign of too much moisture or a fungal issue. Unfortunately, there’s not much you can do once rot sets in; it’s best to discard the affected cuttings and start fresh, paying extra attention to your watering and soil drainage next time.
A Encouraging Closing
Propagating your Longetia buxoides is a journey, and like any good journey, it requires a little patience and a lot of hope. Don’t be discouraged if not every cutting takes; it’s part of the learning process. Keep observing, keep nurturing, and soon you’ll be surrounded by your own little army of Longetia buxoides. Enjoy the magic of watching life unfurl!
Resource:
https://identify.plantnet.org/k-world-flora/species/Longetia%20buxoides%20Baill./data