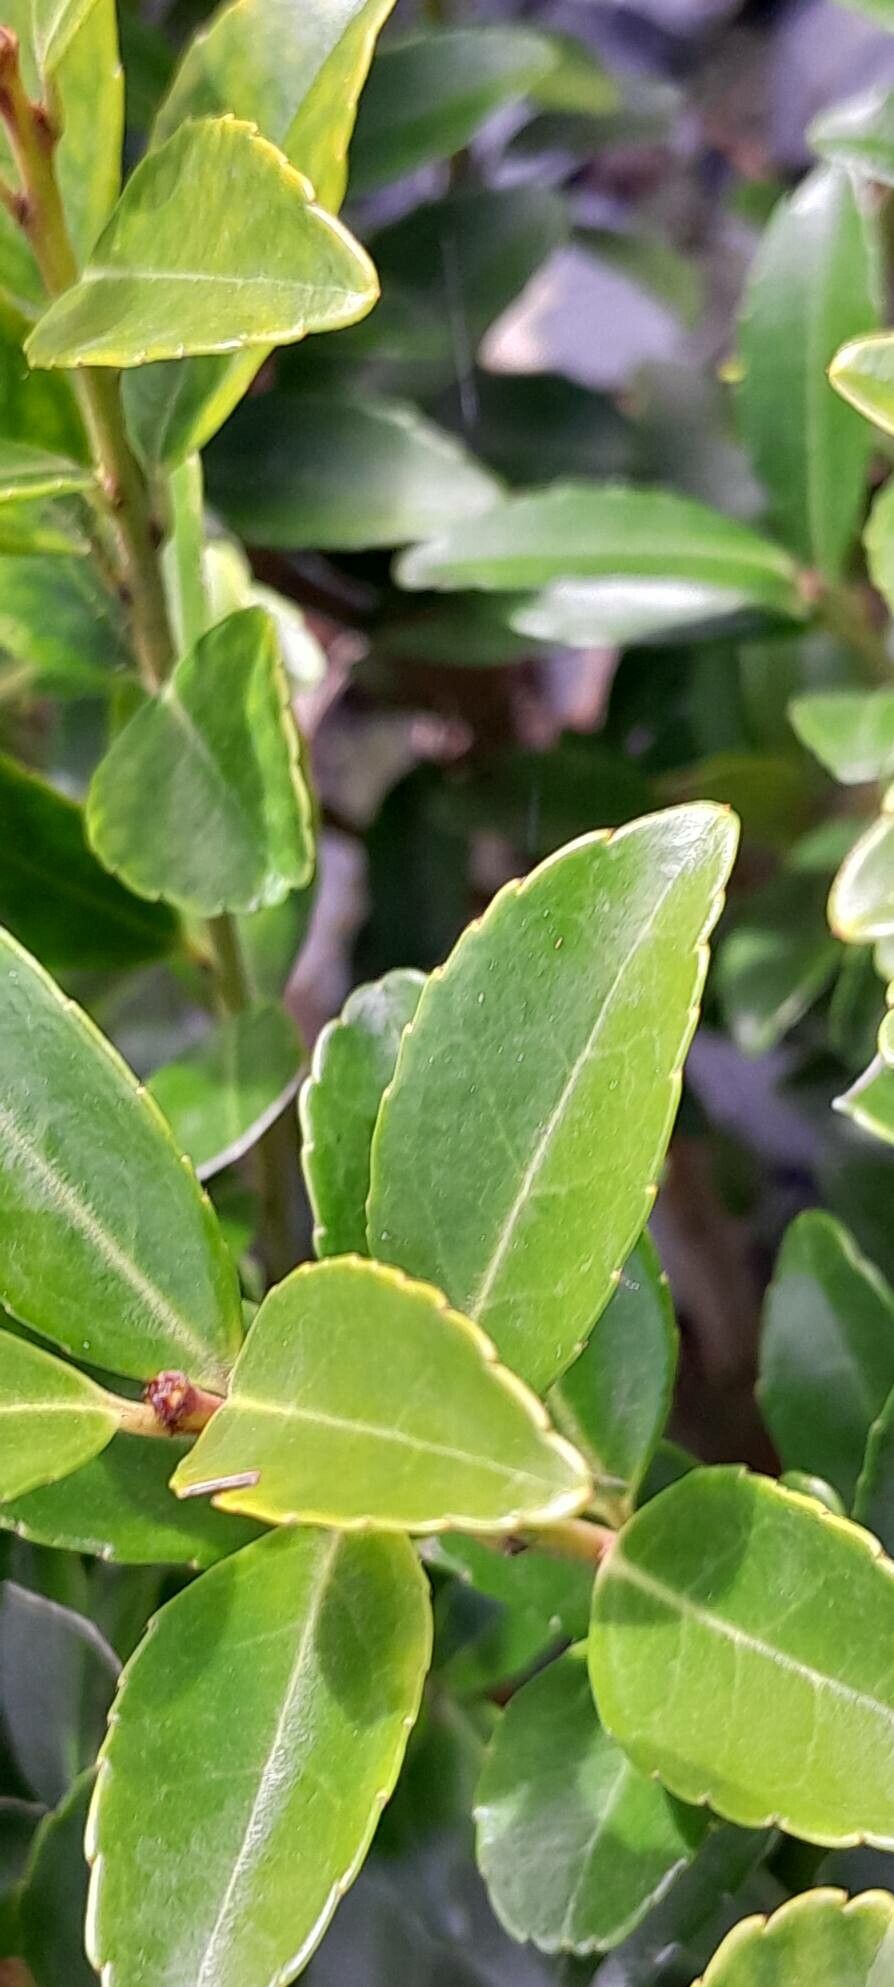
Hello there, fellow garden enthusiasts! Today, we’re diving into the wonderfully rewarding world of propagating Ilex crenata, or Japanese holly, if you prefer. You know, those lovely, neat little shrubs that look so much like boxwood but are much easier to care for? They make fantastic hedges, specimen plants, and even topiaries. And the best part? They’re surprisingly simple to multiply, giving you more of these beauties for free!
For anyone just starting out in the gardening journey, I’d say propagating Ilex crenata is truly one of the more accessible projects. It’s a real confidence booster and a fantastic way to fill out your garden beds without breaking the bank. Witnessing a tiny cutting transform into a thriving little shrub is just plain magical.
The Best Time to Start
When it comes to getting the most success, I always aim for late spring to early summer. This is when the plant is actively growing, full of vigor. You want to take cuttings from what we call “semi-hardwood” – that’s wood that was new growth last year and is just starting to firm up now. It’s not too soft and leafy, and it’s not too old and woody.
Supplies You’ll Need
Before we get our hands dirty, let’s gather our tools:
- Sharp Pruning Shears or a Craft Knife: Clean cuts are crucial for healthy rooting.
- Rooting Hormone: While Ilex crenata can sometimes root without it, a good rooting hormone significantly boosts your success rate. Look for one containing IBA.
- Well-Draining Potting Mix: I like a blend of equal parts perlite and peat moss, or a good quality seed-starting mix. Avoid heavy garden soil.
- Small Pots or Propagation Trays: Clean pots are key to preventing disease. Make sure they have drainage holes!
- Plastic Bags or a Clear Propagation Dome: This creates a humid environment, which is essential for cuttings.
- Dibber or Pencil: To make holes for your cuttings.
- Watering Can with a Fine Rose: Gentle watering is a must.
Propagation Methods
Now, let’s get to the fun part! The most reliable method for Ilex crenata is definitely stem cuttings.
Stem Cuttings (The Go-To Method):
- Take Your Cuttings: On a mild day, select healthy shoots from your Ilex crenata. Aim for pieces about 4 to 6 inches long. Make your cut just below a leaf node (where a leaf attaches to the stem).
- Prepare the Cuttings: Gently strip off the lower leaves. You want to expose the leaf nodes, as this is where roots will form. You can even scrape a thin sliver of bark off the bottom inch of the stem – this can help promote rooting.
- Apply Rooting Hormone: Dip the cut end of each cutting into your rooting hormone powder. You want a good coating on the bottom inch. Tap off any excess.
- Pot Them Up: Fill your clean pots with your prepared, moist potting mix. Use your dibber or pencil to make a hole in the center of each pot.
- Insert the Cuttings: Gently place one cutting into each hole, pushing it down so the leafless stem portion is buried. Firm the soil around the cutting so it stands upright.
- Water Gently: Water the pots thoroughly but gently, ensuring the soil is evenly moist but not waterlogged.
Water Propagation (A Simpler Alternative):
While not always as successful long-term for woody plants, you can try this:
- Prepare Cuttings: Follow steps 1 and 2 above.
- Place in Water: Find a clean glass or jar and fill it with water. Place your cuttings in the water, making sure no leaves are submerged. Leaves in the water will rot and can kill your cuttings.
- Change Water Regularly: Change the water every few days to keep it fresh and oxygenated.
- Watch for Roots: Once you see small roots forming (usually after a few weeks), you’ll need to transplant them into potting mix. Be extra gentle with these young roots as they are very delicate.
The “Secret Sauce” (Pro Tips)
Here are a couple of things I’ve learned over the years that make a big difference:
- Bottom Heat is Your Friend: If you have it, placing your potted cuttings on a heat mat can significantly speed up root development. Ilex crenata roots are more active when the soil is slightly warmer than the air.
- Don’t Overcrowd, and Keep it Humid: When you’re covering your pots with plastic bags or a dome, ensure the leaves aren’t touching the plastic. If they do, condensation can build up and lead to fungal issues. You can use small stakes or skewers to tent the plastic over the cuttings, creating a mini-greenhouse effect.
Aftercare & Troubleshooting
Once your cuttings are potted up, it’s time to give them a good home.
- Location, Location, Location: Place your pots in a bright, indirect light location. Avoid direct, scorching sun, especially when they are newly planted.
- Maintain Humidity: Keep the soil consistently moist but never soggy. The humidity created by the plastic bag or dome will help prevent them from drying out too quickly.
- Checking for Roots: After 4-8 weeks, you can gently tug on a cutting. If you feel resistance, you have roots! You can also look for new leaf growth, which is a good sign.
- Signs of Failure: The most common issue is rot. If your cuttings look mushy, black, or smell foul, they’ve likely rotted. This is usually due to too much moisture and poor air circulation. Sometimes, cuttings just fail to root – that’s part of the process, don’t get discouraged!
A Little Patience Goes a Long Way
Propagating Ilex crenata is such a satisfying endeavor. It takes a bit of planning and patience, but the reward of nurturing new life from a simple cutting is truly unparalleled. Enjoy the process, observe your little plants, and celebrate every new root and leaf. Happy propagating!
Resource:
https://identify.plantnet.org/k-world-flora/species/Ilex%20crenata%20Thunb./data