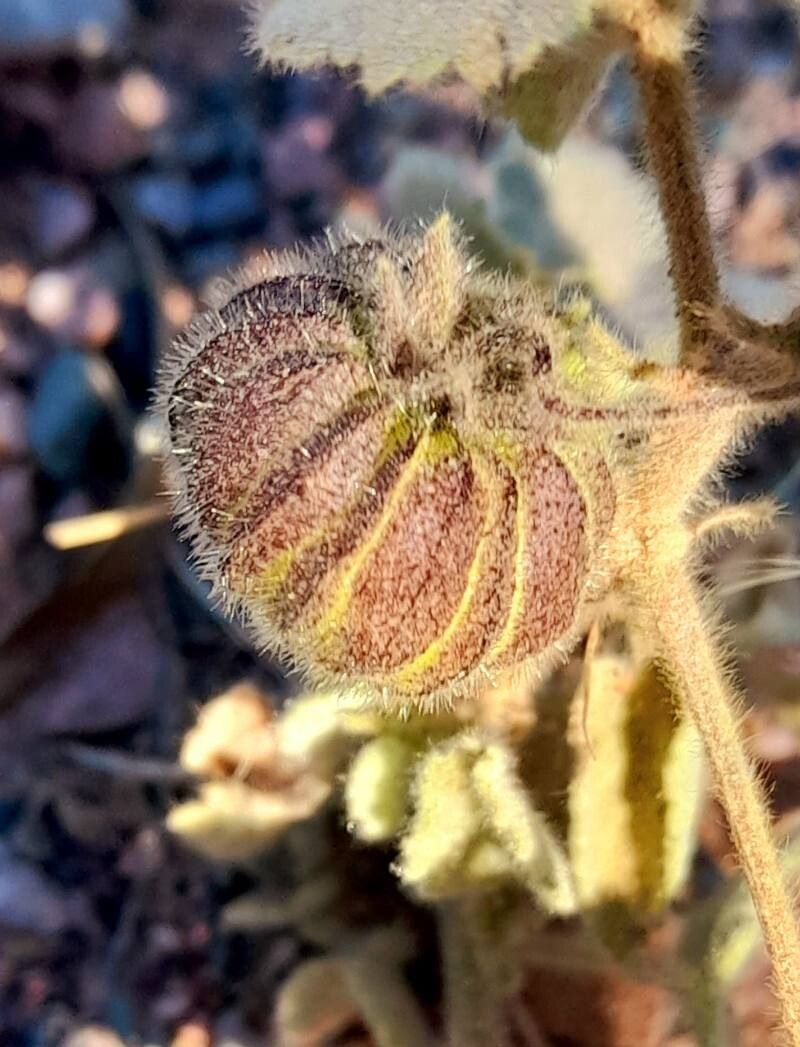
Hello, fellow garden enthusiasts! Today, I want to chat about a plant that’s really captured my heart over the years: Herissantia crispa. You know, the one with those lovely, crinkly leaves that look almost like they’ve been carefully pressed. It’s such a joy to have a piece of this beauty to share, and trust me, propagating it is a wonderfully rewarding experience. For those just dipping their toes into the world of plant propagation, I’d say Herissantia crispa is a fairly forgiving plant to start with. You’ll likely find success with a little patience and these tips I’m about to share.
The Best Time to Start
When it comes to getting the best results with propagating Herissantia crispa, spring and early summer are your golden ticket. This is when the plant is actively growing and putting on new shoots, meaning it has plenty of energy to dedicate to developing roots. You can also try taking cuttings in the late summer, but I’ve found spring gives you the strongest start. Look for new growth that’s firm but not yet woody – that tender green stage is perfect.
Supplies You’ll Need
Before we get our hands dirty, let’s gather our trusty tools. Having everything ready makes the process so much smoother.
- Sharp, clean pruning shears or a sharp knife: Essential for making clean cuts that heal well.
- Rooting hormone (optional but recommended): This can really give your cuttings a boost. I prefer a powder form for stem cuttings.
- Small pots or trays: Cleaned thoroughly beforehand, of course!
- Well-draining potting mix: A good blend of potting soil with perlite and a bit of coarse sand works wonders. You want it to hold moisture but not become waterlogged.
- Plastic bags or a propagation dome: To create a humid environment for your cuttings.
- Watering can or spray bottle: For gentle watering.
- Labels and a marker: So you don’t forget what’s what!
Propagation Methods
Herissantia crispa is quite obliging, and you can try a couple of methods that usually yield good results.
Stem Cuttings
This is my go-to method for Herissantia crispa. It’s straightforward and often gives you a good number of new plants.
- Choose your cutting: Find a healthy stem with at least 2-3 leaf nodes (the little bumps on the stem where leaves grow from). Make your cut just below a leaf node.
- Prepare the cutting: Gently remove any lower leaves, leaving just a couple at the very top. This prevents them from rotting in the soil.
- Apply rooting hormone (optional): Dip the bottom end of the cutting into rooting hormone, tapping off any excess.
- Plant the cutting: Fill your small pot with your prepared, slightly moist potting mix. Make a small hole with your finger or a pencil and insert the cutting, ensuring the leaf nodes are below the soil surface. Gently firm the soil around the stem.
- Water gently: Give the soil a light watering using your watering can or a spray bottle.
- Create humidity: Cover the pot with a clear plastic bag, propped up so it doesn’t touch the leaves, or place it under a propagation dome. This traps moisture and keeps the humidity high, which is crucial for cuttings.
- Provide light and warmth: Place the pot in a bright spot but out of direct, harsh sunlight. A warm windowsill is usually perfect.
Water Propagation
This is a fun one to watch, as you can see the roots develop!
- Select and prepare a stem: Similar to stem cuttings, choose a healthy stem tip with 2-3 leaf nodes. Make your cut just below a node and remove the lower leaves.
- Place in water: Pop the cutting into a clean glass or jar filled with fresh, clean water.
- The “don’t let leaves touch the water” rule: This is key! Ensure none of the leaves are submerged. If you have leaves that would end up in the water, gently trim them off. This prevents rot.
- Change water regularly: Refresh the water every few days to keep it clean and oxygenated.
- Location: Place the jar in a bright location, away from direct sun.
- Watch for roots: You should start to see tiny white roots emerging from the nodes in a few weeks. Once the roots are about an inch long, it’s time to move them to soil.
The “Secret Sauce” (Pro Tips)
Now, for a couple of little tricks I’ve learned over the years that can really make a difference.
- Bottom Heat is Your Friend: If you can, especially in cooler months or for water propagation before transplanting, providing gentle bottom heat can significantly speed up root development. A seedling heat mat is wonderful for this. It mimics the warmth of the soil in the spring.
- Don’t Be Afraid to Experiment (and Fail): Sometimes, despite our best efforts, a cutting just won’t take. Don’t let it discourage you! It’s part of the learning process. For Herissantia crispa, I often find success by taking multiple cuttings from a single plant. If one fails, another might thrive. Every gardener I know has a graveyard of failed attempts in their memory (and sometimes their compost bin!).
Aftercare & Troubleshooting
Once you see those first little roots peeking out, it’s a moment of pure joy!
- For cuttings in soil: When your cuttings have developed a good root system (you can gently tug on them, and they will resist), it’s time to treat them like a young plant. Continue to keep the soil consistently moist but not soggy. Gradually acclimatize them to lower humidity by opening the plastic bag or dome a little more each day over a week.
- For water-propagated cuttings: Carefully plant the rooted cuttings into small pots filled with your well-draining potting mix. Water them gently and keep them in a humid environment for a week or two as they adjust to the soil.
- Troubleshooting: The most common issue you might face is rot. This is usually due to overwatering or poor drainage. If your cutting looks yellow, mushy, or has a foul odor, it’s likely succumbed to rot. Prevention is key: ensure good air circulation and don’t overwater. If you see a tiny bit of rot, you can try to cut away the affected part with a clean blade and repot in fresh, dry soil.
A Gentle Encouragement
Propagating Herissantia crispa is a wonderful way to multiply your plant collection and share the joy of gardening with others. Be patient with your new little charges, observe them closely, and celebrate every sign of new growth. The process itself is a beautiful dance with nature, and the reward of seeing a new plant flourish is absolutely worth it. Happy propagating!
Resource:
https://identify.plantnet.org/k-world-flora/species/Herissantia%20crispa%20(L.)%20Brizicky/data