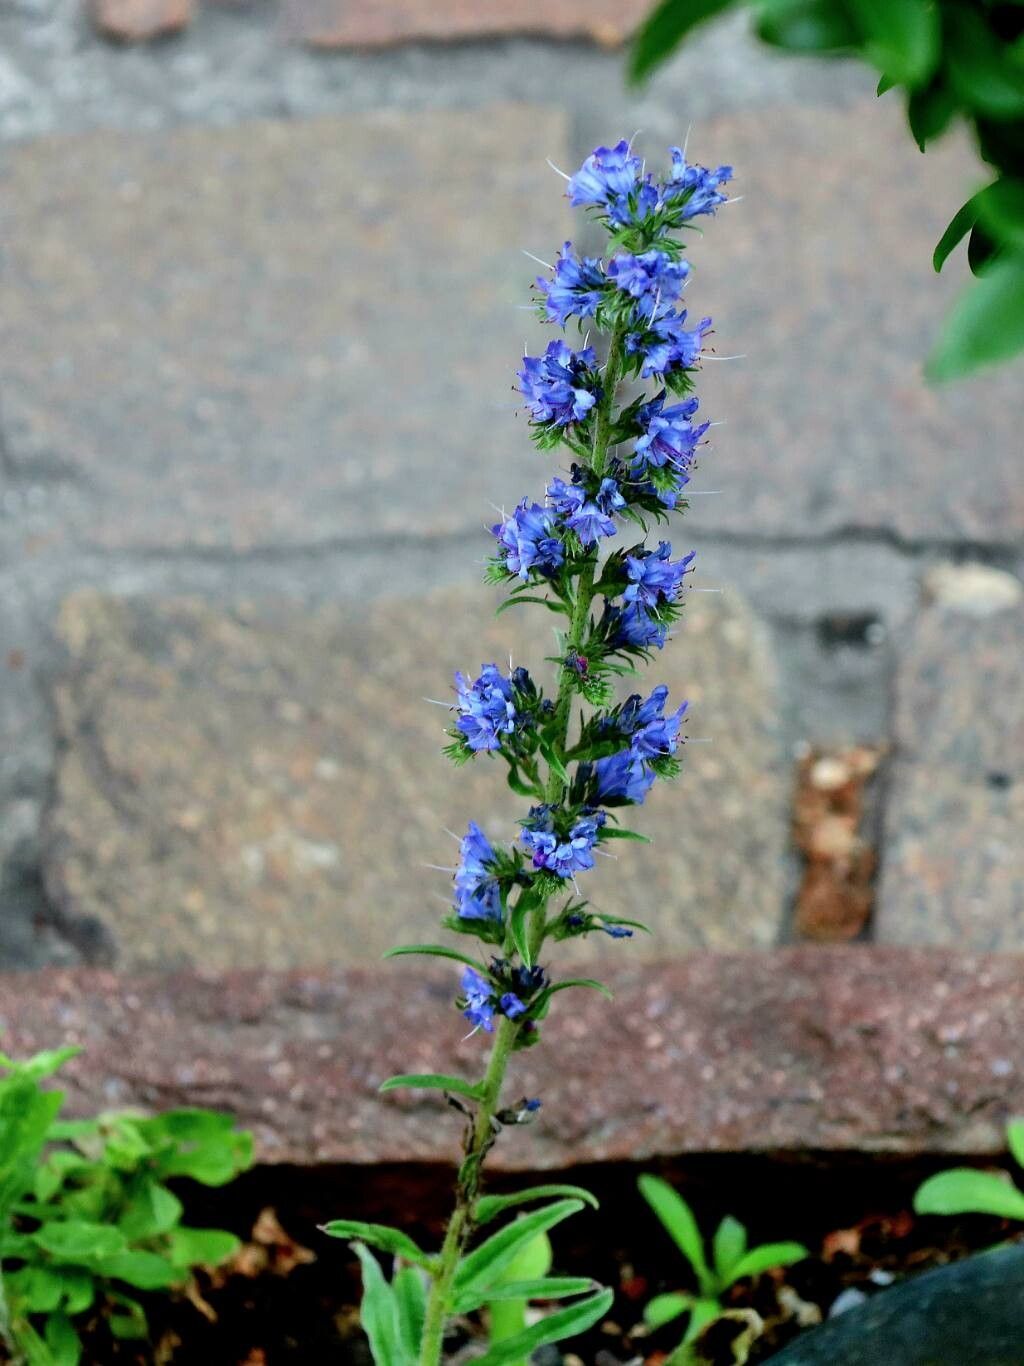
Hello fellow garden enthusiasts! It’s so lovely to have you here. Today, we’re diving into the wonderful world of Echium vulgare, or Viper’s Bugloss as it’s more commonly known. If you’ve ever seen these striking, tall spires of blue flowers gracing a sunny meadow or a well-loved garden, you know exactly why they’re so captivating.
I’ve spent years admiring Echiums, and let me tell you, propagating them is a truly rewarding experience. There’s something special about nurturing a tiny cutting or seed into a magnificent plant that’s all your own. For those of you just starting your gardening journey, I’m happy to say that Echium vulgare is remarkably forgiving. You’ll likely find success with these methods, even if it’s your first time!
The Best Time to Start
When it comes to getting the most bang for your buck with propagation, timing is everything. For Echium vulgare, the sweet spot is late spring to early summer. This is usually after the main flowering period has passed, but before the intense heat of midsummer arrives. You’re looking for new, vigorous growth. If you’re collecting seeds, late summer is when they’ll be mature and ready.
Supplies You’ll Need
Gathering your supplies beforehand makes the whole process smooth and enjoyable. Here’s what I always have on hand:
- Sharp pruning shears or a clean knife: For taking cuttings with precision.
- Well-draining potting mix: A blend of coarse sand, perlite, and peat moss works wonders. You can also buy specific succulent or cactus mixes.
- Small pots or seed trays: Clean and with drainage holes, of course!
- Rooting hormone (optional but helpful): A powder or gel to give cuttings a little boost.
- Watering can with a fine rose: To water gently without disturbing your new propagations.
- Dibber or pencil: To make planting holes without compacting the soil.
- Plastic bags or propagation domes: To create a humid environment for cuttings.
- Label sticks and a marker: To keep track of what you’ve planted and when!
Propagation Methods
Echium vulgare can be propagated in a couple of ways, and I find both to be quite effective.
Stem Cuttings
This is my go-to for creating new plants quickly.
- Take Cuttings: In late spring or early summer, select a healthy, non-flowering stem from a mature Echium plant. Using your sharp pruning shears or knife, cut a section about 4-6 inches long. Make your cut just below a leaf node (where a leaf attaches to the stem).
- Prepare the Cuttings: Gently remove the lower leaves from the cutting, leaving only the top few. This prevents them from rotting in the soil. If you’re using rooting hormone, dip the cut end into the powder or gel.
- Plant the Cuttings: Fill your pots with the well-draining potting mix. Make a hole with your dibber or pencil, deep enough to insert the cutting. Place the cutting in the hole and gently firm the soil around it.
- Create a Humid Environment: Lightly water the soil. Then, cover the pot with a plastic bag or propagation dome, ensuring the leaves don’t touch the plastic. This traps humidity.
- Place and Wait: Position your pots in a bright spot with indirect sunlight. Avoid direct sun, which can scorch the cuttings. Keep the soil consistently moist but not soggy. With a bit of luck and patience, you should see roots forming in a few weeks. You’ll know they’ve rooted when you feel a slight resistance when you gently tug on the cutting.
Seed Propagation
Echium seeds are relatively straightforward to germinate and offer a rewarding experience, watching them grow from tiny specks.
- Collect Seeds: Once your Echium flowers have faded and the seed pods have dried, carefully collect the mature seeds. They’re usually small and dark. Store them in a dry, cool place until you’re ready to sow.
- Sow the Seeds: In late winter or early spring, fill seed trays with your well-draining potting mix. Sow the seeds thinly, barely covering them with a light dusting of soil or grit.
- Water and Place: Water gently and place the trays in a cool greenhouse or on a bright windowsill. Direct sunlight isn’t needed at this stage.
- Germination: Keep the soil consistently moist. Germination can be a little erratic, but you should start to see seedlings emerge within a few weeks.
- Potting On: Once the seedlings are large enough to handle and have a few true leaves, carefully pot them into individual small pots filled with your potting mix.
The “Secret Sauce” (Pro Tips)
After years of trial and error, I’ve picked up a few tricks that seem to make all the difference.
- Bottom Heat for Cuttings: If you’re struggling with cuttings to root, try placing your pots on a heated propagator mat. This gentle warmth from below encourages root development and significantly speeds up the process. I find it’s especially helpful for those stem cuttings.
- Don’t Overcrowd Your Seeds: When sowing seeds, I’ve learned that less is more. While it’s tempting to fill every inch of the tray, giving the seedlings a little space from the get-go means they’ll have less competition for light and nutrients, leading to stronger, healthier young plants.
- Water Wisely: This might sound simple, but it’s crucial! Water the soil, not the leaves, especially when using cuttings. Excess moisture on leaves can encourage fungal diseases. A gentle watering can with a fine rose is your best friend here.
Aftercare & Troubleshooting
Once you see those first tiny roots appearing, it’s time to transition to a slightly different routine.
- Gradual Acclimatization: If you’ve used a plastic bag or dome, gradually introduce your new plants to normal humidity over several days. Start by removing the cover for a few hours at a time.
- Light and Watering: Continue to provide bright, indirect light. Water when the top inch of soil feels dry. As the plants grow, you’ll need to pot them into larger containers.
- Signs of Trouble: The most common culprit for failure is overwatering, which leads to root rot. You’ll notice yellowing leaves (even on lower stems) and that the plant looks generally unhealthy and limp, despite the soil being wet. If you suspect rot, it’s best to try and salvage any healthy parts by taking new cuttings. Another issue can be leggy growth, which usually means the plant isn’t getting enough light. Move it to a brighter spot!
And there you have it! Propagating Echium vulgare is a journey of observation and patience, but the rewards are so worth it. Don’t be discouraged if your first attempt isn’t perfect. Every garden, and every plant, is a learning experience. So grab your tools, get your hands dirty, and enjoy the satisfaction of creating something beautiful from scratch. Happy growing!
Resource:
https://identify.plantnet.org/k-world-flora/species/Echium%20vulgare%20L./data