Oh, hello there! It’s so good to see you virtually. You know, I’ve been spending my days with plants for two decades now, and I still get that flutter of excitement when I think about creating new life from a little slip of greenery. Today, we’re diving into the wonderful world of Dombeya ledermannii, a plant that truly deserves a spot in every garden.
Welcome a Blooming Beauty: Why Propagate Dombeya ledermannii?
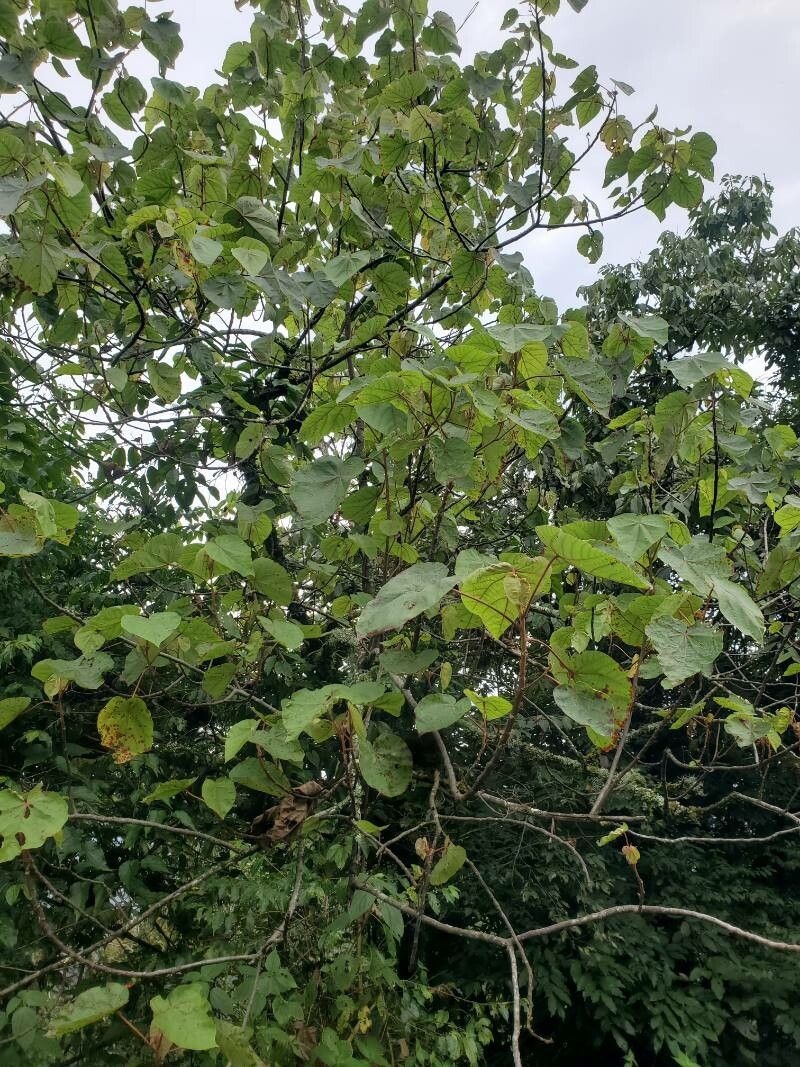
If you’ve ever seen a Dombeya ledermannii in full, glorious bloom, you understand the appeal. Its clusters of delicate, often fragrant flowers can transform a garden into a dreamscape. And the best part? Bringing this beauty into existence yourself is incredibly rewarding. It’s a fantastic way to share these blooms with friends or simply to fill your own space with more of their magic. For those of you just starting out, I’d say Dombeya ledermannii is moderately easy to propagate. With a little care and attention, you’ll be successful.
The Perfect Moment: When to Propagate
Timing is everything in the garden, isn’t it? For Dombeya ledermannii, the sweet spot for propagation is during its active growth period. This typically means late spring or early summer, right after it’s finished its main blooming cycle. You’re looking for stems that are firm but not yet woody. Think of it as catching the plant at its most vigorous!
Your Propagation Toolkit
Before we get our hands dirty, let’s gather our supplies. Having everything ready makes the process so much smoother.
- Sharp Pruning Shears or a Knife: Clean cuts are crucial. Sterilize them with rubbing alcohol between cuts to prevent disease.
- Rooting Hormone: This is a powder or gel that encourages root development. It’s not strictly necessary for Dombeya, but it can give you a helpful boost.
- Small Pots or Trays: About 4-6 inches deep works well. Make sure they have drainage holes!
- Propagation Mix: A light, well-draining mix is key. I like to use a blend of equal parts perlite and coco coir, or you can use a pre-made seed starting mix. Avoid heavy garden soil.
- Watering Can with a Fine Rose: You want to water gently.
- Clear Plastic Bags or a Propagator: To create a humid environment.
- Optional: Bottom Heat Mat: This can speed up rooting, especially if your propagation area is a bit cool.
Bringing New Life Forth: Propagation Methods
There are a couple of ways we can encourage new Dombeya plants, but stem cuttings are my go-to for this beauty.
Stem Cuttings: The Reliable Route
- Select Your Cuttings: Look for healthy, vigorous stems from your Dombeya ledermannii. You want pieces that are about 4-6 inches long. Remove any leaves from the bottom two-thirds of the cutting.
- Make the Cut: Just below a leaf node (where a leaf attaches to the stem), make a clean cut with your sterilized shears. This is where roots will emerge.
- Apply Rooting Hormone (Optional but Recommended): Dip the cut end into your rooting hormone, tapping off any excess.
- Prepare the Pot: Fill your pots with the propagation mix. Make a small hole in the center with your finger or a pencil.
- Plant the Cuttings: Insert the prepared cuttings into the holes, ensuring the leaf nodes are buried. Gently firm the soil around the stems. You can fit several cuttings in one pot, making sure they don’t touch each other too much.
- Water Gently: Water the soil thoroughly until it’s evenly moist, but not waterlogged.
- Create Humidity: Place the pots inside a clear plastic bag, sealing it loosely, or use a propagator lid. This will help retain moisture and create that humid microclimate cuttings love.
- Find a Suitable Spot: Place the pots in a bright location but out of direct sunlight. A warm spot is ideal. If you have a bottom heat mat, place the pots on it now.
Water Propagation (For the Impatient!)
While I find stem cuttings in soil more successful long-term for Dombeya, you can try water propagation if you’re eager to see roots.
- Prepare the Cuttings: Follow steps 1 and 2 above, making sure to remove all leaves that would sit below the water line.
- Place in Water: Put the cuttings in a clean jar or vase filled with fresh water.
- Monitor: Place in bright, indirect light. Change the water every few days to keep it fresh and prevent bacterial growth.
- Transplant When Ready: Once you see a good network of roots (at least an inch or two long), carefully transplant them into your prepared propagation mix in a pot. Be gentle; water roots are delicate!
My “Secret Sauce” for Success
Over the years, I’ve learned a few tricks that can really make a difference.
- Don’t Let Leaves Touch the Water: If you’re doing water propagation, making sure no leaves are submerged is critical. Any submerged foliage will rot and can take your cutting down with it. It’s all about clean water for clean roots!
- Bottom Heat is Your Friend: Seriously, if you can swing it, a gentle bottom heat can significantly speed up the rooting process for your Dombeya cuttings. It mimics the cozy conditions of spring soil. You’ll see roots form much faster!
- Don’t Rush the Potting: When you’re doing stem cuttings, resist the urge to water too much. Once the soil is moist, let it dry out slightly between waterings. Overwatering is one of the fastest ways to invite rot, and nobody wants that!
Nurturing Your New Sprouts & What to Watch For
Once you spot those new roots poking out the bottom of the pot, or see fresh growth at the top, it’s time for a little more attention.
- Gradual Acclimation: Your new plant has been enjoying a humid greenhouse environment. Slowly acclimate it to your home’s humidity by gradually opening the plastic bag or propagator lid over a week or two.
- Light Watering: Continue to water when the top inch of soil feels dry. Avoid letting it dry out completely or sit in soggy soil.
- Transitioning to a Larger Pot: Once your cutting has established a healthy root system and is showing good top growth, you can transplant it into a slightly larger pot with your regular potting mix.
Troubleshooting: The most common issue you might face is rot. This usually happens from too much moisture and poor air circulation. If you see your cutting becoming limp and mushy, or developing dark spots, it’s likely rot. Sadly, a rotten cutting cannot be saved. However, you can try to take a fresh cutting from a healthy part of the mother plant and start again, being extra mindful of drainage and watering. Another sign of trouble is a cutting that just… sits there. If after several weeks, you see no signs of rooting, it might just not have taken. Don’t get discouraged!
Happy Growing, My Friend!
Propagating Dombeya ledermannii is a journey, and like all good garden adventures, it requires a bit of patience. But trust me, the joy of seeing those first new roots emerge, and then watching your tiny cutting grow into a robust plant, is absolutely worth it. So, grab your shears, find a sunny spot, and enjoy the wonderful process of creating something beautiful from scratch. Happy growing!
Resource:
https://identify.plantnet.org/k-world-flora/species/Dombeya%20ledermannii%20Engl./data