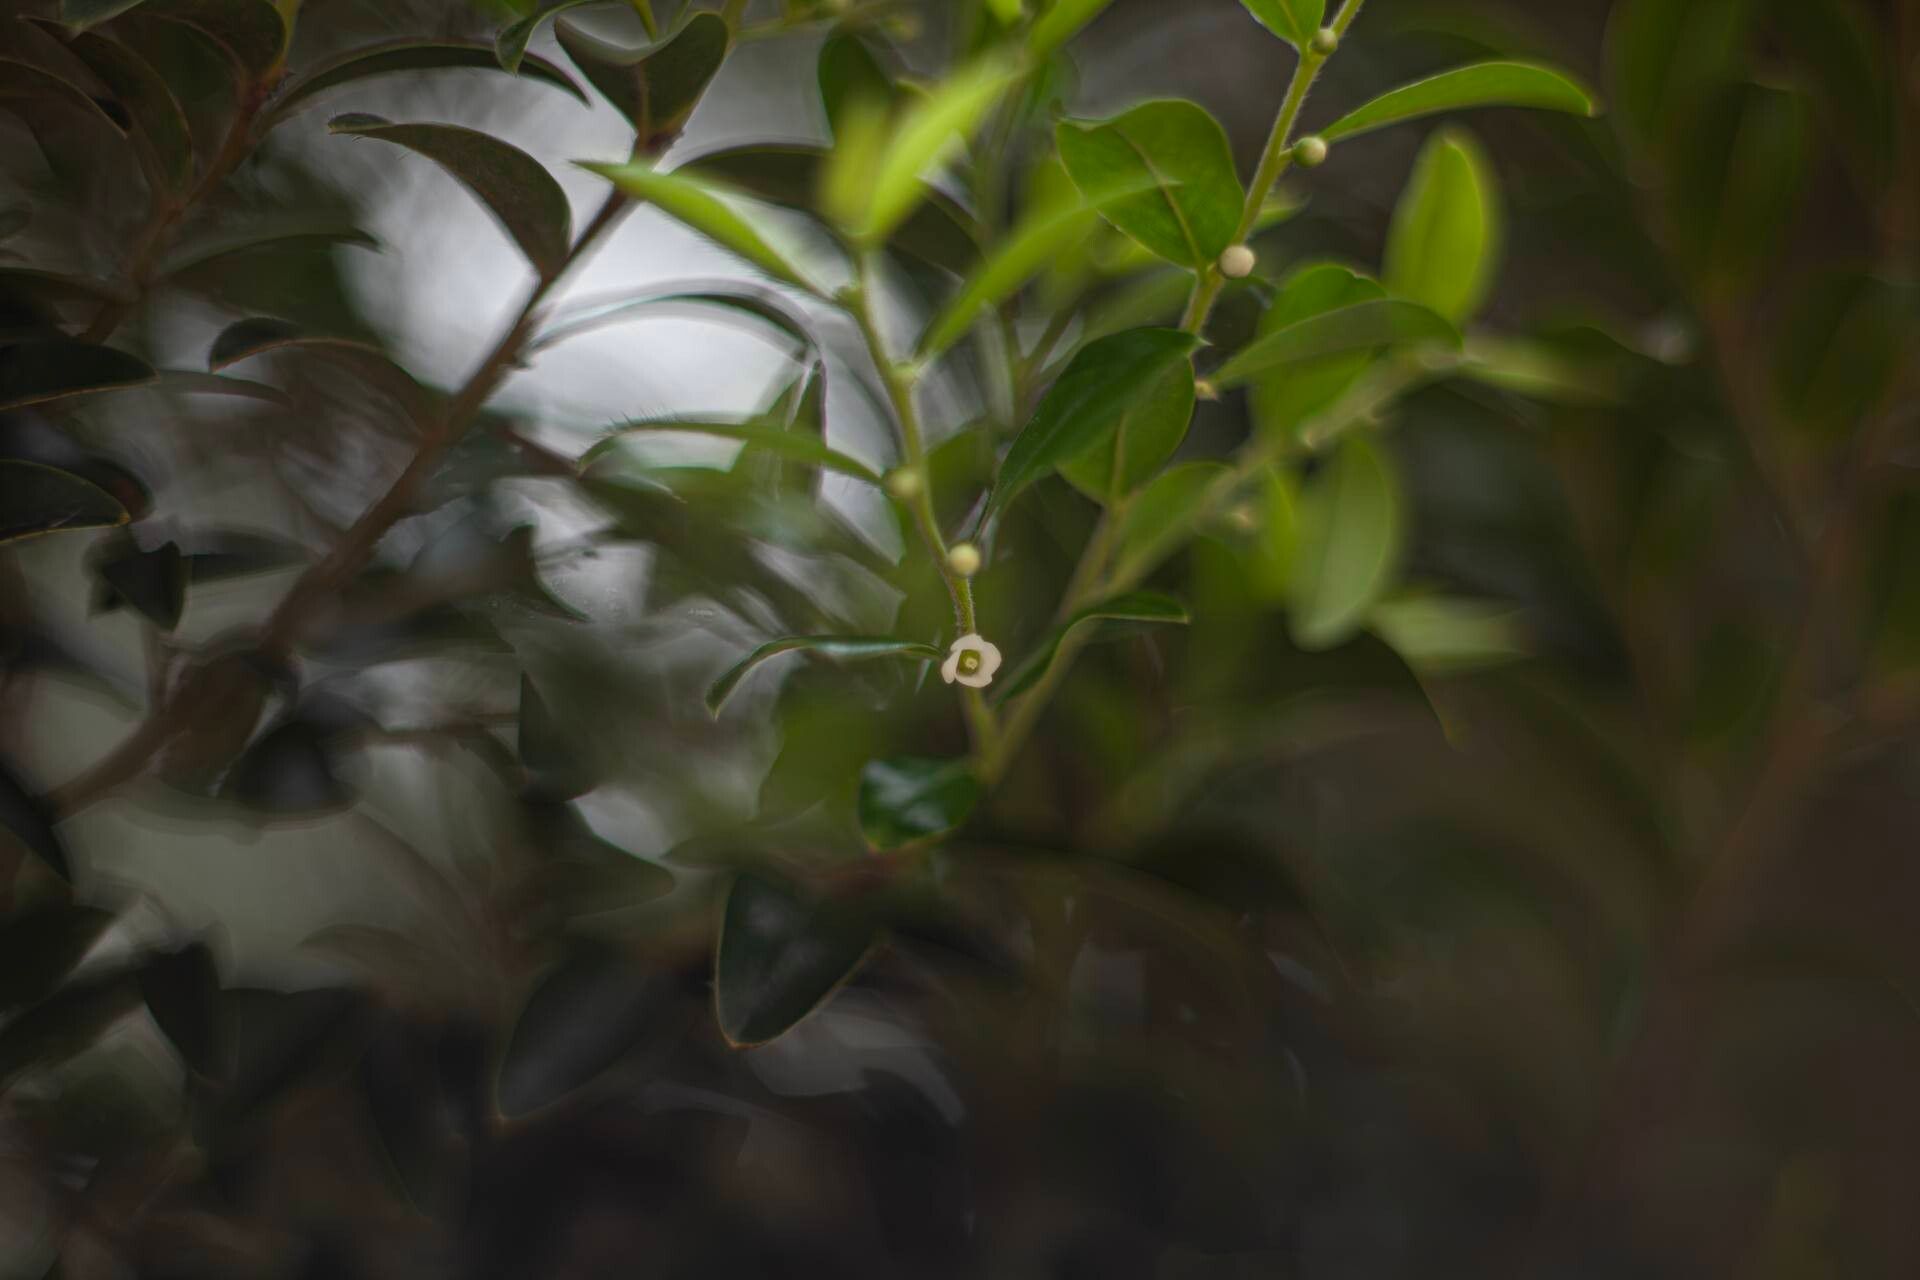
Oh, hello there! Pull up a chair, would you? Let’s chat about a little gem I’ve come to adore over the years: Diospyros buxifolia. It’s one of those plants that just has a quiet elegance about it, with its lovely, glossy leaves and compact habit. Plus, the satisfaction of coaxing a brand new plant into existence from a tiny piece of its parent? Pure gardening joy! Now, if you’re curious about multiplying your Diospyros buxifolia joy, I’m here to walk you through it.
The Appeal of Diospyros buxifolia and Why Propagate
This little tree, often called “false boxwood” for its similar leaf shape, can be a wonderful addition to the garden, especially in smaller spaces or for creating neat, low hedges. They’re also quite adaptable, happy in pots or in the ground. Propagating it yourself is incredibly rewarding because you get to witness life literally springing from a cutting. It’s a connection to the cycle of growth that never gets old for me. I’ll be honest, Diospyros buxifolia isn’t the absolute easiest plant for a complete beginner to propagate, but don’t let that deter you! With a little care and the right approach, you’ll be successful.
The Best Time to Start
For the highest chance of success with Diospyros buxifolia, I find late spring to early summer is the sweet spot. This is when the plant is actively growing and has plenty of energy. You’ll be looking for semi-hardwood cuttings, meaning the stems are starting to firm up but aren’t yet woody and brittle. Think of a flexible pencil – that’s about the right stage.
Supplies You’ll Need
Here’s what you’ll want to gather before we get our hands dirty:
- Sharp pruning shears or a clean, sharp knife: For making clean cuts.
- Rooting hormone powder or gel: This is a must! It really gives those cuttings a boost.
- A good quality potting mix: I like to use a blend of peat moss, perlite, and a little bit of compost. You want something that drains well but still holds some moisture. A commercial seed-starting mix often works great.
- Small pots or seed trays: With drainage holes, of course!
- Plastic bags or a propagator: To create a humid environment.
- Watering can with a fine rose: To water gently.
- Optional but helpful: A heat mat: For bottom warmth.
Propagation Method: Stem Cuttings (My Go-To!)
This is the most reliable method for Diospyros buxifolia in my experience.
- Take Your Cuttings: Head out to your plant with your clean shears. Look for healthy, non-flowering shoots. Select stems that are about 4-6 inches long.
- Prepare the Cuttings: At the base of the cutting, remove the leaves from the bottom 1-2 inches. This prevents them from rotting in the soil. If the leaves are very large, you can even cut them in half horizontally to reduce water loss.
- Apply Rooting Hormone: Dip the cut end of each stem into your rooting hormone powder or gel. Make sure it’s evenly coated. Tap off any excess.
- Pot Them Up: Fill your small pots with your prepared potting mix. Make a small hole in the center of the soil with your finger or a pencil.
- Insert the Cuttings: Gently push the prepared cuttings into the holes, ensuring the base of the stem is firmly in contact with the soil. Pot up several cuttings at a time, as not all of them will take.
- Water Gently: Give them a gentle watering to settle the soil around the cuttings.
- Create Humidity: Now, this is key. Cover the pots with a clear plastic bag or place them in a propagator. You want to create a mini greenhouse effect to keep humidity high. Make sure the leaves aren’t touching the plastic, if possible (you can use skewers to prop it up).
- Find a Bright Spot: Place the pots in a location that receives bright, indirect light. Avoid direct sun, which can scorch the delicate cuttings.
The “Secret Sauce” (Pro Tips)
Okay, here are a couple of things I’ve learned that really make a difference:
- Don’t Disturb Them Too Soon! I know it’s tempting to peek, but resist the urge to pull on the cuttings for at least 4-6 weeks. You’ll know they’ve rooted when you feel a gentle resistance. And even then, let them establish a bit more before transplanting.
- Bottom Heat is Your Friend: If you have a heat mat, placing your pots on it can significantly speed up root development. It mimics the warmth of spring soil and gives those hormones and cells a real kickstart.
Aftercare & Troubleshooting
Once you see those roots developing (you might even see a little new growth!), it’s time to adjust.
- Acclimatize: Gradually remove the plastic covering over a week or two. This helps the new plants get used to normal humidity levels. You can start by lifting the bag for an hour or two each day.
- Watering: Keep the soil consistently moist but not waterlogged. Overwatering is a common culprit for rot. If you see the leaves looking yellow and wilting, it’s a sign of too much moisture at the roots.
- Transplanting: Once the cuttings have a good root system and are showing established growth, you can transplant them into larger pots or their permanent garden location.
Now, what if things don’t go as planned? The most common issue is rot, which usually happens due to overwatering or poor drainage. If you see mushy, black stems, that cutting is sadly a loss. Don’t get discouraged; it happens to all of us! Just try to learn from it and adjust your watering next time. Sometimes, a cutting just won’t root for no apparent reason. That’s the way of propagating – it’s nature, after all!
A Bit More Patience, A Lot More Joy
Propagating Diospyros buxifolia is a process that requires a bit of patience, but the reward of seeing those new plants flourish is just wonderful. Don’t be afraid to experiment, and remember that every cutting you try is a learning opportunity. Enjoy the journey, and happy planting!
Resource:
https://identify.plantnet.org/k-world-flora/species/Diospyros%20buxifolia%20(Blume)%20Hiern/data